Advertisement
Quick Links
Download this manual
See also:
Quick Start Manual
Quick Start Guide
S u m m a r y :
This guide should be used after you have received the printer and followed the unboxing instructions.
This manual can be used as a "Quick Start" guide to using the printer as well as a refresher on using the
printer in the future. This manual is made for users who have the BLTouch auto bed leveling sensor
installed.
M a c h i n e S p e c i f i c a t i o n s
1. Max Hotend Temperature:
2. Layer Height:
3. Filament Diameter:
4. Firmware:
5. Electronics:
6. Dual Extruder Offset (If applicable):
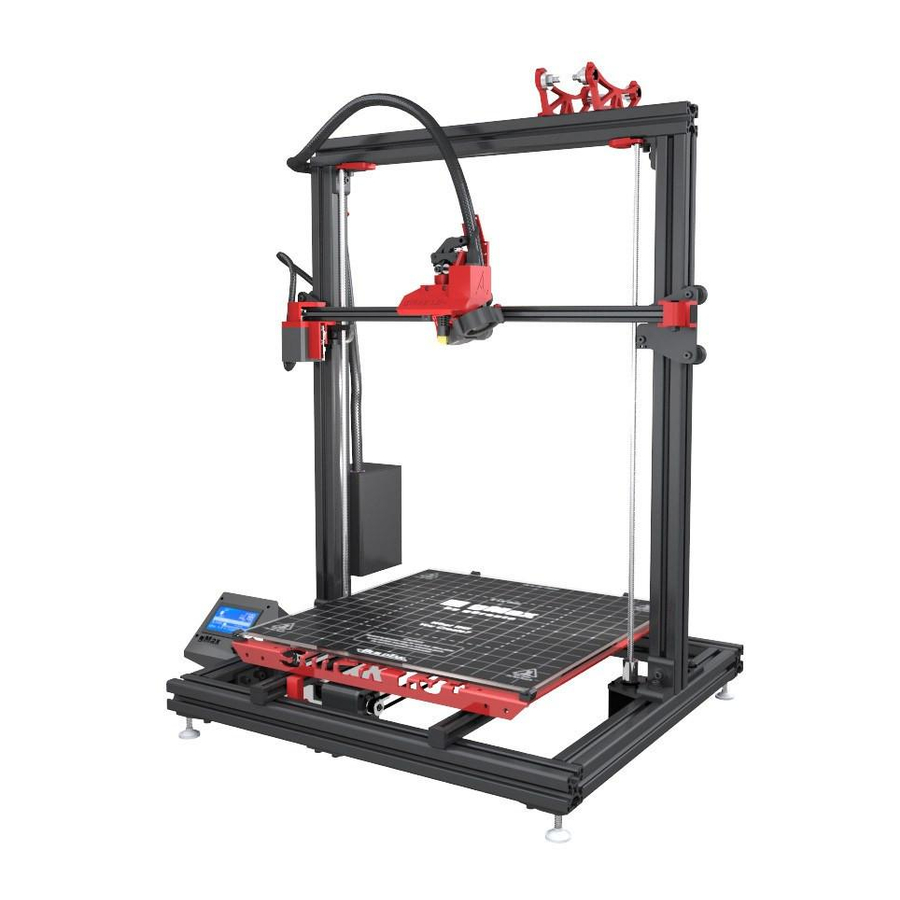
gMax Printer 1.5+
v1.21 – 3.29.16
( F o r R e f e r e n c e )
243C
(Do not set your max temperature above
235C to prevent a "MAXTEMP" error)
0.080mm (Min)
IMPORTANT!
For best results you must set your layer
heights in 40 micron increments. For
example 0.08mm, 0.12mm, 0.16mm etc...
1.75mm
Marlin (Slightly Modified)
Ramps v1.4, ATMega 2560
X Offset: ________ Y Offset: _________
0.4mm (Max)
Page 1
Advertisement

Related Manuals for gCreate gMax Printer 1.5+


Summary of Contents for gCreate gMax Printer 1.5+
- Page 1 gMax Printer 1.5+ Quick Start Guide v1.21 – 3.29.16 S u m m a r y : This guide should be used after you have received the printer and followed the unboxing instructions. This manual can be used as a “Quick Start” guide to using the printer as well as a refresher on using the printer in the future.
- Page 2 3d print characteristics such as infill density, walls, layer thickness and cooling parameters. This is where the magic happens. Each layer is made up of a path for the extruder to follow. Refer to the manual or the gCreate YouTube channel for information and tutorials on slicing.
- Page 3 Note: We recommend slic3r for its ease of use and constant updates. 2. Slicing your model will result in the creation of a gcode file. Note: A gcode file is a text file filled with commands used to run the printer.
- Page 4 I n s e r t F i l a m e n t I n t o E x t r u d e r 1. Open a spool of filament and place on filament spool brackets on top of printer. Ensure the filament unspools from the bottom and not from the top to prevent the spool from falling off during a print.
- Page 5 C h o o s e a F i l e t o P r i n t 1. Slide the SD card (upside-down) into the left side of the LCD screen. 2. Using the LCD screen, the bottom line should now say “Card Inserted”. If not, try removing the SD card and reinserting it.
- Page 6 4. If you are using the latest slic3r configuration files, you will then see the extruder probe the bed in all 4 corners and stop on the left rear of the bed. The hotend should be cold during this process to avoid damaging the print surface. Note: If the printer stops at any of these steps or misses the endstop, refer to the troubleshooting portion of the forum for help or contact us.
- Page 7 F i r s t L a y e r P r i n t D i a g r a m N o z z l e i s t o o l o w N o z z l e i s j u s t r i g h t N o z z l e i s t o o h i g h Nozzle is dragging on print bed Nozzle is slightly above print bed allowing...
- Page 8 N e x t S t e p s Make sure to keep an eye on your print until it finishes. Every file you print has its own characteristics and sometimes it will surprise you what happens. Also the beginning of the print is critical to the final results and you should make sure it adheres correctly.
- Page 9 T i p s W h i l e Y o u P r i n t You have some time now so why not read these tips. 1. Always keep an eye on your print and check on it often especially if it’s the first time running the file.
- Page 10 USING EXTREME CAUTION, take the supplied scraper and gently tap at the edges of the print. We have found this tapping action is much safer and much easier to remove a model rather than pure brute force and it is also better for the print bed. Look for corners of the model and tap them with the scraper flat on the bed.
Need help?
Do you have a question about the gMax Printer 1.5+ and is the answer not in the manual?
Questions and answers