Table of Contents
Advertisement
Quick Links
Advertisement
Table of Contents

Related Manuals for Midland BT1


Summary of Contents for Midland BT1
- Page 1 Manual de utilizare in Limba Engleza Sistem comunicare Midland BT1...
-
Page 2: Table Of Contents
Charging batteries ..........................4 Description of the unit and installation brackets ..................4 Typical configurations of BT1 ......................... 6 Switching your Midland BT1 on and off ....................6 Pairing with Bluetooth devices........................ 7 Adjusting the volume ..........................8 Using the features of the Bluetooth devices ................... 8 Using the wired audio input ........................ -
Page 3: Technical Specifications Of Midland Bt1
Midland BT1 Intercom Thank you for purchasing the Midland BT1 Intercom, the wireless Intercom system for bikers. The Midland BT1 is designed to be fitted directly on to your helmet and to be used for communications between driver and pillion. Besides, the driver’s unit can be used to communicate with Bluetooth devices like mobile phones or GPS Sat-Navs. -
Page 4: Charging Batteries
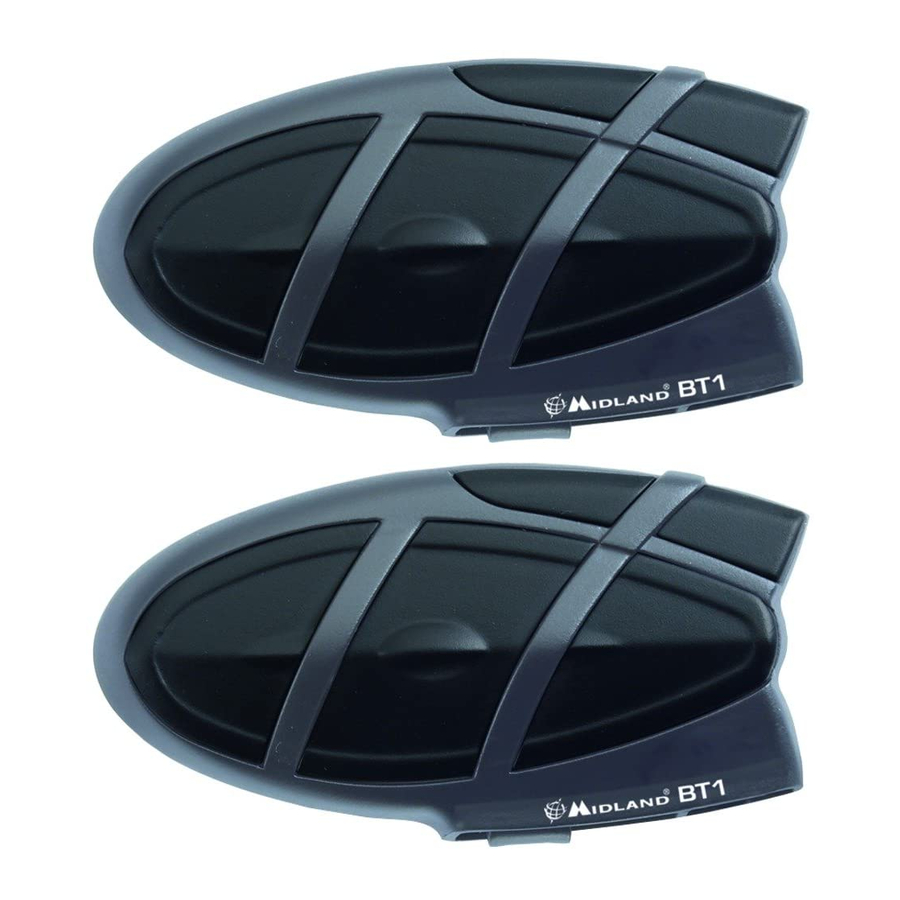
Description of the BT1 unit with a bracket and wire connection. The BT1 has 5 multifunction buttons on the front and 3 wired Fixing the stereo speakers. The two stereo speakers have a Velcro/adhesive strip that aids their fixing to your helmet. - Page 5 Description of the installation brackets on the upper section (A). The Midland BT1 can be fixed onto the helmet in two different ways: By either using the plate with bi-adhesive strip, or the clamp. These methods allow you to safely “fix” the BT1 unit onto your helmet and to remove it at any time in order to recharge or store it.
-
Page 6: Typical Configurations Of Bt1
Typical configurations of BT1 Switching your Midland BT1 on and off BT1 can be switched on by means of the central button la- beled “Intercom”. To switch off the unit you must use a combination of two buttons (intercom+AUX), thus lessening the chances that you might turn off the unit accidentally (especially whilst wearing 1. -
Page 7: Pairing With Bluetooth Devices
(blue light flashing). The only operations permitted in the “Set up” mode are the If you pair the BT1 unit with a mobile phone, you will not be pairings and the reset. -
Page 8: Adjusting The Volume
(with the pillion’s device)you must Therefore, the Intercom feature automatically disables all quit the Setup mode in order to be able to use your BT1. other communications. Press and hold the Intercom button (centre button) for 3 se- The intercom feature is disabled when an incoming call or conds. - Page 9 Attention: if you are listening to music with the MP3 Pla- the mobile phone and the BT1 unit. If the mobile phone is yer of your mobile phone, you will not be able to use the connected via the GPS Sat-Nav, the mobile phone featu- “Dial last number”...
- Page 10 You can even use the buttons on the BT1 unit to control the munications (Intercom, music or two way radiotransceiver). following play options: Once the GPS communications have ended, all other com- munications are automatically reenabled. Play, Pause, Forward and Backward.
-
Page 11: Using The Wired Audio Input
Your Midland BT1 is also fitted with a wired audio input (labe- To communicate via the attached radio, press the transmis-... - Page 12 Your BT1 is now in Enter the Setup mode: “Set up mode”. › Switch your BT1 off. Press and hold down the central but- 2. Briefly press the “AUX” button once, the red indicator will ton (Intercom/on) until the red light switches on permanen- turn to steady Blue tly.
-
Page 13: Recommendations For Specific Uses
The section that follows, provides a few useful suggestions on Attention: It is not possible to share music if the source how to achieve maximum performance from your BT1 unit. is Bluetooth Stereo (A2DP) Using a PMR446 transceiver with the Intercom feature... -
Page 14: Light And Sound Signals/Unit Functions
LIGHT AND SOUND SIGNALS LED indication Status GENERAL None Unit is switched off or full charged when connected to the power supply Single Blue flash every 3 seconds Unit being turned on/ Unit in working mode Triple red flash Unit being turned off Single Blue flash every 3 seconds Standby Single Red flash every 3 seconds... - Page 15 While in Setup mode, press the phone button until the LED light flash Red and Blue alternately Pairing the BT1 pillion’s device While in Setup mode, press the Volume + on one unit (the light will flash Red and Blue alternately), press the Volume - on the other unit (the light will flash Red and Blue alternately).
- Page 16 While in Setup mode, press short the AUX buttons (blue light on). Now, press “Volu- Change VOX sensitivity or disable it me +” or “Volume -“to increase or reduce sensitivity. Press again the AUX button to confirm the new setting and go back to the SETUP mode (Red light always on). Blue light flashing: Once = VOX disable Twice = very low sensitivity...
Need help?
Do you have a question about the BT1 and is the answer not in the manual?
Questions and answers