Advertisement
Quick Links
Advertisement

Summary of Contents for Wisenet SmartCam D1
- Page 1 SmartCam D1 Installation Guide Part 1: Doorbell Setup...
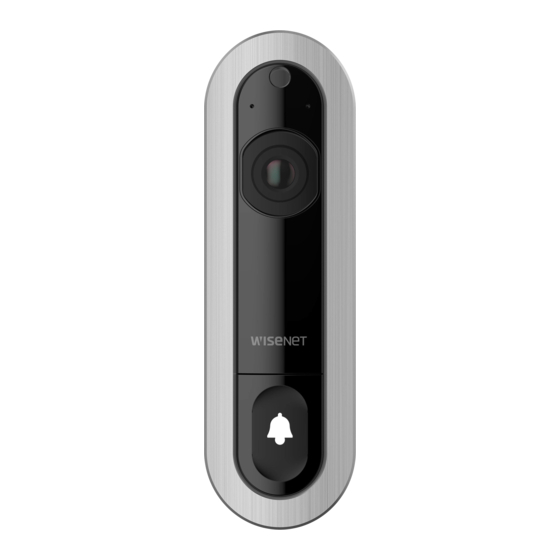
- Page 2 SmartCam D1 Overview Thank you for purchasing the SmartCam D1 Video Doorbell. To get you started with your doorbell, please follow the steps below. Check page 3 to see the list of compatible chimes. Follow the instructions on pages 7-8 to connect the Power Stabilizer Kit to your existing mechanical/electrical chime.
- Page 3 ※ Check the compatibility list below before installation. Most mechanical chimes share the same composition except for chimes with special functions. ※ To find out the latest compatible chime list with Smartcam D1, check out the FAQ. (www.wisenetlife.com>Support > SNH-V6435DN > FAQ) Compatible chime...
-
Page 4: What's In The Box
* Power Stabilizer Kit for Mechanical/Electrical Chimes Warranty Card / Faceplate (Gold/Silver/Black) GPL License / Quick Start Guide Power Stabilizer Power Stabilizer Screw Driver / SmartCam D1 Cable Connectors (Terminal Blocks) Drill Bit * Power Extension Kit Power Stabilizer Security Screws / Power Extender Connectors... -
Page 5: System Requirements
System Requirements Wi-Fi 802.11 a/b/g/n/ac (2.4GHz / 5GHz) iOS 8 or higher Requires existing hardwired Mechanical/ Electrical chime bell. Recommended : 2.5Mbps or higher Android OS 5.0 or higher Requires wiring to a 16-24 VAC Transformer. - Page 6 SmartCam D1 Overview Faceplate Illumination Sensor Microphone Wi-Fi Direct Button Reset Button LED Status Indicator Power Input Bell Button Speaker Hole...
- Page 7 Connecting the Power Stabilizer to the Chime ※ To see the video installation guide, go to www.wisenetlife.com > Products > SmartCam > SmartCam D1(SNH-V6435DN) > “Video” tab. Open the cover on your existing chime. Open the "Power Stabilizer Kit" and insert the wire Use a screwdriver to loosen the screws on the [FRONT] connector into the Power Stabilizer Box.
- Page 8 Connecting the Power Stabilizer to the Chime Connect Power Stabilizer to Chime Repeat Step 4 for the [Trans] cable. Put the chime cover back on once you are finished. Pull up the orange levers on the terminal block. Make sure to tuck the cables and Power Stabilizer box into Insert the Power Stabilizer cable into one of the an open space within the chime before putting the cover slots and push the orange lever back down.
-
Page 9: Mounting The Smartcam D1
Mounting the SmartCam D1 Use a screwdriver to remove your existing doorbell. Disconnect the wires from Mark the position of the mounting holes for your new doorbell. behind the doorbell carefully. - Page 10 Mounting the SmartCam D1 Drill the holes about 1.2 inches deep into the wall. (Recommended Drill Bit size is 0.2 Unscrew one of the power terminals on the back of your SmartCam D1, and wrap inches) the existing wiring from your doorbell around the terminal, and then tighten the screw.
- Page 11 Screw the SmartCam D1 tightly into the wall. lever back down. Make sure to remove the faceplate attached to your SmartCam D1 to access the mounting holes. Insert the new power cable from the doorbell to the other slot and pull the lever back down in place.
- Page 12 Mounting the SmartCam D1 Check the diagrams below to make sure the Power Stabilizer and SmartCam D1 are properly installed. Trans Trans 110V 110V Transformer Transformer 16V~24V/10VA Front Front Power 16V~24V/10VA Stabilizer Home chime Home chime Front Front door door <Before>...
- Page 13 Follow the instructions in Part 2 (App Guide) to set up Save your Account and Device information here. Select your doorbell chime type. your account and doorbell. Go to the app home screen and locate SmartCam D1 Setting ; General Tap the Chime bell type.
- Page 14 SmartCam D1 Registration & Setting Once you are finished with the in-app setup for the SmartCam D1, attached the face- Tighten the screw on the bottom of the SmartCam D1 body to secure the faceplate. plate back on.
- Page 15 LED Status Guide Bell LED Status Guide Searching for available Wi-Fi network Blink Slowly dims up & down Connected to Wi-Fi repeatedly for 10-sec network Normal Status Booting up when a person is detected. Connected to Server / Setup Completed Booting Blinks 3-4 times with Blinks every 10...


Need help?
Do you have a question about the SmartCam D1 and is the answer not in the manual?
Questions and answers