Advertisement
Pre-Assembly:
•
Please read all instructions carefully before
beginning assembly
•
This table requires two people to do the
assembly.
•
Do not fully tighten all bolts until all parts are in
place. Failure to follow these instructions may
cause the bolts to misalign or may cause
difficulty during assembly.
•
Use the parts and hardware lists to identify and
separate each of the components included.
•
Save all packing materials until the table is fully
assembled to avoid accidentally discarding any
small parts or hardware.
Parts Included:
(1) Tabletop - A
Hardware Included:
(12) Flat Washer - D
(4) Nut - H
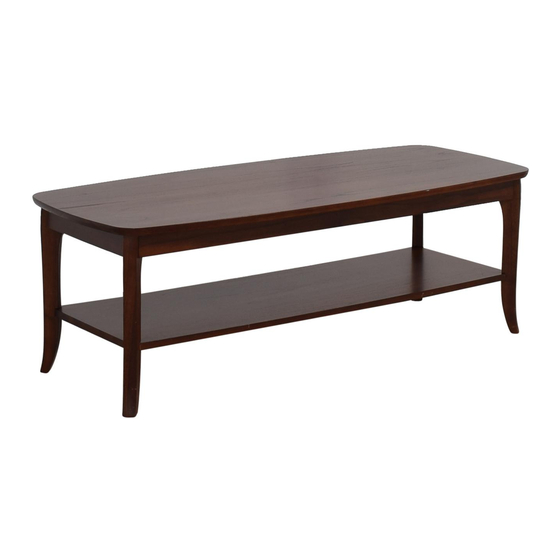
Chloe Coffee Table
(1) Shelf – B
(12) Lock Washer - E
(4) Fitting - I
1/5
(4) Legs - C
(8) Allen Head Bolt
(M6 x 60 mm)- F
(1) Allen Wrench (3 mm
thickness) - J
(1) Allen Key - G
Advertisement
Table of Contents

Related Manuals for Pottery Barn Chloe


Summary of Contents for Pottery Barn Chloe
- Page 1 Chloe Coffee Table Assembly Instructions Pre-Assembly: • Please read all instructions carefully before beginning assembly • This table requires two people to do the assembly. • Do not fully tighten all bolts until all parts are in place. Failure to follow these instructions may cause the bolts to misalign or may cause difficulty during assembly.
- Page 2 Assembly Instructions: 1. Insert the hanger bolt pre-connected to the leg (C) into the pre-drilled corner hole of the shelf (B). Insert fitting (I), flat washer (D), lock washer (E), and nut (H) into the bolt. Use hand to secure. DO NOT FULLY TIGHTEN AT THIS TIME.
- Page 3 3. Turn the assembled leg and shelf up and attach one leg (C) to the shelf from underneath as shown. Insert fitting (I), flat washer (D), lock washer (E), and nut (H) into the bolt. Use hand to secure. DO NOT TIGHTEN FULLY AT THIS TIME.
- Page 4 5. Lay the tabletop (A) upside down on a carpeted or scratch-free work surface (the foam shipped in the carton box works well). Attach the legs with the shelf by aligning the legs with the corner braces on the tabletop (A). (Fig.
- Page 5 7. Use the Allen wrench (J) to tighten the nuts (I). (Fig. 7) Fig. 7 Loosen Tighten Loosen Tighten 8. Grip the table on both ends and carefully turn upright. Assembly is complete. (Fig. 8) Fig. 8 Care Instructions: • For daily cleaning, wipe with a soft damp cloth.
Need help?
Do you have a question about the Chloe and is the answer not in the manual?
Questions and answers