Table of Contents

Summary of Contents for Sunny Health & Fitness SF-BH6506
-
Page 1: User Manual
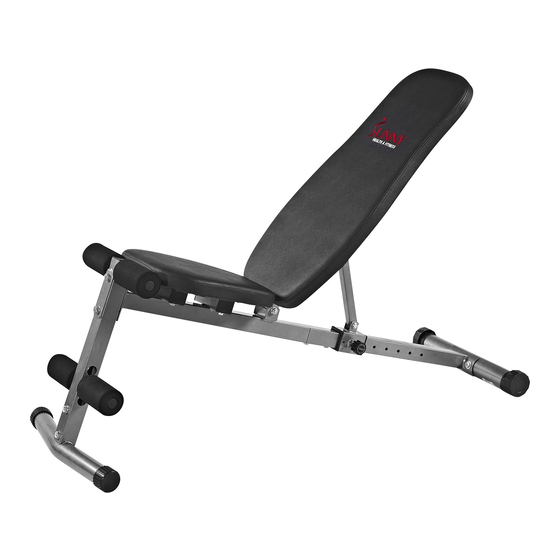
FLAT/INCLINE/DECLINE BENCH SF-BH6506 USER MANUAL IMPORTANT: Read all instructions carefully before using this product. Retain owner’s manual for future reference. For customer service, please contact: support@sunnyhealthfitness.com... -
Page 2: Important Safety Information
IMPORTANT SAFETY INFORMATION We thank you for choosing our product. To ensure your safety and health, please use this equipment correctly. It is important to read this entire manual before assembling and using the equipment. Safe and effective use can only be achieved if the equipment is assembled, maintained and used properly. -
Page 3: Exploded Drawing
EXPLODED DRAWING... -
Page 5: Assembly Instructions
ASSEMBLY INSTRUCTIONS STEP: 1 Attach the Upright Extension (No. 4) to the Rear Stabilizer (No. 5) using 2 Bolts and Washers (No. 17). Tighten and secure with Spanner Wrench. STEP: 2 Attach 2 Stabilizer End Caps (No. 14) to the Front Stabilizer (No. 1). Attach the Main Frame (A) (No. - Page 6 STEP: 3 Slide the Slide Collar (No. 8) on the Main Frame (A) (No. 2), push the collar backwards until the hole facing outward (shown above), aligns to one of the holes along the main frame. Secure the Slide Collar (No. 8) in place using the Pull Pin (No. 13). Insert Main Frame (B) (No.
- Page 7 STEP: 5 Attach the bottom end of the Support Bar (No. 7) to the “U” bracket located on the top of the Slide Collar (No. 8) using 1 set of Bolt, Washer & Nut (No. 18). Tighten and secure with Spanner Wrench. Secure the Back Support Frame (No.
- Page 8 STEP: 6 Align the Back Pad (No. 11) to the Back Pad Support Frame (No. 6) and secure together using 4 sets of Bolts & Washers (No. 20). Tighten with Spanner Wrench. Align the Seat (NO.10) to the connection posts located on the Main Frame (B) (No. 3) and secure together using 4 sets of Bolts &...
-
Page 9: Bench Positions
BENCH POSITIONS DECLINE POSITION 30 DEGREE INCLINE 25 DEGREE INCLINE 45 DEGREE INCLINE 40 DEGREE INCLINE 55 DEGREE INCLINE 50 DEGREE INCLINE... -
Page 10: Maintenance
MAINTENANCE IMPORTANT: Safe and effective use can only be achieved if the equipment is assembled, maintained and used properly. It is your responsibility to ensure that the equipment is maintained regularly. Any components found to be worn and/or damaged should be replaced before continuing use of the equipment.


Need help?
Do you have a question about the SF-BH6506 and is the answer not in the manual?
Questions and answers