
Related Manuals for Sunny Health & Fitness SF-BH6503


Summary of Contents for Sunny Health & Fitness SF-BH6503
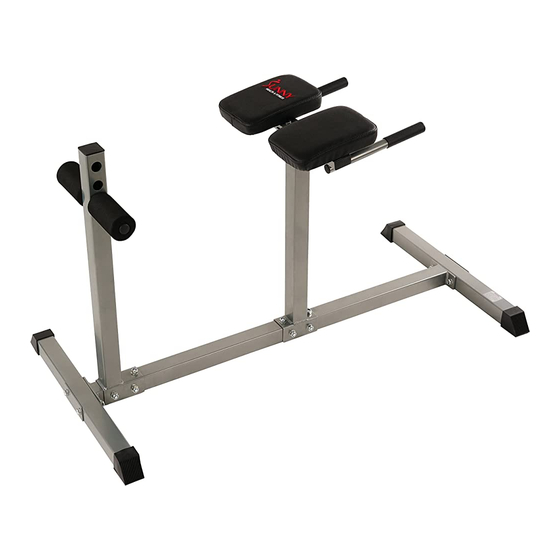
- Page 1 ROMAN CHAIR SF-BH6503 USER MANUAL IMPORTANT: Read all instructions carefully before using this product. Retain owner’s manual for future reference. For customer service, please contact: support@sunnyhealthfitness.com...
-
Page 2: Important Safety Information
IMPORTANT SAFETY INFORMATION We thank you for choosing our product. To ensure your safety and health, please use this equipment correctly. It is important to read this entire manual before assembling and using the equipment. Safe and effective use can only be achieved if the equipment is assembled, maintained and used properly. -
Page 3: Exploded Drawing
EXPLODED DRAWING... -
Page 4: Parts List
PARTS LIST TOOLS SPANNER WRENCH 2 PCS... - Page 5 ASSEMBLY INSTRUCTIONS STEP: 1 Attach the Front Upright (No. 3) to the Main Frame (No. 1) using 2 Bolts (No. 9), 2 Bolts (No. 10), 6 Washers (No. 13) and 4 Nuts (No. 15). Tighten and secure with Spanner Wrench. Attach the Rear Upright (No.
- Page 6 STEP: 2 Secure Washers (No. 13) onto Bolts (No. 9). Place the Support Plate (No. 16) against the Stabilizer (No. 2) and align the holes. Next, insert Bolts (No. 9) containing Washers (No. 13) through the Support Plate (No. 16) and Stabilizer (No. 2) (as shown above in the diagram). Place the Stabilizer (No.
- Page 7 STEP: 3 Attach the Handle Assembly (No. 5) to the Front Upright (No. 3) using 2 Bolts (No. 11), 2 Washers (No. 13) and 2 Nuts (No. 15). Tighten and secure with Spanner Wrench. Insert the Foam Roller Tube (No. 6) through one of the holes located at the top of the Rear Upright (No.
- Page 8 STEP: 4 Attach the Support Pads (No. 7) to the Handle Assembly (No. 5) using 4 Bolts (No. 12), and 4 Washers (No. 14). Tighten and secure with Spanner Wrench. The assembly is complete!
-
Page 9: Maintenance
MAINTENANCE IMPORTANT: Safe and effective use can only be achieved if the equipment is assembled, maintained and used properly. It is your responsibility to ensure that the equipment is maintained regularly. Any components found to be worn and/or damaged should be replaced before continuing use of the equipment.
Need help?
Do you have a question about the SF-BH6503 and is the answer not in the manual?
Questions and answers