Advertisement
Advertisement
Table of Contents

Related Manuals for ISDT D2


Summary of Contents for ISDT D2
- Page 1 Tnbsu!Dibshfs Pqfsbujoh!Jotusvdujpot Wfs!2/2/2817...
- Page 2 Jouspevdujpo E3-!b!cvjmu!jo!QTV!BD.ED!evbm!tnbsu!dibshfs-!eftjhofe!cz!JTEU Qmfbtf!wjtju!;!xxx/jteu/dp!gps!npsf!efubjmt!po!uif!gvodujpot!pg!uijt!tnbsu!dibshfs-! bt!xfmm!bt!qvsdibtf!wbsjpvt!bddfttpsjft/! Gvodujpot!pg!qspevdut!xjmm!cf!lfqu!po!vqhsbejoh-!uif!nbovbm!jo!zpvs!iboe!nbz! cf!ejggfsfou!gspn!uif!bduvbm!pqfsbujpo<!qmfbtf!sfgfs!up!uif!bduvbm!gvodujpot/! Uijt!vtfs!hvjef!vqebuf!ebuf!jt!Kvof!31-!3128/ Sfwpmvujpo!Tubsut!Ifsf Joopwbujwf!sfgpsn-!Gsjfoemz!up!vtf...
- Page 3 Dpoufout Xbsojoht!boe!Tbgfuz!Ujqt! Qspevdu!Qbsbnfufst!boe!Dibsbdufsjtujdt Efgbvmu!Cbuufsz!Uzqf!pg!Dibshfs!boe!Ubtl!Qbsbnfufst Ipx!up!Dpogjsn!Dibshjoh!Dvssfou Ubtl!Tfuujoh Pqfsbujwf!Tljmmt Xpsljoh!Qbsbnfufst!Ejtqmbz Tztufn!Efgbvmu Uspvcmftippu Qspevdu!Rvbmjgjdbujpo!Efdmbsbujpo...
- Page 4 Keep the charger away from dust, humidity, rain and high temperature, as well as avoid direct exposure to the sun and intense vibration. Make sure input voltage for D2 is AC 100-240V. Please place the charger on a heat-resisting, non- ammable and insulating surface. Do not use it by placing it on the car’s seats, carpet or other similar places.
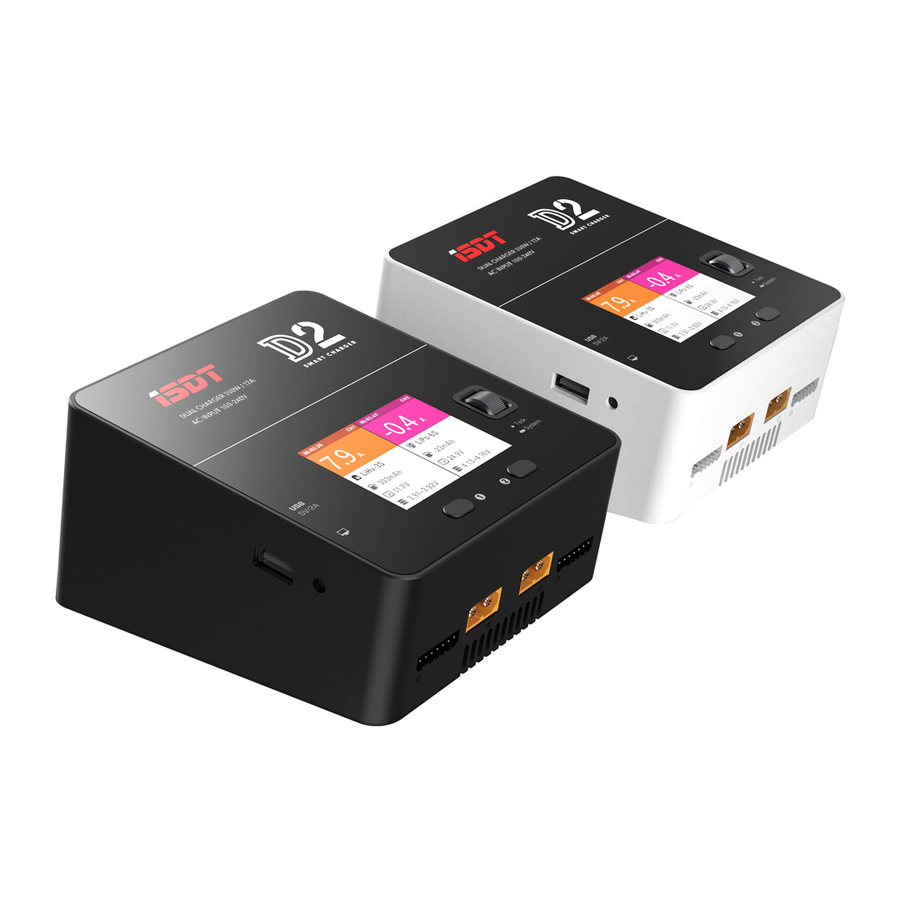
- Page 5 Product Parameters and Characteristics Thank you for purchasing the ISDT D2 Charger. This Manual will guide you how to use D2 and its important functions. You can know more about relevant information of IDST products by following this link: www.isdt.co...
-
Page 6: Speci Cations
Product Parameters and Characteristics 108MM 70MM 120MM 47MM Speci cations: Joqvu!Wpmubhf; BD!211.351W Tvqqpsufe!Cbuu/!Uzqf; MjGf0Mjmpo0MjQp0MjIw!)2.7T* Dibshf!Dvssfou; 1/2.23/1B!+3 OjNI0De)2.27T* Ejtdibshf!Dvssfou; 1/2.4/1B!+3 Qc)2.23T* Nby!Dibshf!Qpxfs; 311X Ejtqmbz; 3/5:431y351!JQT!MDE Nby!Ejtdibshf!Qpxfs; Pqfsbujoh!Ufnqfsbuvsf; 6X!+3 1.51ˇD Cbmbodf!Dvssfou; 2B0dfmm!+3 Tupsbhf!Ufnqfsbuvsf; .31.71ˇD Cbmbodf!Dfmmt; 2.7T!+3 Ejnfotjpot; 231y219y81!nn Xfjhiu; 621h... - Page 7 Default Battery Type of Charger and Task Parameters NiCd/NiMH LiFe Lilon LiPo LiHv Rated Voltage 1.20V 2.00V 3.20V 3.60V 3.70V 3.80V Full Charge Voltage 1.40V 2.46V 3.65V 4.10V 4.20V 4.35V Storage Voltage Not supported Not supported 3.30V 3.70V 3.80V 3.85V Discharge Voltage 1.10V 1.90V...
- Page 8 How to Con rm Charging Current It is very important to know the maximum charging current of the battery as excessive current could in uence the life span of battery and/or cause damages. In addition, excessive current can cause heating and/or explosion of the battery during the charging process. The charging and discharging capacity of battery is usually marked with C value.
- Page 9 Task Setting Sfdpnnfoefe!Wpmubhf! Foe.wpmubhf!tfuujoh Connect the charger to the power supply and wait for the system to complete the self testing. Connect the battery to the charger under standby interface, and short press the shuttle key to make the task setting menu to pop up. The items in the menu are as follows: Ubtl Tfmfdu!ubtl!dpoufout;!Dibshf-!Ejtdibshf-!Tupsbhf Cbuufsz!uzqf...
- Page 10 Task Setting The working mode of the charger is series charging; you must therefore connect it to the output line of the battery while charging. For a lithium battery, it is highly suggested that the balanced interface should be connected to carry out balanced charging to accurately monitor the voltage of each cell and balance the ones with bad consistency.
- Page 11 Task Setting Since the way of internal resistance measurement varies, it cannot be realized to measure the absolute value as professional internal resistance tester does. Therefore, the internal resistance value can only be referred to when conducting horizontal comparisons, such as judging the consistency of the cells’...
- Page 12 Task Setting Tjnvubofpvtmz!dibshjoh!jo!cpui!diboofmt While two batteries are the same type and same cells, complete charging setting. press bothselect button to initiate task. Both channels operate under same parameters and would be assigned 50/50 from total power. Qpxfs!ejtusjcvujpo single channels operation can reach 200w both channels simultaneously initiate task would get 100w for each both channels non-simultaneous initiate task, the channel which initiate later will get 150w, if task needs less than150w, remaining power will go into the other channel automatically.
- Page 13 Operative Skills Tqffe!Tivuumf Tfmfdu!Cvuupo 1. during operation, short press select-button to adjust charging/discharging current; 2. long press select-button, to quick stop current operation or to enter setting menu for corresponding channel; 3. While two batteries are the same type and same cells, complete charging setting. press both select-button simultaneously to initiate task.
- Page 14 Working Parameters Display Task operation time Device Name Current channel Present current Capacity charged Battery type – string number Current task status Cell voltage Gbtu!Dibshjoh Scroll the shuttle key during operation can switch the display information in the lower half of the screen, which are cell voltage, cell internal resistance and working parameter.
- Page 15 Working Parameters Display Device Name Pqfsbujpo!Ujnf Qsftfou!Dvssfou Dbqbdjuz!Dibshfe Cbuufsz!qbsbnfufst!' Pqfsbujpo!Tubuvt Sftjtubodf!pg!fbdi!dfmm Gbtu!dibshjoh!dpnqmfuf Pqfsbujpo!Ujnf Obnf!pg!zpvs!R7, Qsftfou!Dvssfou Dbqbdjuz!Dibshfe Cbuufsz!qbsbnfufst!' Pqfsbujpo!Tubuvt Gjojtife!dibshjoh!! pvuqvu!wpmubhf0qpxfs QDt!pg!cbuufsjft!bgufs!cppu Gjojtife!dibshjoh!QDt! pqfsbujoh!ufnqfsbuvsf pg!cbuufsjft!jo!hsboe!upubm Qsfdjtf!Cbmbodf!Dibshjoh...
- Page 16 Tztufn!Efgbvmu Long press the shuttle key in standby interface to make the system default menu pop up, and the items are as follows: Cbdlmjhiu Cbdlmjhiu!bekvtunfou;Ijhi-Njeemf-Mpx!boe!Bvup Wpmvnf Cv{{fs!wpmvnf!bekvtunfou;Ijhi-!Njeemf!-Mpx'PGG Dpnqmfujpo!Upof Dpnqmfujpo!Upof;Tjohmf!ujnf!boe!Sfqfbubcmf!ujnf Tqmju!Ejtqmbz Nbjo!qbhf!evbm!diboofm!ejtbqmbz!Nbovbm!boe!Bvup Mbohvbhf Tztufn!mbohvbhf!tfuujoh Gjsnxbsf!Tibsjoh tibsf!gjsnxbsf!xjui!bopuifs!efwjdf Tztufn!Jogpsnbujpo Tztufn!jogpsnbujpo-!Gjsnmz!wfstjpo Tztufn!Tfmg.difdljoh Tztufn!tfmg.difdljoh Cbdl Tbwf!bmm!tfuujoh!boe!fyju!Tztufn!tfuujoh Buzzer volume: the default is OFF, the operation sound would be blocked, but not the sound of error warning.
- Page 17 Uspvcmftippu Error in power on self-testing: the charger can automatically carry out a self-testing when connected to a power supply. A self-testing error warning sound should be heard when the charger is connected to the battery; power on after removing the battery for 5 minutes. Error for abnormal battery connection: pull out and plug in the battery again to ensure all connections are reliably contacted;...
- Page 18 Qspevdu!Rvbmjgjdbujpo!Efdmbsbujpo D2 smart charger conforms to relevant EC command and relevant commands in B: 2010, CHAP- TER 15, FCC Testing standards Result EN 61000-6-3:2007 + A1:2011 EN 61000-6-3:2007 For electronic products with this marking in their manuals, please separately dispose them with family garbage.
- Page 19 XXX/JTEU/DP Nbovgbduvsfs Shenzhen ISD Technology CO.,LTD Address:!Rm 302, Building 11th, Pingshan Creative Industry Park, Pingshan 1 Road, Nanshan District, Shenzhen, PRC Email:hi@isdt.co Changes in speci cations and data will not be further noticed.
Need help?
Do you have a question about the D2 and is the answer not in the manual?
Questions and answers