Table of Contents
Advertisement
Quick Links
Advertisement
Table of Contents

Summary of Contents for SOUNDMASTER PL200
- Page 1 DEUTSCH PORTUGUÊS ENGLISH NORSK FRANÇAIS DANSK NEDERLANDS SVENSKA ITALIANO SLOVENSKÝ ESPANOL ČEŠTINA Hersteller Wörlein GmbH Tel.: +49 9103/71670 Gewerbestrasse 12 Fax.: +49 9103/716712 D 90556 Cadolzburg Email. info@woerlein.com GERMANY Web: www.woerlein.com PL200...
- Page 2 Safety, Environmental and Setup Instructions The mains plug or an appliance coupler is used ENVIRONMENTAL PROTECTION as the disconnect device, the disconnect devices Do not dispose of this product with the normal household waste at the end of its life cycle. Return it to a collection shall remain readily operable.
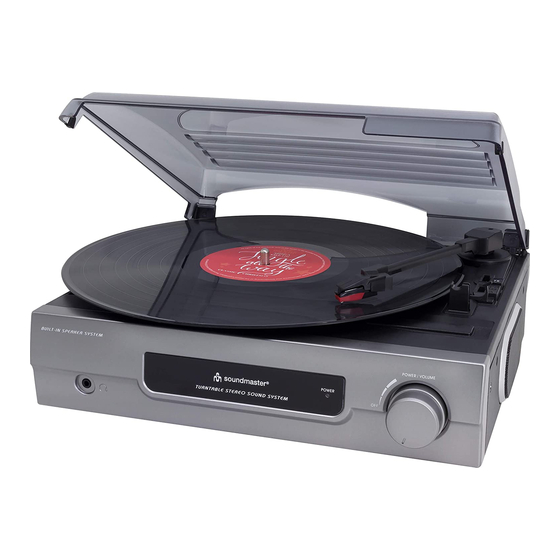
- Page 3 PL200 / English Instruction Manual LOCATIONS OF CONTROLS Dust cover Left speaker 3.5mm headphone jack Power LED indicator Power on/off/ volume knobs Right speaker Spindle adaptor Turntable speed selector Tone arm rest Line out socket Auto stop switch AC cord Care and maintenance ...
-
Page 4: Getting Started
PL200 / English Instruction Manual GETTING STARTED 1. Unpack all parts and remove protective material. 2. Do not connect the unit to the mains before checking the mains voltage and before all other connections have been made. 3. Do not cover any vents and make sure that there is a space of several centimeters around the unit for ventilation. -
Page 5: Technical Specifications
PL200 / English Instruction Manual PHONO Note: Remove the stylus protector. Be sure that the tone arm is being detached from the tone arm rest before operating and re-secured again afterwards. 1. Turn on the system until the “ power LED “ light up 2.


Need help?
Do you have a question about the PL200 and is the answer not in the manual?
Questions and answers