Table of Contents
Advertisement
Quick Links
Advertisement
Table of Contents

Related Manuals for RIKA BACK


Summary of Contents for RIKA BACK
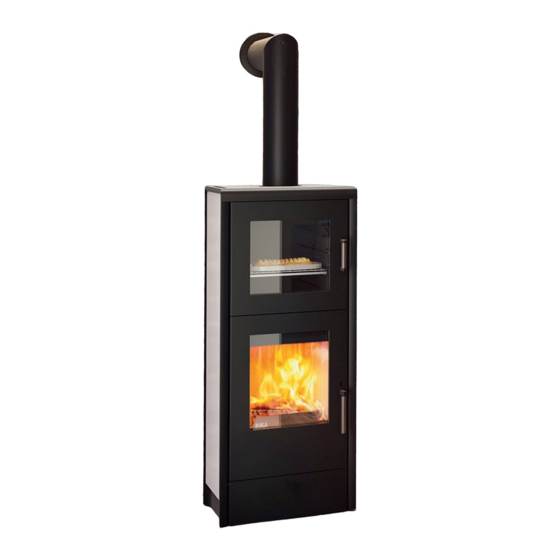
- Page 1 BACK Operating manual...
-
Page 2: Table Of Contents
Combustion air ............................................11 Feeding in external combustion air ..................................11 5. ASSEMBLY DISMANTLING PANELS AND OPTIONS Assembly / dismantling panels ....................................12 Converting to rear flue pipe connection ................................12 6. MANUAL OPERATION RIKA firelighter ............................................13 Combustion air regulation ......................................13 Refilling ................................................14... -
Page 3: Preface
7. CLEANING AND MAINTENANCE Basic information ..........................................15 Cleaning the combustion chamber ..................................15 Empty the ash drawer ........................................15 Cleaning painted surfaces ......................................15 Cleaning the door glass ........................................15 Cleaning the oven ..........................................15 Cleaning the convection air openings ................................16 Combustion air - intake ........................................16 Cleaning the flue pipes ........................................ -
Page 4: Spare Part Overview Exploded Diagram
Spare part overview exploded diagram... -
Page 6: Spare Part Overview Article Numbers
Spare part overview article numbers Nr. Art.Nr. Description Nr. Art.Nr. Description Nr. Art.Nr. Description B18407 Decorative door Z37182 Doorglass oven Right side panel black B18416 cpl. N100475 Flat packing white 8x2 L00475 Glass holder Side panel glass black Z37178 Decorative glass Door handle fillister B18423 N108830... -
Page 7: Dimensions
Dimensions Amount of Fuel RO-S=R-S Nominal load Part load Amount of fuel ~2,2kg* ~1,1kg* RO-T2 Oven temperature ~300 °C ~150 °C RO-T3 *Practical values may vary depending on wood quality. Technical data Technical data Heating power range [kW] Room heating capacity (depending [m ] on house insulation) Fuel consumption... -
Page 8: Important Information
The hardening of the paint is finished after the first as well as the regulations and rules applicable locally. heating with high power. RIKA stoves should only be installed in rooms with normal humidity Safety distances (dry areas according to VDE 0100 Part 200). The furnaces are not splash water protected and may not be installed in wet areas. -
Page 9: Prior To Set Up
Stoves type 1 (BA 1): Prior to set up Suitable for multiple occupancy. (Note the different country Floor bearing capacity regulations.) Ensure that the substructure is capable of bearing the weight of the These may only be operated with the combustion chamber door stove prior to set-up. -
Page 10: Brief Information On Combustible Logs
3. BRIEF INFORMATION ON COMBUSTIBLE LOGS Suitable fuels and fuel amounts Output controlling Your stove is generally suitable for burning dry firewood. You can The output of your stove is regulated manually or via the Rikatronic- also burn combustibles such as wood briquettes. control. -
Page 11: Installing The Stove
Ø50mm (pellet stoves) and fix it with a hose this cardboard or carpet. clamp (not included!). At pellet stoves with longer intake pipes than 1m the diameter should be increased to 100mm. (see RIKA We recommend original flue pipes from RIKA for proper connection. range). -
Page 12: Assembly Dismantling Panels And Options
5. ASSEMBLY DISMANTLING PANELS AND OPTIONS Converting to rear flue pipe connection Note Only work on the unit when the mains plug has been disconnected (to be ordered separately) and the stove has cooled down completely. Lift the top straight up and remove the rear wall. Note During any conversion work, take particular care of your fingers and any panels and stove attachments. -
Page 13: Manual Operation
RIKA firelighter Always ignite the RIKA firelighter on the red tip. One block consists out of 8 ribs which can be divided to the desired size. The amount of RIKA firelighters also depends on the size and humidity of your firewood. -
Page 14: Refilling
Please proceed in the same way for every further addition of wood. 2. Now place further pieces of chipboard in crosswise layers on top of the logs and place 2-4 ribs of the RIKA-firelighter on top of the chipboard. Some uncoated paper can be placed underneath the chipboard in case there is no firelighter available. -
Page 15: Cleaning And Maintenance
7. CLEANING AND MAINTENANCE Basic information Empty the ash drawer Empty the ash drawer regularly. The ash drawer is simply pulled Note forward with the combustion chamber door open. When you vacuum clean around the stove ensure that you do not vacuum into the combustion air intake during heating operation. -
Page 16: Cleaning The Convection Air Openings
Cleaning the convection air openings Cleaning the flue pipes Vacuum clean any dust deposits from the convection air openings annually! at regular intervals. Remove the flue pipes. Inspect and clean the chimney connection. The stove should be cleaned thoroughly prior to the start of the Brush off any soot and dust deposits in the fire and in the flue pipes heating season to prevent excess odour. -
Page 17: Problems Possible Solutions
8. PROBLEMS POSSIBLE SOLUTIONS Problem 1 Problem 2 Fire burns with weak, orange flame, window is sooted up. Stove smells strongly and / or fumes are emitted. Cause(s) Cause(s) Poor chimney draught Burning-in phase (taking into service) Damp wood Stove has accumulated dust and/or dirt Possible solution(s) Incorrect heating up Wait to end of burning-in phase and vent sufficiently... -
Page 19: Guarantee
In case of doubt as well as missing or incorrect translations, the German version is the only valid one. For the purpose of timely damage limitation, the warranty claim on the part of the claimant is to be enforced at the RIKA dealer in writing using the invoice and stating the purchase date, model name, serial number and reason for complaint. - Page 20 RIKA Innovative Ofentechnik GmbH Müllerviertel 20 4563 Micheldorf / AUSTRIA Tel.: +43 (0)7582/686 - 41, Fax: -43 Technical and design changes, as well as typesetting and printing errors reserved E-Mail: verkauf@rika.at www.rika.at © 2017 | RIKA Innovative Ofentechnik GmbH...
Need help?
Do you have a question about the BACK and is the answer not in the manual?
Questions and answers