Advertisement
Quick Links
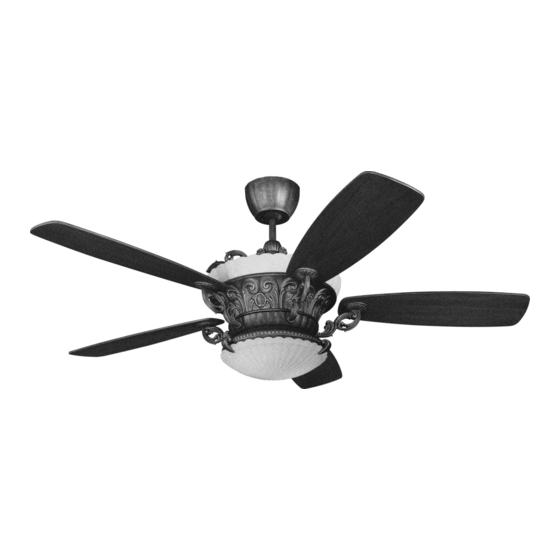
Owner's Guide and Installation Manual
5SBR56XXD-L Series Fan
UL Model No. : AC-556LF4000
Attach sales receipt to this card and retain as your proof of purchase
RETAILER NAME:
DATE OF PURCHASE:
MODEL NUMBER:
To register your fixture, please visit our website www.montecarlofans.com
18.5 kgs
40.7 lbs
Total fan weight with light kit
Advertisement

Subscribe to Our Youtube Channel
Related Manuals for Monte Carlo Fan Company 5SBR56XXD-L Series


Summary of Contents for Monte Carlo Fan Company 5SBR56XXD-L Series
- Page 1 Owner’s Guide and Installation Manual 5SBR56XXD-L Series Fan UL Model No. : AC-556LF4000 Attach sales receipt to this card and retain as your proof of purchase RETAILER NAME: DATE OF PURCHASE: MODEL NUMBER: To register your fixture, please visit our website www.montecarlofans.com 18.5 kgs...
- Page 2 All set screws must be checked and tightened where necessary before installation. Tools Required for Assembly (not included): Electrical Tape, Phillips Screwdriver, Pliers, Safety Glasses, Stepladder and Wire Strippers. Customer Service 800-969-3347 Customer Service Center 7400 Linder Ave. Skokie, IL 60077 www.montecarlofans.com © 2011 Monte Carlo Fan Company 5/10/2012...
- Page 3 Loosen 2 screws and remove gate. Secure mounting neck to the mount- Lift mounting neck to mounting Plate Save gate for use later. ing plate with 6 screws to become and align screws. a complete mounting bracket. © 2011 Monte Carlo Fan Company 5/10/2012...
- Page 4 Install cross pin and save. Thread lead wires and safety cable downrod assembly into yoke. Install through downrod as shown. keeper into cross pin. © 2011 Monte Carlo Fan Company 5/10/2012...
- Page 5 2 screws. than one fan with remote. You can set the dip switches to lock in place. Re-install the removed different positiosns to have seperate control. screw and tighten all screws securely. © 2011 Monte Carlo Fan Company 5/10/2012...
- Page 6 A23 / GP 23A all 12V.Attach cover of remote Replace glass holder to hold glass in by placing over buttons and snap the battery place. cover in place. © 2011 Monte Carlo Fan Company 5/10/2012...
- Page 7 Place face plate over battery compartment and using machine screws provided. buttons. Place remote over 2 pins on front cover in place. cover. Attach cover of remote by placing over 4 pins and snaping into place. © 2011 Monte Carlo Fan Company 5/10/2012...
-
Page 8: Fan Speed
The light will cycle from bright to dim to bright until button is released. Light will maintain last setting if turned off. FORWARD/REVERSE Depress rev button allow a few seconds for remote to change rotation direction with fan running. © 2011 Monte Carlo Fan Company 5/10/2012... -
Page 9: Troubleshooting
Reset the lights by turning off the wall switch, breaker,or by remote. Replace bulbs with the correct wattage bulbs, turn the power on. CAUTION: Make sure main power is turned off before entering switch housing. © 2011 Monte Carlo Fan Company 5/10/2012... - Page 10 Jul.2013 Update for CUL regulation REV. 1 2/4/04 Step 8 in safety tips & step 2 page 2 & battery remote...
Need help?
Do you have a question about the 5SBR56XXD-L Series and is the answer not in the manual?
Questions and answers