Advertisement
metal vane + air flow
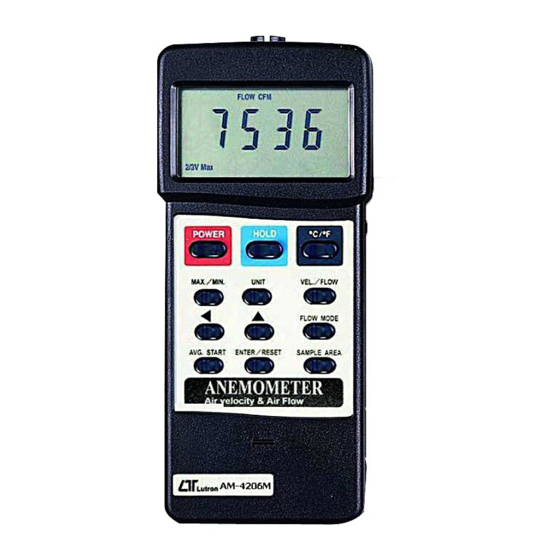
ANEMOMETER
Model : AM-4206M
Your purchase of this ANEMOMETER marks a step forward for
you into the field of precision measurement. Although this
METER is a complex and delicate instrument, its durable structure
developed. Please read the following instructions carefully and
always keep this manual within easy reach.
OPERATION MANUAL
Advertisement

Subscribe to Our Youtube Channel
Related Manuals for Lutron Electronics AM-4206M


Summary of Contents for Lutron Electronics AM-4206M
- Page 1 + air flow ANEMOMETER Model : AM-4206M Your purchase of this ANEMOMETER marks a step forward for you into the field of precision measurement. Although this METER is a complex and delicate instrument, its durable structure developed. Please read the following instructions carefully and always keep this manual within easy reach.
-
Page 2: Table Of Contents
TABLE OF CONTENTS 1. FEATURES............... 1 2. SPECIFICATIONS............2 2-1 General Specifications.........2 2-2 Electrical Specifications........3 A. Air velocity............3 B. Air flow............3 C. Temperature............ 3 3. FRONT PANEL DESCRIPTION........4 3-1 Display............4 3-2 Power Off/On Button........4 3-3 Data Hold Button..........4 conversion Button........ -
Page 3: Features
1. FEATURES * Metal vane pobe, heavy duty, wide range measurement. Air flow : CMM ( m^3/min. ) and CFM ( ft^3/min. ). Air velocity : m/s, ft/min, km/h, knots, mile/h. Air temperature: 3 air flow mode: instant, 2/3 V.max, Average. Low-friction ball vane wheels make sure high accuracy in high &... -
Page 4: Specifications
2. SPECIFICATIONS 2-1 General Specifications Circuit Exclusive one-chip of microcomputer LSI circuit. Display * 13 mm (0.5") Super large LCD display. * Dual functions display. Measurement Air velocity: m/s (meters per second) km/h ( kilometers per hour ), ft/min ( feet per minute ), knots ( nautical miles per hour ), mile/h ( miles per hour ), Air flow:... -
Page 5: Electrical Specifications
Data Output RS 232 PC serial interface. Power Supply Alkaline or heavy duty type DC 9V battery, 006P, MN1604 (PP3) or equivalent. Power Current Approx. DC 8.3 mA. Weight 381 g/0.84 LB, main instrument Dimension Main instrument : 180 x 72 x 32 mm Sensor head: Round, 72mm Dia. -
Page 6: Front Panel Description
3. FRONT PANEL DESCRIPTION Fig. 1 3-1 Display 3-11 AVG.START Button 3-2 Power Off/On Button 3-12 ENTER/RESET Button 3-3 Data Hold Button 3-13 SAMPLE AREA Button conversion Button 3-14 Probe Input Socket ℃ ℉ 3-5 MAX/MIN/. Record Button 3-15 RS232 Output Terminal 3-6 UNIT/ conversion Button 3-16 Battery/Compartment/ 3-7 VEL./FLOW Button... -
Page 7: Measuring Procedure
4. MEASURING PROCEDURE 4-1 Air Velocity Measurement 1) Install the " Probe Plug " into the " Probe Input Terminal " ( 3-14, Fig. 1 ). 2) Power on the meter by pressing the " Power OFF/ON Button " ( 3-2, Fig. 1 ). 3) Select VELOCITY measuring mode by pressing "... -
Page 8: Air Flow Measurement
Press again, " Min " symbol appears on the left down corner of the LCD and the Minimum value during recording procedure will displayed on the LCD at the same time. Press the MAX/MIN/. Button for around 3 seconds to exit Data Record mode. 4-2 Air Flow Measurement 1) Install the "Probe Plug"... - Page 9 Note : " " button Press one time to add one of the sparkled digit. " UNIT/ " button Press one time to decrease one from the sparkled digit. * " " button Press one time to select next digit. * "MAX/MIN/.
- Page 10 B. AVG mode : Under this mode you can average maximum 20 records by pressing the " AVG.START " button manually. You can see the average number from the right-bottom of LCD. The AVG formula listed as below: 1st Records +..+ Nth Records C.
- Page 11 Press again, " Min " symbol appears on the left down corner of the LCD and the Minimum value during recording procedure will displayed on the LCD at the same time. * Press the MAX/MIN/. Button for around 3 seconds to exit Data Record mode.
-
Page 12: Battery Replacement
Slide the Battery Cover ( 3-16, Fig. 1 ) away from the instrument and remove the battery. Install a 9 V battery (PP3 type) and replace the cover. 0507-AM-4206M...
Need help?
Do you have a question about the AM-4206M and is the answer not in the manual?
Questions and answers