Table of Contents
Advertisement
Advertisement
Table of Contents

Related Manuals for ReSound AVENTA 3.9


Summary of Contents for ReSound AVENTA 3.9
- Page 1 SMART HEARING ReSound Aventa ® fitting guide...
-
Page 2: Getting Started
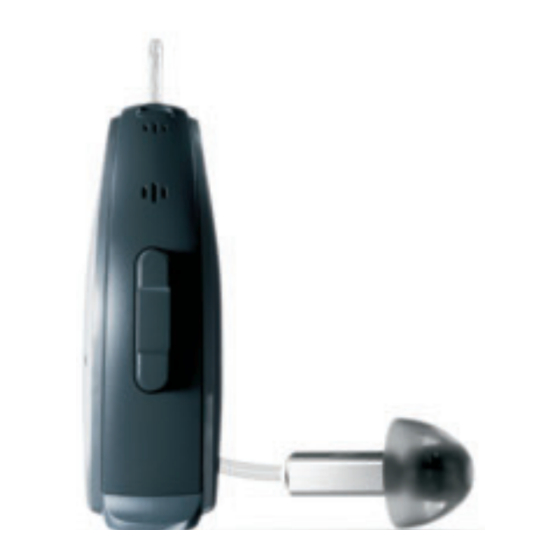
This fitting guide gives an overview of how to fit ReSound LiNX wireless hearing instruments with ReSound Aventa 3.9. A ReSound LiNX ® wireless binaural fitting is depicted. Not all features described in this fitting guide are applicable for LiNX 7 and 5 fittings. - Page 3 The hearing instruments will appear in the “Select Instruments” section. When all hearing instruments to be programmed have been discovered, click on “Beep” to identify each hearing instrument, and assign it as a right or left device. When each hearing instrument has been assigned, click “Continue”.
- Page 4 Click “Calibrate” to begin the calibration procedure. The progress of the calibration will be shown. Click “Continue” after calibration is completed. At this point, you may pair ReSound Unite accessories by clicking “Unite Accessories”, or proceed to the fitting by clicking “Continue”.
-
Page 5: Gain Adjustment
Fine-tune the hearing instruments Gain adjustment When the Fit screen is displayed, the hearing instrument gains and MPOs can be adjusted, and advanced features can be accessed. Maximum stable gain and Safe Fitting Once DFS Ultra II is calibrated, the Fit screen automatically opens with two shaded grey areas visible on the graph (in most cases). -
Page 6: Program Management
Directionality Binaural Directionality II uses ReSound’s 2.4 GHz wireless technology to allow the hearing instruments to work together, dynamically selecting the best microphone response for the listening environment. The result may be a bilateral omnidirectional,... - Page 7 (“On” and “Off”) are automatically grayed out. Sound Shaper Sound Shaper is ReSound’s proportional frequency compression system. Its default setting is “Off.” The recommended setting, based on the audiogram, is in bold typeface when the menu options are pulled down.
-
Page 8: Physical Properties
Audiogram+ fitting rationale. Other fitting prescriptions can be selected from the “Fitting” menu. To fine-tune a program, adjust the gain manually by using the gain handles or by using the ReSound Aventa Guide, where fine-tuning ®... - Page 9 Ear-to-Ear Communication ReSound supports ear-to-ear communication. The master LiNX switch to disable/enable this functionality can be found in the main menu under “Instrument.” The “Ear-to-Ear Communication” window keeps a continual record of the enabled Ear-to-Ear features. Tinnitus Sound Generator The default setting for Tinnitus Sound Generator (TSG) is off. When TSG is in the “Standard”...
-
Page 10: Summary Screen
Pre-Fit and the Fit screens. To pair ReSound Unite accessories with the hearing instruments, click “Add” and follow the instructions on the screen to put the selected accessory in pairing mode. Accessory pairing can also be... - Page 11 ReSound Aventa ® The Tinnitus Sound Generator (TSG) is now integrated into the ReSound LiNX family as a 2™ standard feature. There is no longer a separate TSG fitting guide TS product. TSG is available in the 9, 7 and 5 technology levels.
- Page 12 2. Set the TSG volume The volume of the TSG is set using the volume slider. The volume should be set to a level that provides relief, but does not completely mask the tinnitus. (Figure 4.) Below is a suggestion on how to first fit the TSG. It uses the threshold of audibility as a starting point.
- Page 13 The infor- mation in this fitting guide is designed to serve as suggested starting points, and can be modified as needed for individual patients. The trademarks listed are owned and used by The GN ReSound Group and its related affiliates. ©2015.
- Page 14 NOTES...
- Page 15 NOTES...
- Page 16 The trademarks listed are owned and used by The GN ReSound Group and its related affiliates. © 2015. Apple, the Apple logo, iPhone, iPad and iPod touch are trademarks of Apple Inc., registered in the U.S. and other countries.
Need help?
Do you have a question about the AVENTA 3.9 and is the answer not in the manual?
Questions and answers