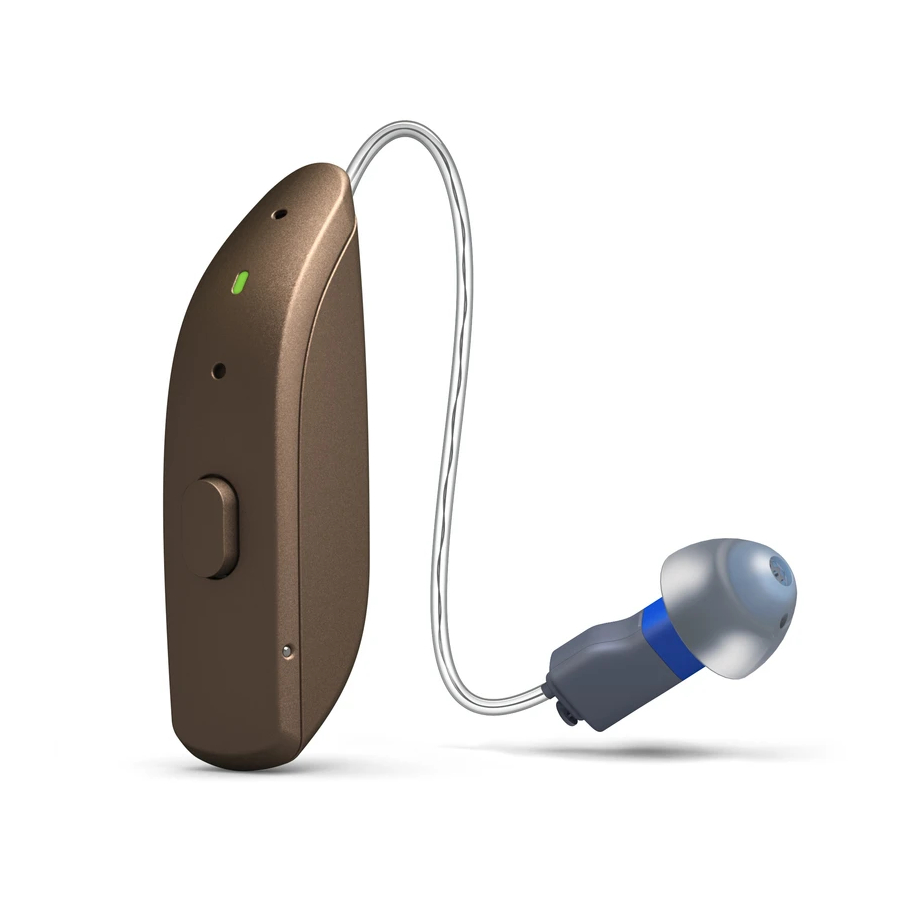
ReSound ONE Fittings Manual
Hide thumbs
Also See for ONE:
- User manual (68 pages) ,
- Manual (2 pages) ,
- Cable management manual (2 pages)
Advertisement
Quick Links
Advertisement

Summary of Contents for ReSound ONE
- Page 1 ReSound ONE Fitting flow FOR PROFESSIONALS...
- Page 2 • ReSound ENZO 3D Prior to connecting to ReSound Smart Fit ReSound ONE hearing aids can only be connected through wireless interface and cannot be connected with cables. Ensure that the aids are charged prior to connection. Note that they cannot be connected while in the charger.
- Page 3 Smart Launcher Both ReSound Aventa 3.16 and ReSound Smart Fit 1.8 are contained within one software installation. The Smart Launcher will detect both ReSound ONE and any ReSound Smart Fit hearing aids as well as ReSound Aventa legacy hearing aids, and then retrieve the software appropriate for the connected device.
- Page 4 Note: detectable receivers are not backwards compatible and can only be fitted with ReSound ONE hearing aids. Receiver detection works for all SureFit 3 receivers, including M&RIE. 3. Continue in the lower right of the screen once the hearing aids are selected and...
- Page 5 Connection flow Once the hearing aids have been selected the connection process will begin. 1. Select physical properties of the hearing aid. 2. Calibrate hearing aids to activate DFS Ultra III. If using M&RIE (MM) receivers, calibration is required in order to save the fitting. RT961-DRWC M&RIE 1 MM Receiver...
- Page 6 The new remote services feature can be found and activated in the ‘Assist’ tab on the Patient screen. If the user being fitted is a candidate for ReSound Assist the feature must be activated during the fitting in order to be active in the hearing aid and appear in the ReSound Smart 3D app.
- Page 7 Pairing wireless accessories The Accessories screen can be accessed via the connection flow at the final step, at the bottom of the fitting screen, or in the Accessories tab of the Instruments navigation item. 1. Click ‘Add’ beneath the accessory you wish to pair. 2.
- Page 8 Environmental Optimizer II. 1. Gain adjustments can be made to one or several frequencies by selecting frequencies between 250 Hz and 8,000 Hz on the gain grid and then by clicking the up and down arrows found between the right and left ear grids.
-
Page 9: Advanced Features
Advanced features Advanced features are prescribed per program and can be modified from their default settings selecting from the drop down box or by moving the slider to the desired value. The defaults are set based on the program environment which is selected in the program tab. - Page 10 Noise, Loud Speech in Noise, Moderate Noise and Loud Noise, and classification is performed on a continuum if the listening situation has characteristics of more than one listening environment. If a user is reporting specific issues such as hearing conversation in restaurants, for example, the fitter can precisely increase the Noise Tracker II setting only for restaurant-like environments, including Moderate Speech in Noise or Loud Speech in Noise.
- Page 11 Impulse Noise Reduction Sudden impulse sounds can be quite uncomfortable for those using hearing aids. Impulse Noise Reduction detects the loud impulse sound and attenuate it instantaneously. The feature can be set to three different degrees, with mild as the default setting. Increasing the setting will decrease the threshold to which the feature will react, or in other words, increase the aggressiveness.
- Page 12 Please note when viewing Data Logging the time spent streaming from the phone will be collected within the manual program that is being used during streaming.
- Page 13 Insert Noahlink Wireless in a USB slot on the fitting PC and wait for the message that new hardware has been found. Then open ReSound Smart Fit. It is not possible for Noahlink Wireless to connect to hearing aids that are actively connected to a smart device via Bluetooth®. Ensure that the hearing aids do not have an active Bluetooth connection to a smart device.
- Page 14 If the user has an existing hearing aid fit in ReSound Aventa, then ReSound Aventa 3.16 will open when you begin a new fitting. 1. Click the ‘Go to Smart Fit’ button in the left navigation panel to close ReSound Aventa and arrive at the Smart Fit Launcher.
- Page 15 Replacing one hearing aid of a pair Connecting during a follow-up When returning for a follow-up visit the software will open to the last saved session. Depending on the saved preferences, the session will open to either the Patient Profile screen or the Fitting Gain Adjustments screen.
- Page 16 © 2020 GN Hearing A/S. All rights reserved. ReSound is a trademark of GN Hearing A/S. Apple and the Apple logo are trademarks of Apple Inc., registered in the U.S. and other countries. App Store is a service mark of Apple Inc., registered in the U.S.


Need help?
Do you have a question about the ONE and is the answer not in the manual?
Questions and answers