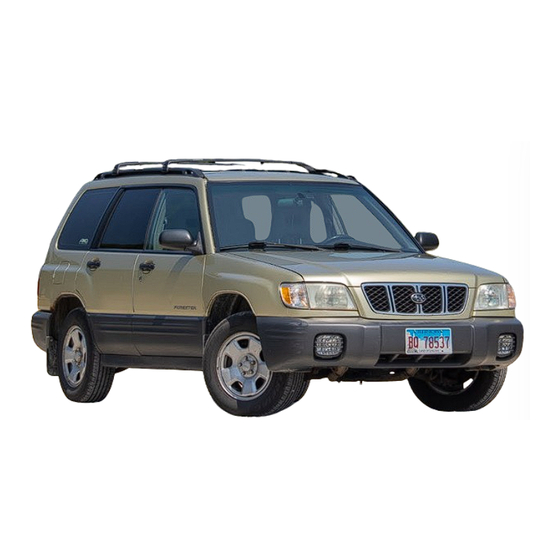
Subaru FORESTER 2001 Service Manual
Hide thumbs
Also See for FORESTER 2001:
- Owner's manual (357 pages) ,
- Service manual (347 pages) ,
- Quick reference index (75 pages)
Table of Contents
Advertisement
Quick Links
2001 FORESTER SERVICE MANUAL
BODY SECTION
This service manual has been prepared
to provide SUBARU service personnel
with the necessary information and data
for the correct maintenance and repair of
SUBARU vehicles.
This manual includes the procedures for
maintenance, disassembling, reassem-
bling, inspection and adjustment of com-
ponents and diagnostics for guidance of
experienced mechanics.
Please peruse and utilize this manual
fully to ensure complete repair work for
satisfying our customers by keeping their
vehicle in optimum condition. When
replacement of parts during repair work is
needed, be sure to use SUBARU genu-
ine parts.
All information, illustration and specifica-
tions contained in this manual are based
on the latest product information avail-
able at the time of publication approval.
FUJI HEAVY INDUSTRIES LTD.
QUICK REFERENCE INDEX
G8050GE6
Advertisement
Table of Contents

Summary of Contents for Subaru FORESTER 2001
-
Page 1: Body Section
When replacement of parts during repair work is needed, be sure to use SUBARU genu- ine parts. All information, illustration and specifica- tions contained in this manual are based on the latest product information avail- able at the time of publication approval. -
Page 2: Table Of Contents
ENTERTAINMENT Page General Description..................2 Radio System ....................4 Cigarette Lighter System................9 Accessory Power Socket System .............10 Radio Body ....................11 Front Speaker....................12 Rear Speaker ....................13 Antenna .....................14 Antenna Amplifier ..................15 Cigarette Lighter..................16 Accessory Power Socket ................17... -
Page 3: General Description
GENERAL DESCRIPTION Entertainment 1. General Description S901001 A: CAUTION S901001A03 ¼ Before disassembling or reassembling parts, always disconnect battery ground cable. When replacing radio, control module, and other parts provided with memory functions, record memory contents before disconnecting the battery ground cable. - Page 4 GENERAL DESCRIPTION Entertainment MEMO: ET-3...
-
Page 5: Radio System
RADIO SYSTEM Entertainment 2. Radio System S901467 A: SCHEMATIC S901467A21 1. RADIO LHD MODEL S901467A2103 SL76-20A ET-4... - Page 6 RADIO SYSTEM Entertainment SL76-20B ET-5...
- Page 7 RADIO SYSTEM Entertainment 2. RADIO RHD MODEL S901467A2104 SR76-20A ET-6...
- Page 8 RADIO SYSTEM Entertainment SR76-20B ET-7...
- Page 9 RADIO SYSTEM Entertainment B: INSPECTION S901467A10 Symptom Repair order No power coming in (No display and no sound from speakers) (1) Check fuse and power supply for radio. (2) Check radio ground. (3) Remove radio for repair. A specific speaker does not operate. (1) Check speaker.
-
Page 10: Cigarette Lighter System
CIGARETTE LIGHTER SYSTEM Entertainment 3. Cigarette Lighter System S901494 A: SCHEMATIC S901494A21 1. CIGARETTE LIGHTER S901494A2101 SG97-20 ET-9... -
Page 11: Accessory Power Socket System
ACCESSORY POWER SOCKET SYSTEM Entertainment 4. Accessory Power Socket System S901785 A: SCHEMATIC S901785A21 1. ACCESSORY POWER SOCKET S901785A2101 SG90-20 ET-10... -
Page 12: Radio Body
RADIO BODY Entertainment 5. Radio Body S901469 A: REMOVAL S901469A18 1) Remove console box. <Ref. EI-30 REMOVAL, Console Box.> 2) Remove AT cover (AT model). 3) Remove center panel. 4) Remove fitting screws, and slightly pull radio out from center console. S5M0048A 5) Disconnect electric connectors and antenna feeder cord. -
Page 13: Front Speaker
FRONT SPEAKER Entertainment 6. Front Speaker S901466 A: REMOVAL S901466A18 1) Remove front door trim. <Ref. to EI-26 REMOVAL, Front Door Trim.> 2) Remove front speaker mounting screws. S6M0568 3) Disconnect harness connector and remove front speaker. B: INSTALLATION S901466A11 Install in the reverse order of removal. -
Page 14: Rear Speaker
REAR SPEAKER Entertainment 7. Rear Speaker S901470 A: REMOVAL S901470A18 1) Remove rear door trim. <Ref. to EI-27> REMOVAL, Rear Door Trim. 2) Remove rear speaker mounting screws. S6M0569 3) Disconnect harness connector and remove rear speaker. B: INSTALLATION S901470A11 Install in the reverse order of removal. -
Page 15: Antenna
ANTENNA Entertainment 8. Antenna B: REPAIR S901463A19 S901463 1) Clean antenna wire and the surrounding area A: INSPECTION S901463A10 with a cloth dampened by alcohol. Check continuity between antenna terminal and 2) Paste a thin masking film on glass along the each antenna wire. -
Page 16: Antenna Amplifier
ANTENNA AMPLIFIER Entertainment 9. Antenna Amplifier S901460 A: REMOVAL S901460A18 1) Remove rear quarter lower trim. <Ref. to EI-39 REMOVAL, Rear Quarter Trim.> 2) Disconnect harness connector and terminal. 3) Remove mounting screw and detach antenna amplifier. S6M0507 B: INSTALLATION S901460A11 Install in the reverse order of removal. -
Page 17: Cigarette Lighter
CIGARETTE LIGHTER Entertainment 10. Cigarette Lighter S901461 A: REMOVAL S901461A18 1) Remove center panel. <Ref. ET-11 REMOVAL, Radio Body.> 2) Disconnect harness connectors and remove cigarette lighter. S6M0509 B: INSTALLATION S901461A11 Install in the reverse order of removal. ET-16... -
Page 18: Accessory Power Socket
ACCESSORY POWER SOCKET Entertainment 11. Accessory Power Socket S901786 A: REMOVAL S901786A18 1) Remove rear quarter lower trim. <Ref. to EI-39, REMOVAL, Rear Quarter Trim.> 2) Disconnect harness connectors and remove accessory power socket. S6M0566 B: INSTALLATION S901786A11 Install in the reverse order of removal. ET-17... - Page 19 ACCESSORY POWER SOCKET Entertainment MEMO: ET-18...


Need help?
Do you have a question about the FORESTER 2001 and is the answer not in the manual?
Questions and answers