Table of Contents
Advertisement
Quick Links
Advertisement
Table of Contents

Subscribe to Our Youtube Channel
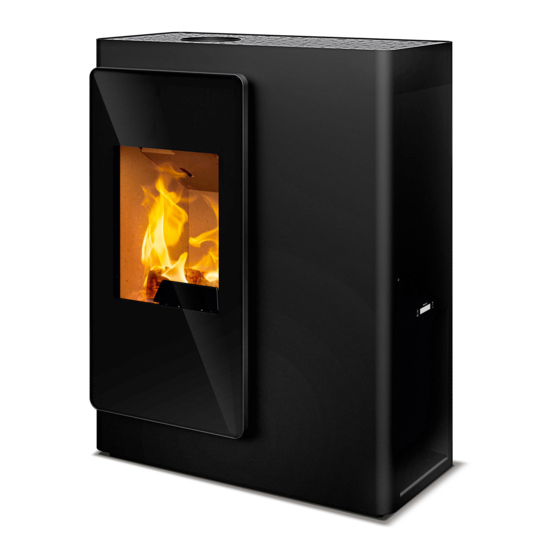
Summary of Contents for RIKA IDEA
- Page 1 IDEA Operating Manual...
-
Page 2: Table Of Contents
TABLE OF CONTENTS 1. PREFACE Explanations to symbols ...................................3 Dimensions ......................................3 Amount of fuel ......................................3 Technical data ......................................3 Packaging .........................................3 Electrical connection ....................................3 Spare part overview - exploded diagram ..............................4 Spare part overview - article numbers ..............................6 2. IMPORTANT INFORMATION General warning and safety information ..............................7 First heating......................................7 Safety distances ......................................7... -
Page 3: Preface
1. PREFACE Explanations to symbols ...Important ...Hex #8 ...Hexalobular T25 Note ...Useful ...Manually ...Allen key #3 Dimensions Technical data RO-S Technical Data Heating power range [kW] 4,5 - 9 RO-T2 Room heating capacity (depending on house [m³] 110 - 240 RO-T3 insulation) Fuel consumption... -
Page 4: Spare Part Overview - Exploded Diagram
Spare part overview - exploded diagram... -
Page 6: Spare Part Overview - Article Numbers
Spare part overview - article numbers Art.Nr.: Description Art.Nr.: Description B17359 Decorative door cpl. N112086 Grub screw N105049 Flat washer black Z36417 Lock ring N112219 Hexagonal screw L02808 Bearing plate Z36423 Hinge pin N112195 Friction bearing L02819 Hinge plate B17778 Door opener B17711 Hinge cpl. -
Page 7: Important Information
> 80 cm b > 20 cm RIKA stoves should only be installed in rooms with normal humidity (dry areas according to VDE 0100 Part 200). The furnaces are not splash water please observe a minimum distance of 20 cm behind and sideways the stove protected and may not be installed in wet areas. -
Page 8: Prior To Set Up
Prior to set up Stoves type 1 (BA 1): Suitable for multiple occupancy. (Note the different country regulations.) Floor bearing capacity Ensure that the substructure is capable of bearing the weight of the stove prior These may only be operated with the combustion chamber door closed. to set-up. -
Page 9: Brief Information On Combustible Logs
3. BRIEF INFORMATION ON COMBUSTIBLE LOGS Suitable fuels and fuel amounts Output controlling Your stove is generally suitable for burning dry firewood. You can also burn The output of your stove is regulated manually or via the Rikatronic-control. combustibles such as wood briquettes. Please observe that the output of your stove also depends on the chimney draught and the amount of fuel added. -
Page 10: Installing The Stove
Cut the perforated rear wall out with a hacksaw. or carpet. We recommend original flue pipes from RIKA for proper connection. Connect at the air intake either a pipe Ø125mm (log wood and combi stoves) or Ø50mm (pellet stoves) and fix it with a hose clamp (not included!). -
Page 11: Connection Multiair Control Multiair
5. CONNECTION MULTIAIR The stove is delivered with a cover on the convection air outlet to prevent direct Control multiAir heat to the wall. They have to be removed before connecting the convection air pipes. For detailled information please look up the manual Rikatronic4! Settings in the Setup menu Fan I and Fan II You can switch on or off the both convection fans as needed. -
Page 12: Cleaning And Maintenance
6. CLEANING AND MAINTENANCE Basic information Note When you vacuum clean around the stove ensure that you do not vacuum into the combustion air intake during heating operation. You could vacuum out embers – FIRE RISK! Note Only work on the unit when it is switched off and the mains plug has been disconnected. -
Page 13: Cleaning The Flue Gas Channels
Cleaning the flue gas channels Open the combustion chamber door and vacuum the firebox. Lift the top deflector plate slightly, then remove one of the rear fire bricks on the side (left annually! or right). Remove the flue pipes. Inspect and clean the chimney connection. Brush off any Note soot and dust deposits in the fire and in the flue pipes and vacuum. -
Page 14: Problems Possible Solutions
7. PROBLEMS POSSIBLE SOLUTIONS Problem 1 Problem 2 Fire burns with weak, orange flame, window is sooted up. Stove smells strongly and / or fumes are emitted. Cause(s) Cause(s) Poor chimney draught Burning-in phase (taking into service) Damp wood Stove has accumulated dust and/or dirt Possible solution(s) Incorrect heating up Wait to end of burning-in phase and vent sufficiently... -
Page 15: Guarantee
In case of doubt as well as missing or incorrect translations, the German version is the only valid one. For the purpose of timely damage limitation, the warranty claim on the part of the claimant is to be enforced at the RIKA dealer in writing using the invoice and stating the purchase date, model name, serial number and reason for complaint. - Page 16 Technical and design changes, as well as typesetting and printing errors reserved © 2017 | RIKA Innovative Ofentechnik GmbH RIKA Innovative Ofentechnik GmbH 4563 Micheldorf / Austria, Müllerviertel 20 Telefon: +43 7582 686 - 41, Fax-DW: 43 E-Mail: verkauf@rika.at RIKA.AT...


Need help?
Do you have a question about the IDEA and is the answer not in the manual?
Questions and answers