Table of Contents
Advertisement
Quick Links
Advertisement
Table of Contents

Subscribe to Our Youtube Channel
Related Manuals for RIKA FOX II Rikatronic3


Summary of Contents for RIKA FOX II Rikatronic3
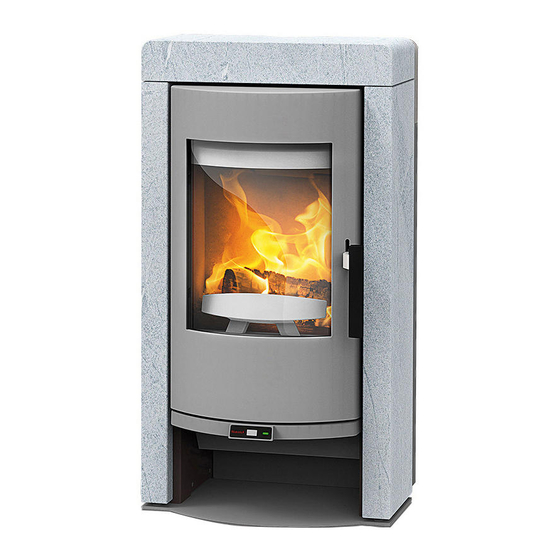
- Page 1 FOX II FOX II Operating Manual...
-
Page 2: Table Of Contents
Operating the riddle grate ����������������������������������������������������������������������������������������������������������������������������������������������������������������������13 Combustion air regulation ����������������������������������������������������������������������������������������������������������������������������������������������������������������������13 Correct heating up ����������������������������������������������������������������������������������������������������������������������������������������������������������������������������������13 6. OPERATION - RIKATRONIC3 Operating the riddle grate ����������������������������������������������������������������������������������������������������������������������������������������������������������������������14 RIKA firelighter �������������������������������������������������������������������������������������������������������������������������������������������������������������������������������������14 Heating instructions �������������������������������������������������������������������������������������������������������������������������������������������������������������������������������14 Correct heating up ����������������������������������������������������������������������������������������������������������������������������������������������������������������������������������14 Adding wood ������������������������������������������������������������������������������������������������������������������������������������������������������������������������������������������15 ECO operation ���������������������������������������������������������������������������������������������������������������������������������������������������������������������������������������15 Complete closing of the air flaps ������������������������������������������������������������������������������������������������������������������������������������������������������������15 Power failure �������������������������������������������������������������������������������������������������������������������������������������������������������������������������������������������15... -
Page 3: Preface
7. MAINTENANCE AND CLEANING Basic information �����������������������������������������������������������������������������������������������������������������������������������������������������������������������������������18 Empty the ash drawer �����������������������������������������������������������������������������������������������������������������������������������������������������������������������������18 Cleaning the door glass ��������������������������������������������������������������������������������������������������������������������������������������������������������������������������18 Checking door seal ���������������������������������������������������������������������������������������������������������������������������������������������������������������������������������18 Cleaning painted surfaces ����������������������������������������������������������������������������������������������������������������������������������������������������������������������18 Cleaning the flame temperature sensor ��������������������������������������������������������������������������������������������������������������������������������������������������18 Cleaning the convection air openings �����������������������������������������������������������������������������������������������������������������������������������������������������18 Combustion air - air intake ��������������������������������������������������������������������������������������������������������������������������������������������������������������������18 Cleaning the flue gas channels����������������������������������������������������������������������������������������������������������������������������������������������������������������18 8. -
Page 4: Spare Part Overview Article Numbers
Spare part overview article numbers Art.Nr. Description Art.Nr. Description Art.Nr. Description Z34384 Air regulator Cover metallic Z34542 Cover copper N111780 Hexagonal nut Z34385 Air regulator Cover black Z25946 Grate L01413 Door hinge ring Z34386 Air regulator Cover copper L00616 Grate arm N109185 Circlips L01984 Wire cable stop... -
Page 5: Spare Part Overview - Exploded Diagram
Spare part overview - exploded diagram... -
Page 6: Self Locking Door - Exploded Diagram
Self locking door - exploded diagram... -
Page 7: Spare Part Overview - Exploded Diagram
Spare part overview - exploded diagram... -
Page 8: Dimensions
Dimensions Technical Data RO-S Description 8 kW 6 kW Nominal heat output [kW] RO-T2 RO-T3 Partial heat output [kW] Room heating capacity depending on [m³] 90 - 210 70 - 160 house coating Fuel consumption [kg/h] ~ 2,2 ~ 1,8 Electric supply [V]/[Hz] 230/50*... -
Page 9: Important Information
RIKA stoves should only be installed in rooms with normal humidity (dry areas according to VDE 0100 Part 200). The furnaces are not splash water protected and may not be installed in wet areas. -
Page 10: Prior To Set
Prior to set up Stoves type 1 (BA 1): Suitable for multiple occupancy. (Note the different country regulations.) Floor bearing capacity Ensure that the substructure is capable of bearing the weight of the stove prior These may only be operated with the combustion chamber door closed. to set-up. -
Page 11: Brief Information On Combustible - Logs
3. BRIEF INFORMATION ON COMBUSTIBLE - LOGS Suitable fuels and fuel amounts Output controlling Your stove is generally suitable for burning dry firewood. You can also burn The output of your stove is regulated manually or via the Rikatronic-control. combustibles such as wood briquettes. Please observe that the output of your stove also depends on the chimney draught and the amount of fuel added. -
Page 12: Installing The Stove
Ø 50 mm or Ø 60 mm for pellet stoves. Fix it with a hose clamp We recommend original flue pipes from RIKA for proper connection. (not included!). At pellet stoves with longer intake pipes than 1 m the diameter should be increased to 100 mm. -
Page 13: Manual Operation
2. Now place further pieces of chipboard in crosswise layers on top of the logs and place 2-4 ribs of the RIKA-firelighter on the left on top of the chipboard. Some uncoated paper can be placed underneath the chipboard in case there is no firelighter available. -
Page 14: Operation - Rikatronic3
In general the riddle grate should stay open. RIKA f irelighter Always ignite the RIKA firelighter on the red tip. One block consists out of 8 ribs which can be divided to the desired size. The amount of RIKA firelighters also depends on the size and humidity of your firewood. -
Page 15: Adding Wood
Adding wood Power failure Fill amount for heating up: 2 logs of max. total 2.5kg, depending on requirements. In the event of a power failure the air regulation flap remains unchanged until the fire goes out (no display). If mains voltage is available again after a brief power The red flashing phase varies depending on the ambient influences between 5 failure, the display lights up as on start for 10 sec green... -
Page 16: Status Displays
Status displays LED display Meaning Action to be taken The stove has just been switched on and the air The stove cannot heat up until the display lamp flaps start the reference run. stops flashing. The control system starts a reference run again after a brief power failure. -
Page 17: Warnings And Malfunction Messages
Check whether dirt or soot has accumulated at the temperature sensor and if required clean the sensor carefully (see Cleaning and Maintenance). The temperature sensor is defective. Contact RIKA customer service. The display lamp flashes 1x RED and 1x YELLOW The magnetic switch is defective or jammed. -
Page 18: Maintenance And Cleaning
7. MAINTENANCE AND CLEANING Basic information Cleaning the flame temperature sensor (only type RIKATRONIC3) Note When you vacuum clean around the stove ensure that you do not vacuum into Remove the dust deposits from the sensor at regular intervals. Use a clean the combustion air intake during heating operation. -
Page 19: Assembly Options
8. ASSEMBLY OPTIONS Note Only perform manipulation of the unit when the mains plug of the stove has been disconnected (RIKATRONIC3) and the stove has cooled down completely. Note Take special care of your fingers and all stove panels and stove attachments during any conversion work. -
Page 20: Problems - Possible Solutions
9. PROBLEMS - POSSIBLE SOLUTIONS Problem 1 Problem 2 Fire burns with weak, orange flame, window is sooted up. Stove smells strongly and / or fumes are emitted. Cause(s) Cause(s) Poor chimney draught Burning-in phase (taking into service) Damp wood Stove has accumulated dust and/or dirt Possible solution(s) Incorrect heating up... -
Page 21: Warrant Y
In case of doubt as well as missing or incorrect translations, the German version is the only valid one. For the purpose of timely damage limitation the claimant is required to file the warranty claim with the RIKA dealer in writing, submitting the invoice and stating the purchase date, model name, serial number and reason for complaint. - Page 24 German version is the only 4563 Micheldorf / AUSTRIA valid one. Technical and design changes, as well Tel.: +43 (0)7582/686 - 41, Fax: -43 as typesetting and printing errors reserved. E-Mail: verkauf@rika.at www.rika.at © 2019 | RIKA Innovative Ofentechnik GmbH...
Need help?
Do you have a question about the FOX II Rikatronic3 and is the answer not in the manual?
Questions and answers