Table of Contents
Advertisement
Advertisement
Table of Contents

Subscribe to Our Youtube Channel
Related Manuals for Westinghouse WHE6200S


Summary of Contents for Westinghouse WHE6200S
- Page 1 USER MANUAL REFRIGERATION WHE6200S...
-
Page 2: Table Of Contents
CONGRATULATIONS CONTENTS Dear customer, Important safety instructions ............3 General warnings................4 Congratulations and thank you for choosing our refrigerator. We are sure you will find your new Product description ................5 refrigerator a pleasure to use. Before you use the Installing your new refrigerator ........... 6 refrigerator, we recommend that you read through the Ventilation around your refrigerator. -
Page 3: Important Safety Instructions
SAFETY INSTRUCTIONS Please read the user manual carefully and store in a R600a refrigerant warning handy place for later reference. Pass the user manual • This refrigerator may contain flammable R600a on to new owners of the refrigerator. refrigerant. Avoid safety hazards by carefully installing, The symbols you will see in this booklet have these handling, servicing and disposing of this refrigerator. -
Page 4: General Warnings
GENERAL WARNINGS Read the following carefully to avoid damage or injury • Do not put the refrigerator in direct sunlight, near stoves, fires or heaters. It is important to use your refrigerator safely. Check these safety points before using your refrigerator. •... -
Page 5: Product Description
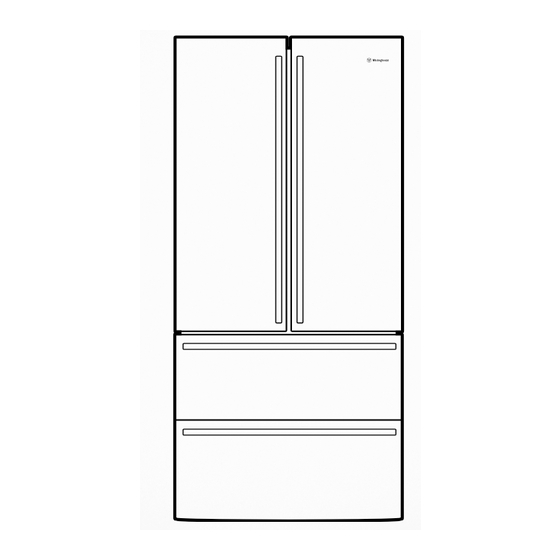
PRODUCT DESCRIPTION Electronic controls Shopping Holiday Quick Drinks Freeze Chill Zone Refrigerator Lighting Electronic Controls Adjustable Spillsafe Glass Multiflow Humidity controls Crisper on telescopic rails Bottle/Can bins Shallow freezer bin Deep freezer bin Rollers Stability feet Twist ice & serve box Freezer lighting Freezer divider Removable shallow freezer bin mounted on telescopic pull out drawer... -
Page 6: Installing Your New Refrigerator
INSTALLATION OF WHE6200 Adequate ventilation around your refrigerator. Installing your refrigerator The diagram below shows the recommended airspace Your refrigerator should be levelled using front adjustable to allow for ventilation of your refrigerator. stability feet ensuring it does not rock. If 5mm side clearance, the fridge cabinet must sit at least 5mm proud of kitchen cabinetry for doors to open. -
Page 7: Fitting The Handles
INSTALLATION OF WHE6200 (CONTINUED) Check the alignment of the refrigerator to the Fitting the handles surrounding cupboards to see if it is level. You can Remove the handles from the packaging adjust the level with the stability feet as detailed in step 3. -
Page 8: Initial Start-Up
INITIAL START-UP Congratulations! You have successfully installed your new refrigerator. Refrigerators work by transferring heat from the food inside to the outside air. This operation makes the back and sides of the refrigerator (particularly at start-up) feel warm – which is normal. A cooling coil is located behind the rear wall of the freezer section. -
Page 9: Electronic Display Controls
ELECTRONIC DISPLAY CONTROLS The panel has a blue backlight and 7 touch buttons. Changing temperature zone When the power is first turned on, you will see the default You can select the temperature zone by touching this settings, with the backlighting on. button, with the indicator lamp of the corresponding temperature zone going On. -
Page 10: Drinks Chill Timer
ELECTRONIC DISPLAY CONTROLS (CONTINUED) Drinks chill Door alarm The drinks chill timer is used to quickly chill a bottle. If the freezer door or fresh food door is left open for longer than 2 minutes, a buzzer will sound until any When you touch the “Drinks Chill”... -
Page 11: Using Your Refrigerator
USING YOUR REFRIGERATOR Features Removal This section tells you how to make the most of the many Empty food from the crisper. useful features - cleaning instructions can be found on Pull the crisper forward so that it is fully extended. page 13. -
Page 12: Twist Ice & Serve
USING YOUR REFRIGERATOR (CONTINUED) To refit Twist ice and serve box Pull out the rails completely. To use, remove the box, fill with water and place back in the freezer. Once ice has formed (approximately 3 hours), simply pull the box out and twist the two levers together so that ice drops into the tray. -
Page 13: Care And Maintenance
CARE AND MAINTENANCE LED lighting WARNING CAUTION Do not use stainless steel cleaners, abrasive pads or WARNING CAUTION other cleaners as they are likely to scratch the surface. Damage to this product after delivery is not covered by Your refrigerator is fitted with long life LED lighting. In your warranty. -
Page 14: Troubleshooting
TROUBLESHOOTING If you think something may be wrong with your refrigerator, you can carry out some easy checks before calling for service. You may locate the problem, sparing yourself from inconvenience, saving time and money. PROBLEM SOLUTION Refrigerator is not operating •... - Page 15 TROUBLESHOOTING If the temperature in the • Check that the refrigerator has enough clearance at the sides, back and refrigerator is too warm top. Refer to the installation instructions on page 6. • Refer to ‘Controlling the temperature’ on pages 9. •...
- Page 16 NOTES NOTES...
- Page 17 NOTES NOTES...
- Page 18 NOTES NOTES...
-
Page 19: Warranty
Warranty FOR SALES IN AUSTRALIA AND NEW ZEALAND APPLIANCE: REFRIGERATION 7. You may not make a claim under this warranty unless the defect claimed This document sets out the terms and conditions of the product is due to faulty or defective parts or workmanship. Electrolux is not liable warranties for Electrolux Appliances. - Page 20 Top Service encompasses the after sales service provided by The Electrolux Group to consumers including delivery, home service and spare parts. Westinghouse. We are part of the Electrolux family. Share more of our thinking at electrolux.com.au and WESTINGHOUSE are trademarks of Westinghouse Electric Corporation.
Need help?
Do you have a question about the WHE6200S and is the answer not in the manual?
Questions and answers