Table of Contents
Advertisement
USER MANUAL
REGISTER YOUR FRIDGE
WITH YOUR SMARTPHONE
1
Locate the labe l
on the inside of
your fridge
Easy register with your smartphone
1. Photograph the camera icon,
including the 4 dots( ).
2. Then text it to 0488 446 622
(Australia only)
2
Photograph the
camera icon, including
the 4 dots ( )
3
Text image to 0488 446 622
(Australia only )
© 2017 Electrolux Home Products Pty Ltd. EST_PhotoRegister_Fridge_70x70_Dec17
00000000000
00000000000
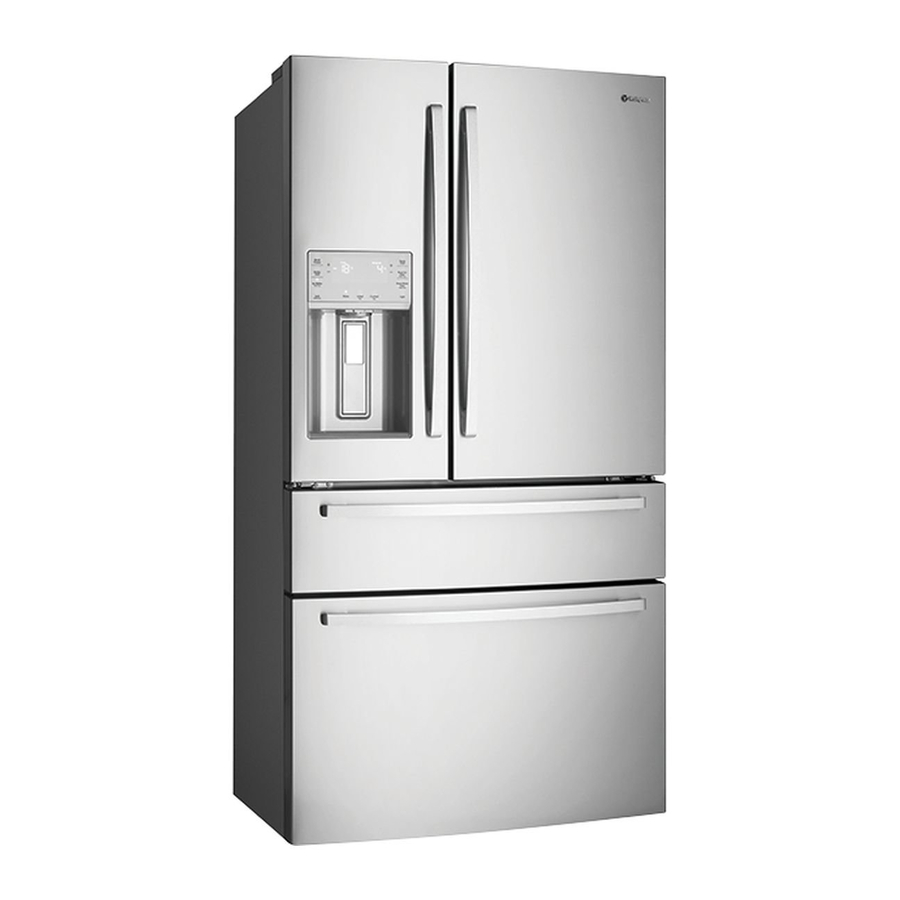
WHE6874, WHE7074
REFRIGERATION
Advertisement
Table of Contents


Need help?
Do you have a question about the WHE6874 and is the answer not in the manual?
Questions and answers
I'm just out of hospital and there's an Error code on my fridge/freezer WHE 6874. As per photo. I'm not sure how long it's been there but all seems ok with the fridge and freezer.
The error code on the Westinghouse WHE6874 fridge/freezer indicates that the electronic control system has detected a performance problem. You should contact an Electrolux service representative to interpret the specific message or number code flashing on the digital display.
This answer is automatically generated
Why won’t my Westinghouse refrigerator make ice. It will dispense water
If your Westinghouse WHE6874 refrigerator dispenses water but does not make ice, possible causes include:
1. Water Valve Issue – Ensure the water valve is fully open.
2. Kinked Water Supply Line – Check for bends or kinks in the water line.
3. Ice Maker Not Functioning – Refer to the “Ice maker is not making any ice” section in the manual.
4. Refrigerator Doors Not Fully Closed – Ensure the doors are completely shut, as the ice maker may not operate if they are open.
Check these factors to resolve the issue.
This answer is automatically generated