Advertisement
Quick Links
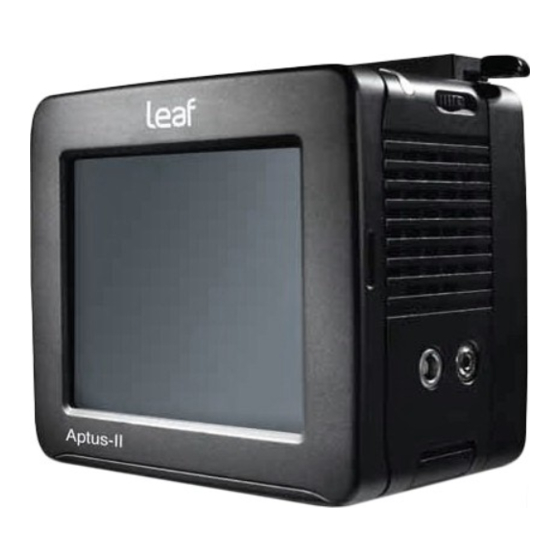
The Leaf Aptus II 8 is a medium format digital back with a sensor size of 44x33mm with
an active pixel count of 7,312 X 5,474 making it a 40 megapixel size.
This back has a built in adapter to making it compatible with Hasselblad V series
mounts. It mounts to the Hasselblad 500 series cameras the same as the Phase One
H5.
Overall view! !
!
!
!
!
!
!
!
!
!
!
Right View! !
Leaf Aptus II 8
Users Guide
!
!
!
!
!
!
!
!
!
!
!
!
!
Left View
Top View
1
Advertisement

Related Manuals for Mamiya Leaf Aptus II 8


Summary of Contents for Mamiya Leaf Aptus II 8
- Page 1 Leaf Aptus II 8 Users Guide The Leaf Aptus II 8 is a medium format digital back with a sensor size of 44x33mm with an active pixel count of 7,312 X 5,474 making it a 40 megapixel size. This back has a built in adapter to making it compatible with Hasselblad V series mounts.
- Page 2 Leaf Aptus II 8 Users Guide Bottom View! ! Sensor Adapter plate for Phase One Sliding back.! Line feet of adapter up with slots on bottom of back.
- Page 3 Leaf Aptus II 8 Users Guide Rock back onto adapter plate! Slide latch to capture tabs Attaching back to adapter that is already installed on the sliding back Adapter plate on sliding back...
- Page 4 Leaf Aptus II 8 Users Guide Attaching Firewire 800 cable to the digital back. The cable attaches to the bottom of the back and must be attached before attaching the back to the sliding back. Line up the silver mark on the Firewire 800 plug with the silver mark on the digital back. It is important to not attach the plug in any other way than just described, physical and electrical damage will occur.
- Page 5 Leaf Aptus II 8 Users Guide Cable connections for view camera use. Install the coiled cable between outlet on back right with lens pc post. Sync cord or Pocket Wizard attaches to PC socket on back left.
- Page 6 Leaf Aptus II 8 Users Guide Two types of sliding backs Phase One sliding back has ball bearings vs the Kapture Group sliding back slides by friction. Kapture Group Sliding Back Phase One Sliding back...
- Page 7 Leaf Aptus II 8 Users Guide It is important to make sure that the Phase One sliding back is sliding to the center of travel. You must make sure that the blue disk on the right side of the back is rotated so the WHITE dot is visible.
- Page 8 Leaf Aptus II 8 Users Guide Attaching the back to the computer and connecting to Capture One I am attaching screen shots illustrating some screen shots may receive when connecting to Capture One. You can start with Capture One already running and then attach the back or vice versa it seems not to matter.
- Page 9 Leaf Aptus II 8 Users Guide You will see this info. in the Camera tab when the back is connecting. It is important to not do anything to the back or touch Capture One while this message is visible, Leaf uploads firmware every time the back is plugged in.
Need help?
Do you have a question about the Leaf Aptus II 8 and is the answer not in the manual?
Questions and answers