Mamiya M645 Instructions Manual
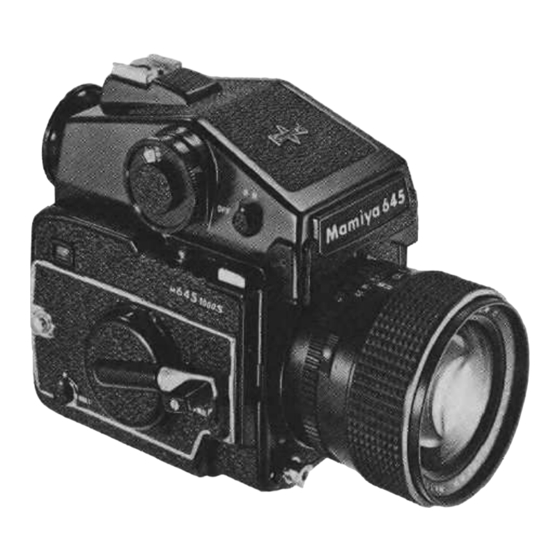
Cds prism finder
Hide thumbs
Also See for M645:
- Service instructions manual (63 pages) ,
- User manual (36 pages) ,
- Instructions manual (33 pages)
Advertisement
Quick Links
Advertisement

Related Manuals for Mamiya M645


Summary of Contents for Mamiya M645
- Page 1 CdS Prism Finder English Instructions...
-
Page 2: Specifications
Special Features The Mamiya CdS Prism Finder is an eye-level finder with a built-in Cadmium Sulfide exposure meter for accurate exposure determination. The finder enables complete coupling with the lens, the ASA speed and the shutter. The viewfinder’s Exposure Indicator Needle displays the correct exposure when it is between the two brackets on the right-hand side of the Focusing Screen. -
Page 3: Installing The Battery
Installing the Battery Using a coin or straight-blade screwdriver, remove the Battery Chamber Cover by rotating it counterclockwise. Wipe the battery with a soft, clean cloth to remove any contamination. Insert the battery into the Battery Chamber with the + indication on the battery toward the Battery Chamber, Fig. - Page 4 CAUTION If you accidently press the Finder Release Button while the finder is attached to the camera body, press down on the front of the finder to relock it into place on the camera body. Gently lower the front of the finder onto the camera body until it stops, and then push downward to lock the finder on the camera body.
- Page 5 Turn the finder’s ON-OFF Switch to its ON position, Fig. 5. Set the camera’s Shutter Speed Dial to the desired shutter speed, and then set the finder’s Shutter Speed Dial to the same speed, Fig. 6. When photographing outdoors on a sunny day with ASA 100 speed film, recommended shutter speeds are 1/250 or 1/125;...
- Page 6 Aperture Priority Method Set the lens’ Aperture Ring to the desired aperture. Adjust the exposure by turning the finder’s Shutter Speed Dial until the viewfinder’s Exposure Meter Needle is centered between the brackets on the right-hand side of the Focusing Screen. Shutter Priority Method Set the desired shutter speed on the finder’s Shutter Speed Dial.
- Page 7 Diopter Correction Lenses The viewfinder is factory set for people with average eyesight. If you are farsighted or nearsighted, and do not want to wear corrective lenses when photographing, install a Diopter Correction Lens on the finder. If you are farsighted, correction lenses are available in: +3, +1 and +1 diopters; if you are nearsighted, correction lenses are available in: -0.5, -1, -2, -3 and -4 diopters, Fig.
Need help?
Do you have a question about the M645 and is the answer not in the manual?
Questions and answers