Table of Contents
Advertisement
Quick Links
Advertisement
Table of Contents

Related Manuals for OWC miniStack


Summary of Contents for OWC miniStack
- Page 1 M I N I S T A C K Assembly Manual & User Guide...
-
Page 2: Table Of Contents
1.5 Rear View ................3 1.6 Usage Notes ................4 DEVICE SETUP 2.1 Quick Start ................5 2.2 Assembly ................5 SUPPORT RESOURCES 3.1 Formatting ................8 3.2 Troubleshooting ..............8 3.3 About Data Backup ...............8 3.4 Online Resources..............8 3.5 Contacting Technical Support ..........8 OWC miniStack Table of Contents... -
Page 3: Introduction
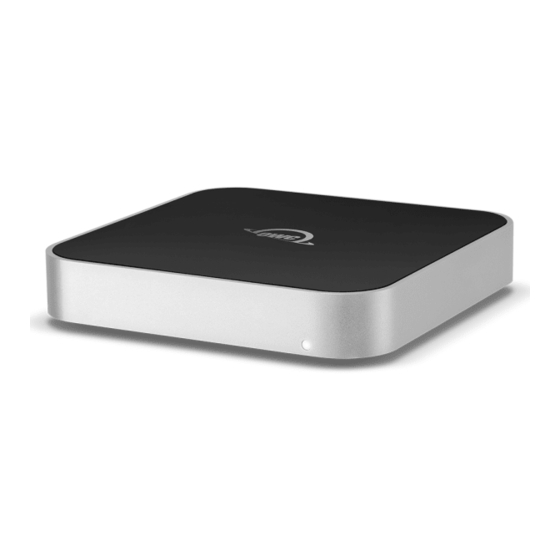
• Windows 7 or later 1.1.3 Supported Drives • (1) 3.5” SATA drive • (1) 2.5” SATA drive 1.2 Package Contents OWC miniStack USB 3.1 Gen 1 (Standard-A Power Supply to Standard-B) cable Not pictured: screw packet 1.3 About This Manual The images and descriptions may vary slightly between this manual and the unit shipped. - Page 4 Never expose your device to rain, or use it near water or in damp or wet conditions. Never place objects containing liquids on the drive, as they may spill into its openings. Doing so increases the risk of electrical shock, short-circuiting, fire or personal injury. OWC miniStack Introduction...
-
Page 5: Front View
1.5 Rear View 1. ON/OFF Switch — power the miniStack on and off using this switch. 2. DC IN — connect the included power supply here. 3. USB 3.1 Gen 1 port — attach the included USB 3.1 Gen 1 (Standard-A to Standard-B) cable to this port. -
Page 6: Usage Notes
2. A message will appear, detailing the devices that the “Eject” icon controls, i.e., “Safely remove...” Click on this prompt. 3. You will then see a message that says, “Safe to Remove Hardware.” It is now safe to disconnect the miniStack from the computer. OWC miniStack Introduction... -
Page 7: Device Setup
Section 3.1 for a link to our online formatting tips. 1. Power on the miniStack and plug it into to your computer using the proper data cable. If you prefer to use a different formatting utility, do so at this time and skip the rest of these steps. - Page 8 4. Remove the screw packet found on the base of the miniStack. Set the screws aside for use in later steps. 5a. 3.5 inch SATA drives: Rotate the base as shown then connect the SATA power and data cables to the corresponding ports on the back of the drive.
- Page 9 7. Flip the base over then carefully align and re-seat the top cover as shown at right. 8. Holding the top cover and base together, again flip the miniStack over. Re-affix the four large corner screws in the locations shown. Once complete, flip the miniStack over.
-
Page 10: Support Resources
3.2 Troubleshooting Begin by verifying that the power cable is connected to the miniStack and to a power source. If the power cable is connected to a power strip, make sure that the power strip switch is in the ON position. Next, verify that both ends of the included USB cable are properly plugged into the computer and the miniStack, respectively. - Page 11 • Connect the equipment to an outlet on a circuit different from that to which the receiver is connected. Warranty: The OWC miniStack has a 3 Year OWC Limited Warranty if it was bundled with a drive. OWC miniStack enclosures that do not ship with a drive have a 1 Year OWC Limited Warranty.
Need help?
Do you have a question about the miniStack and is the answer not in the manual?
Questions and answers