Advertisement
Quick Links
Advertisement

Related Manuals for Cosco CEB-TRIM 250U

Summary of Contents for Cosco CEB-TRIM 250U
- Page 1 Magnetic Upright Bike OWNER’S MANUAL CEB-TRIM 250U...
-
Page 2: Table Of Contents
Table of Contents ■ Precautions ■ Operation Instruction ■ Parts List ■ Overview Drawing Hardware Packing List ■ Assembly Instructions ■ Maintenance and Treatment ■ Warming up Cosco (India) Ltd., 2/8,Roop Nagar,Delhi-110 007... - Page 3 1. Precautions 1. Read all the instructions in this manual and do warm up exercises before using this equipment. 2. This upright bike is a home stationary fitness equipment, and also an aerobic training equipment that can help you to develop your cardio-vascular function. 3.
-
Page 4: Operation Instruction
2. Operation Instruction 1) Operate according to your own condition. 2) Adjustment of the tension control: Turn the tension control clockwise, the resistance will be increased. 3) Adjustment of the seat cushion: Release the round knob and adjust the height of seat cushion on your suitable position and tighten the round knob after adjustment. -
Page 5: Parts List
(5).ODOMETER(TOTAL) (if have) Display the total distances while exercising. When the signal input, it start the value up on the original data. The ODOMETER can’t be reset (by RESET key) except you replace battery. (6).PULSE(PUL) (if have).Display the user’s heart rate per minute while exercising, Remark: You have to hold on reaction planks with both hands. - Page 6 Φ10 Spring washer Foot wheel Φ5 Flat washer D-shaped plastic cover Spring knob Stopping flat washer Bearing set 1set Nylon nut M8 Pressing wheel bracket M8x20 Bolt Pressing belt wheel Magnetic guider M10×60 Bolt hexagonal nut M10 Description Description Φ6 Flat washer Wire bracket Hole plug Nylon nut M6...
-
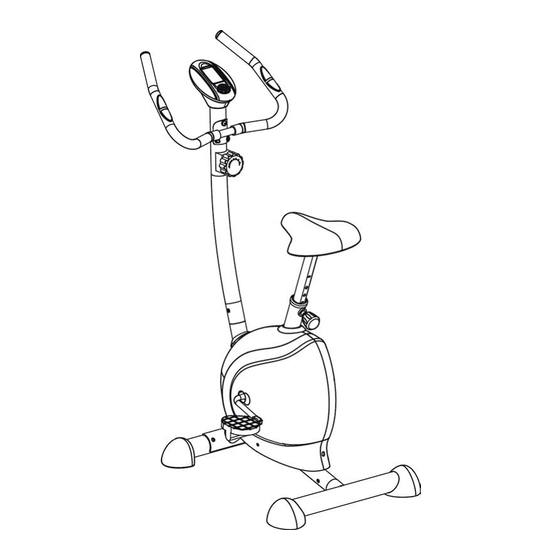
Page 7: Overview Drawing
4. Overview Drawing... -
Page 8: Hardware Packing List
5. Hardware Packing List... -
Page 9: Assembly Instructions
6. Assembly Instructions Attention: Please follow these assembly instructions step by step to assemble this upright bike. 1)Attach the Front Stabilizer Attach the Front stabilizer (5) to the Main frame (4) with two sets of M10X70 Bolt (43), Φ10 Arc washer(49), Φ10 Spring washer (56) and M10 Cap nut (52).(See figure 1) 2) Attach the rear stabilizer cover Insert the rear stabilizer cover (L&R)(2) to the rear... - Page 10 4) Attach the Handlebar Support a. Put the cable end of resistance cable of Tension control (41) into the spring hook of Tension control wire (38) as shown on drawing A of figure 4. b. Pull the resistance cable of Tension control (41) up and force it into the gap of metal bracket of Tension control wire (38) as shown on drawing B of figure 4.
- Page 11 c. Then fix the computer (11) on the top of handlebar support (7). (See figure 5) 6) Attach the Seat cushion a. Attach the Seat cushion (20) to the Seat bracket (16) with the three sets of M8 Nylon Nuts (59) and Φ8 Flat washers (55).
-
Page 12: Maintenance And Treatment
7. Maintenance and Treatment 1) Verify that all the bolts and nuts are locked properly and the turning parts should be turned freely without any scream. 2) Clean the equipment with soap and slightly damp cloth only. Please do not use any solvent to clean the equipment. - Page 13 to reduce sore muscle problems. We suggest the following warm-up and cool-down exercises: 1. Inner Thigh Stretch Sit with the soles of your feet together with your knees pointing outward. Pull your feet as close into your groin as possible. Gently push your knees towards the floor. Hold for 15 counts. 2.Hamstring Stretch Sit with your right leg extended.
- Page 14 B23458-C-0801-1400...
Need help?
Do you have a question about the CEB-TRIM 250U and is the answer not in the manual?
Questions and answers