Abus TVVR30004 Quick Manual
Video surveillance kit
Hide thumbs
Also See for TVVR30004:
- Quick manual (162 pages) ,
- User manual (569 pages) ,
- User manual (57 pages)
Advertisement
Quick Links
Advertisement

Related Manuals for Abus TVVR30004


Summary of Contents for Abus TVVR30004
- Page 1 TVVR30004 Quick guide for Video Surveillance kit: TVVR30004 | TVVR30104 | TVVR30404 | TVVR30414 This quickstart guide describes the initial installation steps for your video surveillance kit. More detailed information can be found in the accompanying user guide.
- Page 2 This product complies with current domestic and European regulations. Conformity has been proven, and all related certifications are available from the manufacturer on request (ABUS Security-Center GmbH & Co. KG, Linker Kreuthweg 5, 86444 Affing). To maintain this status and to guarantee safe operation, it...
-
Page 3: Scope Of Delivery
• Quick guide • Quick guide • Manual • Manual • CD • CD TVVR30404 TVVR30004 TVVR30004 • 4-channel recorder incl. HDD • 4-channel recorder • 4x day/night vision outdoor cameras • Power supply unit • Universal power supply unit •... - Page 4 Warnings Keep the recorder and camera away Ensure an uninterrupted from strong magnetic fields. power supply. Only store the recorder and camera Keep liquids away from the recorder. in the ambient conditions recom- mended by the manufacturer. Turn the recorder off before Ensure that there is always connecting or removing sufficient ventilation.
- Page 5 Connections Video - OUT RJ45 port for a BNC plug for video output to connect to a network connection monitor as an alternative to VGA output Video - In 12 V BNC input for analogue cameras Connection for USB devices 12 V: 12 V DC power connection English...
-
Page 6: Hardware Installation
Please ensure that you begin with step for the hardware installation of TVVR30004. The hardware installation for the video surveillance kits TVVR30104, TVVR30404 and TVVR30414 starts at step , as the hard disk drive is pre-installed for these models. - Page 7 Connect the hard disk Now place the box over the Connect your cameras to Then secure the box and drive to the motherboard base plate of the recorder. the recorder. the base plate with the 4 with the data cable (small Ensure that the box is placed screws.
-
Page 8: Tips For Camera Installation
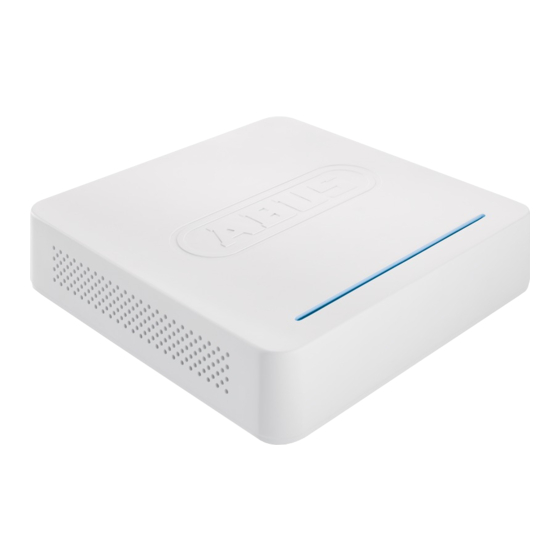
Tips for camera installation Plug the recorder into the power supply. The blue LED bar on top of the recorder indicates that the device is on. You can choose to turn off the light on the LED bar via the menu. English... - Page 9 Avoid backlight or direct sunlight The camera must not be installed on unstable surfaces Please be aware that notice of video surveillance Do not place cameras directly behind glass, is required by law in public places as this can result in reflections English...
-
Page 10: Software Setup
Software Set-up Select a language and click Next. If you untick the box, then the setup In the Admin Password field, enter wizard will no longer run automati- 12345. Confirm with Enter. cally at the next start-up. Click Next. English... - Page 11 To change the password, tick the New Specify time zone, date and system Set the adapter speed tye ‚NIC type‘ Admin Password box. Enter the new time. Continue by clicking Next. manually. Default and recommended password in the New Password and setting is the automatic detection (Self Confirm fields.
- Page 12 192.168.0.20 192.168.0.25 192.168.0.1 To assign the address data automati- If your router does not assign the The first three positions of the IP cally, tick the DHCP box. The addresses address data automatically, then enter address must correspond to the de- are then assigned automatically by the data manually as shown in the fault gateway value.
- Page 13 The Subnet Mask is a network segment Call up “Run” in the start menu. The DNS Server translates an Internet where IP addresses with identical net- Enter “cmd” in the new window, address into an IP address. Enter the work addresses are used. The standard then “ipconfig”...
- Page 14 All hard drives which are to be used for Click Init, then confirm the successful Chose the channel which shall be recording must be initialized before- initialisation with OK. Exit the screen configured at Camera. Please note hand. To initialise the hard drives, tick by pressing OK, then go to the next that you still have to configure the the corresponding drive.
- Page 15 Please click in the checkbox Start Re- For copying these settings to other Click on OK to finish the initial set-up. cording to activate the record. Choose camera channels please click on between a durable record (Normal) or Copy. Click in the checkbox of the a record with motion detection (Mo- camera channels you want to tion Detection).
Need help?
Do you have a question about the TVVR30004 and is the answer not in the manual?
Questions and answers