Advertisement
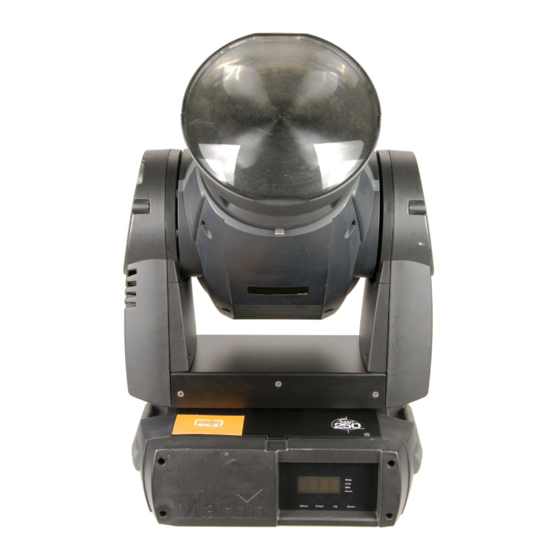
MAC 250™ Beam Kit
Installation Guide
Introduction
This Installation Guide explains how to install the MAC 250 Beam™ Upgrade Kit to convert a standard
Martin Professional™ MAC 250 Wash™ to a MAC 250 Beam model. Installation only takes a few
minutes. A fixture software update is required if the installed software version is earlier than v. 1.4.0.
If you keep the standard components you remove, the MAC 250 Beam components can be uninstalled
and the fixture returned to standard MAC 250 Wash configuration at any time.
The MAC 250 Beam Kit has part number P/N 91610101.
For the latest documentation and information about this and all Martin Professional products, please
visit the Martin website at www.martin.com.
Warning! The MAC 250 Beam has a much more intense light beam than the standard MAC 250
Wash. Do not use it to illuminate any surface closer than 3.5 m (11 ft. 6 ins.) from the front of the
head, or you may create a fire risk.
Apart from the new minimum distance to illuminated surfaces specified above, follow all the
other safety precautions in the MAC 250 Wash user manual when installing the MAC 250 Beam
Kit and using the modified product. The user manual is supplied with MAC 250 Wash fixtures,
and the latest revision of the user manual is also available for download from the Product
Support page for the MAC 250 Wash at www.martin.com
Disconnect the fixture from power and allow to cool for at least 20 minutes before starting work.
The MAC 250 Beam Kit must be installed by qualified professional technicians only. Read all of
this Installation Guide carefully before starting to install the Kit.
If you have any questions about how to install the MAC 250 Beam Kit or use the MAC 250 Beam
safely, please contact your local Martin distributor (see www.martin.com/distributors for details)
or call the Martin 24-hour service hotline on +45 8740 0000, or in the USA on 1-888-tech-180.
Important! Do not get oil or grease onto optical components. If necessary, clean components
with 99.9% isopropyl alcohol.
© 2009-2010 Martin Professional A/S. Olof Palmes Allé 18, DK-8200 Aarhus N, Denmark. Information subject to change without notice.
Martin Professional A/S and all affiliated companies disclaim liability for any injury, damage, direct or indirect loss, consequential or
economic loss or any other loss occasioned by the use of, inability to use or reliance on the information contained in this installation note.
The Martin logo, the Martin name and all other trademarks in this document pertaining to services or products by Martin Professional A/S
or its affiliates and subsidiaries are trademarks owned or licensed by Martin Professional A/S or its affiliates or subsidiaries.
P/N 35000607 Rev. E
MAC 250 Beam Installation Note
1
Advertisement
Table of Contents

Related Manuals for Martin MAC 250 Beam


Summary of Contents for Martin MAC 250 Beam
- Page 1 The Martin logo, the Martin name and all other trademarks in this document pertaining to services or products by Martin Professional A/S or its affiliates and subsidiaries are trademarks owned or licensed by Martin Professional A/S or its affiliates or subsidiaries.
- Page 2 Screw sizes given in this Installation Guide are indicative only. The following tools are normally required to install the standard MAC 250 Beam Kit. However, if screws have been replaced during service, for example, you may find that other tools are required.
- Page 3 If you reinstall the original front lens at a later date to return the fixture to standard MAC 250 Wash configuration, you must remove the new aperture plate together with the new front lens assembly. Figure 4 Figure 5 MAC 250 Beam Installation Note...
- Page 4 Attach the clip to the head using either of the two holes (A) provided in the new front lens mounting bracket, then push the clip flat (B) to give space for the front lens assembly. Figure 8 MAC 250 Beam Installation Note...
- Page 5 The front lens assembly must be unclipped and removed from the head when the fixture is packed in a MAC 250 flightcase. We recommend that you re-use the assembly’s protective packaging supplied in the MAC 250 Beam Kit and store the assembly in the tray in the flightcase. MAC 250 Beam Installation Note...
- Page 6 The color/gobo wheel is shown as seen from the lamp side. The earliest MAC 250 Beam Kits were supplied with a print version of this installation guide that showed the gobos in the reverse order. This inconsistency can be fixed at the lighting desk, but if you have a fixture with gobos reversed, we recommend that you move gobos to the positions shown above (and update any cues affected at the lighting desk) at some convenient time.
-
Page 7: Control Menu
Appendix B: Changes in control Control menu → → When the MAC 250 Beam Kit is installed, the control menu commands manually select the beam effect gobos shown on the previous page rather than color filters. - Page 8 Martin Professional A/S • Olof Palmes Allé 18 • 8200 Aarhus N • Denmark Tel: +45 8740 0000 • Fax +45 8740 0010 • www.martin.com MAC 250 Beam Installation Note...
Need help?
Do you have a question about the MAC 250 Beam and is the answer not in the manual?
Questions and answers