
Related Manuals for Emerson CSI 2140


Summary of Contents for Emerson CSI 2140
- Page 1 Quick Start Guide MHM-97430, Rev 4 March 2016 ™ CSI 2140 Machinery Health Analyzer Quick Start Guide...
-
Page 3: Trademarks And Service Marks
Information in this document is subject to change without notice and does not represent a commitment on the part of Emerson Process Management. The information in this manual is not all-inclusive and cannot cover all unique situations. - Page 4 Quick Start Guide March 2016 MHM-97430 Rev 4...
-
Page 5: Introduction To The Analyzer
Status LED - Blue light flashes each time you press a key or option, blinks in power save mode, and remains solid in standby mode. (1) To comply with relevant safety certifications, the CSI 2140 labeled "ATEX/IECEx Zone 2" does not have a keypad backlight. -
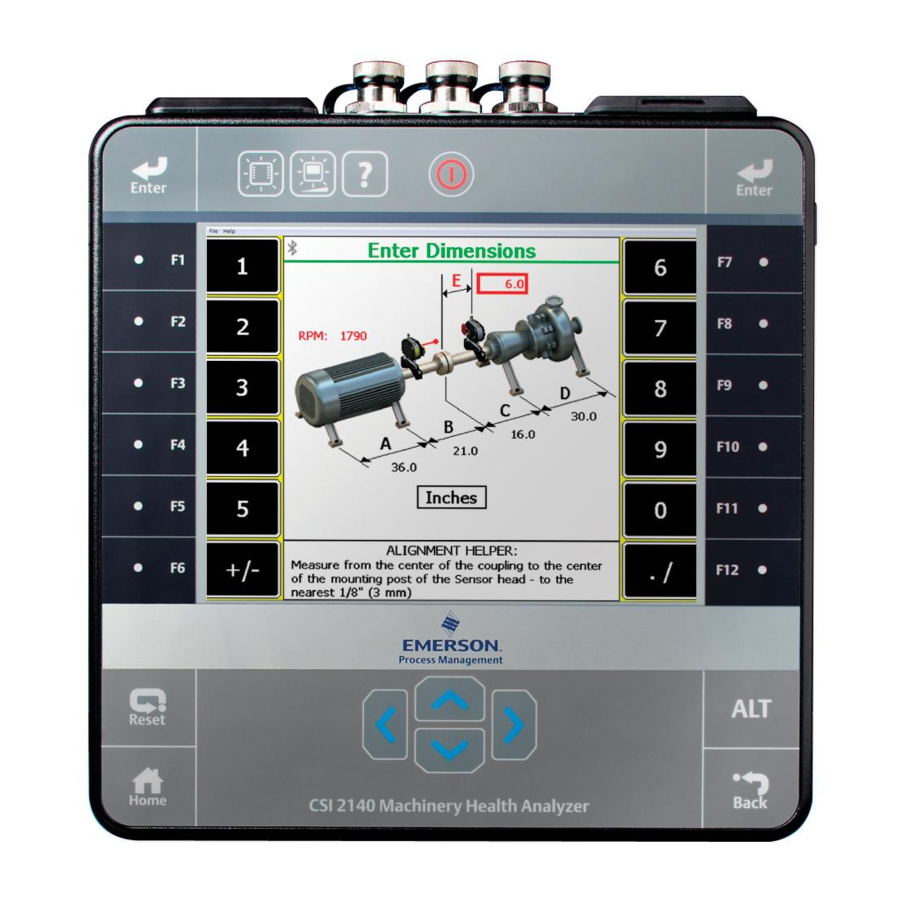
Page 6: Top View
• Do not connect a signal outside the range of +/- 24 volts into the Volts / Tach input of the CSI 2140. Turn on the analyzer for the first time You need to activate the battery pack before you can turn on the analyzer for the first time. -
Page 7: Battery Pack
WARNING! Use only Emerson battery packs with the CSI 2140. The analyzer will not function if a non-Emerson battery pack is used. Lithium-Ion batteries have very specific charging requirements. Emerson power supplies and chargers are designed to work with the Emerson Lithium-Ion battery pack. -
Page 8: Charge The Battery Pack
• When charging the CSI 2140 with the battery pack or the battery pack by itself, ensure the ambient temperature where charging is occurring is 50° F to 95° F (10° C to 35° C). -
Page 9: Home Screen
March 2016 Quick Start Guide The lock releases, and you can push the stand toward the analyzer. Figure 3: Release the stand Home screen The Home screen appears when you turn on the analyzer by pressing the power key. MHM-97430 Rev 4... - Page 10 Quick Start Guide March 2016 Figure 4: Home screen A. An alternate screen (ALT) includes additional options. B. Current time and date. C. Default splash screen. D. Remaining battery pack charge. E. Number of supported channels for the analyzer. F. Serial number. G.
- Page 11 March 2016 Quick Start Guide Option Description Intentionally blank. F4 Set Display Units Set the default display units for the measurement values and plots. F5 Comm Setup Set the communication options to connect the analyzer to AMS Machinery Manager. You can also set up the Bluetooth functionality. F6 Program Manager Update the programs, add new programs, delete unused programs, or change the splash screen.
-
Page 12: Csi 2140 Four-Channel Input Adapter
Home > ALT > F1 Version version CSI 2140 Four-Channel Input Adapter The CSI 2140 Four-Channel Input Adapter expands the capabilities of your CSI 2140 by enabling four inputs. WARNING! Use the CSI 2140 Four-Channel Input Adapter in non-hazardous areas only. - Page 13 To release the adapter, press the tabs on each side of the CSI 2140 Four-Channel Input Adapter. To attach the shoulder strap, use the connectors on the sides of the CSI 2140 Four-Channel Input Adapter.
-
Page 14: Multiple Inputs
The CSI 2140 Four-Channel Input Adapter requires no additional setup, except in the Balance program. For the Balance program, you must enable the mux option to use the CSI 2140 Four-Channel Input Adapter. To access the other connectors, turn the adapter over and connect to the CSI 2140 using the appropriate Interface cable. -
Page 15: Csi 2140 For Use In Hazardous Locations
CSI 2140 for use in hazardous locations Be aware of the appropriate approvals before operating the CSI 2140 in hazardous locations. Each CSI 2140 has a label attached to the back of the unit that designates with approval markings the approved locations for use: Label... - Page 16 CSI 430 SpeedVue Sensor may not be compatible with the CSI 2140 labeled "ATEX/IECEx Zone 2." The CSI 430 is not permitted in hazardous areas; and it may not function with the ATEX-certified CSI 2140 even in a safe area.
-
Page 17: Collect Route Data
1. Remove the rubber plug on the top of the analyzer. Machinery Manager 2. Connect the USB cable to the CSI 2140 and the computer where AMS Machinery Manager is installed. 3. Open and log in to AMS Machinery Manager. - Page 18 Quick Start Guide March 2016 Figure 6: Route Data Collection screen A. Displays the live and collected data. B. Status field for measurements, notes, and field alerts. C. Date and overall value of the last data collected on this point. D.
- Page 19 March 2016 Quick Start Guide Option Description Create, add, or delete notes. F4 Notes F5 Plot Data View the collected data on one or more plots. F6 Clear Data Delete data from the current measurement point. F7 Next Point Move to the next measurement point on the equipment. If the last point on the equipment displays and you press F7 Next Point, the analyzer displays the first point on the next equipment.
-
Page 20: Run Analyze To Collect Data For A Route Measurement Point
Quick Start Guide March 2016 Step 2: Review data collection and display parameters The default parameters should be appropriate for most routes. Press Enter or the Back key when you are finished. Task Steps Set the plot type for From the Route Data Collection screen, press ALT > F1 User Setup > F2 collected data Select Data Display. - Page 21 Step 4: Transfer the route Task Steps Optional: Print a route 1. Connect the USB cable to the CSI 2140 and the computer where report to AMS Machinery AMS Machinery Manager is installed. Manager 2. Open and log in to AMS Machinery Manager.
- Page 22 Quick Start Guide March 2016 MHM-97430 Rev 4...
- Page 24 © Emerson Process Management 2016, Emerson Process Management Machinery Health Management All rights reserved. The Emerson logo is a 835 Innovation Drive trademark and service mark of Emerson Electric Co. Knoxville, TN 37932 USA All other marks are property of their respective T +1 865-675-2400 owners.
Need help?
Do you have a question about the CSI 2140 and is the answer not in the manual?
Questions and answers