Table of Contents
Advertisement
Quick Links
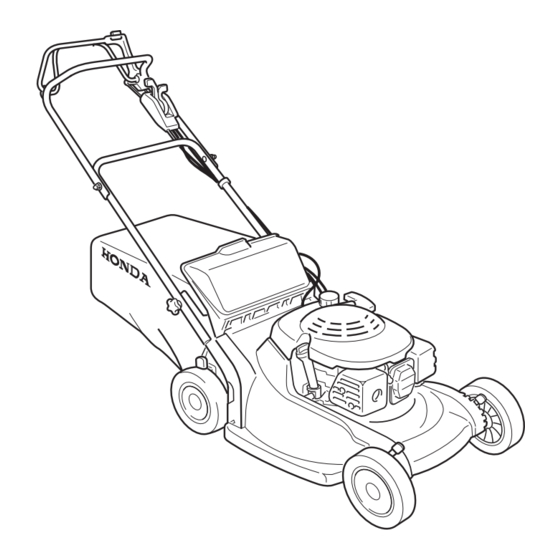
Rotary Mower
HRB536C HRM536C
OWNER'S MANUAL
OWNER'S MANUAL
MANUEL DE L'UTILISATEUR
MANUEL DE L'UTILISATEUR
BEDIENUNGSANLEITUNG
BEDIENUNGSANLEITUNG
MANUAL DE EXPLICACIONES
MANUAL DE EXPLICACIONES
GEBRUIKSAANWIJZING
GEBRUIKSAANWIJZING
MANUALE DELL'UTENTE
MANUALE DELL'UTENTE
© 1997, 2000-2001 American Honda Motor Co., Inc. – All Rights Reserved
Advertisement
Table of Contents


Need help?
Do you have a question about the HRB536C and is the answer not in the manual?
Questions and answers
When was the Honda HRB536c made?
The Honda HRB536C was manufactured in 2007.
This answer is automatically generated