Table of Contents
Advertisement
Quick Links
Download this manual
See also:
User Manual
Advertisement
Table of Contents

Related Manuals for EverFocus EHN7260


Summary of Contents for EverFocus EHN7260
- Page 1 Star Light Outdoor Dome IR Network Camera EHN7221/7260/7360 Ultra Low Light Network Camera Quick Installation Guide Copyright © EverFocus Electronics Corp. Release Date: March, 2016...
-
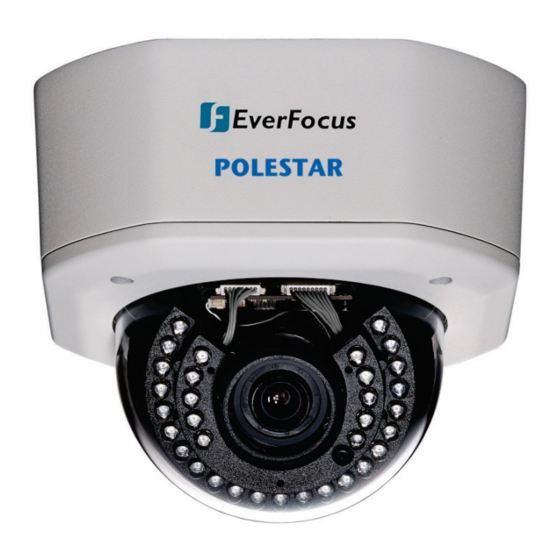
Page 2: Physical Description
EHN7221/7260/7360 1. Physical Description Camera Module No Item Name Equipped with three plugs inserted in the cable conduits for Cable Gland waterproofing. A 16-pin terminal block. See 2. Terminal Block in the Quick Terminal Block Installation Guide. LAN / PoE Connect to a 10/100 Ethernet or PoE. -
Page 3: System Requirement
Note: Equipment configurations and supplied accessories vary by country. Please consult your local EverFocus office or agents for more information. Please also keep the shipping carton for possible future use. 2. Contact the shipper if any items appear to have been damaged in the shipping process. - Page 4 For details about IP Sidekick, please refer to the IP Sidekick – ESK1000 User’s Manual. • EverFocus 5 / 8 / 16 / 24 Ports 5 Ports: ES0501-40 PoE Switch...
-
Page 5: Terminal Block
EHN7221/7260/7360 2. Terminal Block The I/O terminal block, located on the camera module, can be used to develop applications for alarm input and output, two-way audio, TV-output or a variety of other functions. Note: 1. You can unplug the terminal block from the camera module for easier wiring. 2. -
Page 6: Important Notice For The Installation
EHN7221/7260/7360 3. Installation Important Notice for the Installation If you want to mount the camera on the wall where direct sunlight may occur, it is strongly recommended to mount the camera using the L-Shaped Mounting Bracket to prevent the camera from being damaged by direct sunlight. - Page 7 EHN7221/7260/7360 2. Screw the Base Plate to the Wiring Box using the supplied four Phillips Screw. Wiring Box Base Plate If you want to wire the cables through the bottom of the Camera Case, follow the steps below: a. Remove the Circle Plate on the bottom of the Camera Case. You can simply loosen the Circle Plate using a coin.
- Page 8 EHN7221/7260/7360 c. Screw the Circle Plate to the side hole on the Camera Case. d. Screw the Adapter Plate between the Base Plate and Wiring Box. Wiring Box Adapter Plate Base Plate 3. Screw the Camera Case back to the Base Plate using the supplied four Hexagon Screws. Base Plate Camera Case...
- Page 9 EHN7221/7260/7360 4. Insert the network / PoE cable or the additional cables through the Cable Gland. Up to three cables can be inserted. Note that except the network / PoE cable, additional wires have to be bundled into a cable with diameter ranging from 5.3mm to 6.4mm (see Step d below). Stopper Claw Stopper Screw Cap...
- Page 10 EHN7221/7260/7360 d. Optionally insert the additional wires, such as power (if you want to power the camera through a 12 VDC power source), alarm and audio cables, through the other Cable Conduit. Note that one Cable Conduit can only be inserted with one cable. The Cable Conduit has been tested to support cable diameter between 5.3mm and 6.4mm.
- Page 11 EHN7221/7260/7360 7. Optionally insert a micro SD / SDHC card to the card slot. 8. Stick the supplied 2 Desiccant Bags inside the camera case. Note: It is recommended to replace the desiccant bags every time when you open the camera. 9.
-
Page 12: Accessing The Camera
You can look up the IP address and access the Web interface of the IP camera using the IP Utility (IPU) program, which is included in the software CD. The IP Utility can also be downloaded from EverFocus’ Website: http://www.everfocus.com.tw/HQ/Support/DownloadCenter_p1.aspx (Support >... - Page 13 EHN7221/7260/7360 2. Click the Finish button, the IP Utility will be automatically launched to search the IP devices connected on the same LAN. 3. To access the Live View window, double click the IP address of the desired device, the login window pops up.
- Page 14 EHN7221/7260/7360 click Finish. Then, you can open a new browser again to access the camera’s remote Web interface. 6. To optionally configure the Machine Name, IP Address, IP Type or Port Number using the IPU: a. Log in the device by checking the desired model and then click the Log in icon.
- Page 15 To set up a static IP: By default, EverFocus’ IP cameras are set up with DHCP. To change the IP setting to static IP, select Static IP from IP Type drop-down list and set up the desired IP Address, for example, 192.168.31.67.
- Page 16 EHN7221/7260/7360 To show the Subnet Mask and Gateway items on the title bar, right click the title bar to display the Customize Columns window, select Subnet Mask and Gateway and then click OK.
-
Page 17: Connecting To The Network
EHN7221/7260/7360 5. Connecting to the Network You can use one of the methods below to connect the camera to the network. Direct High-Speed Connection In a Direct High-Speed Connection, the camera connects directly to a modem without the need for a router. -
Page 18: Router Or Lan Connection
Left: Pinout of a straight-through cable. 5. Upgrading Firmware You can upgrade camera’s firmware using the IP Utility software included in the software CD. The IP Utility can also be downloaded from EverFocus’ Website: http://www.everfocus.com.tw/HQ/Support/DownloadCenter_p1.aspx (Support > Download Center > Keyword Search: IP Utility). Please connect the IP camera on the same LAN of your computer. - Page 19 EHN7221/7260/7360 Log in the camera by checking the desired model and then click the Log in icon. The Log in dialog box appears. Type the Username and Password. Click the OK button, the Login status displays. Note: 1. The default user ID is user1 and the default password is 11111111. 2.
- Page 20 TEL: +81 3 5625 8188 www.everfocus.com FAX: +81 3 5625 8189 sales@everfocus.com www.everfocus.co.jp info@everfocus.co.jp Ihr EverFocus Produkt wurde entwickelt Your EverFocus product is designed und hergestellt mit qualitativ and manufactured with high quality hochwertigen Materialien und materials and components which can Komponenten, die recycelt und wieder be recycled and reused.
Need help?
Do you have a question about the EHN7260 and is the answer not in the manual?
Questions and answers