Advertisement
Advertisement
Table of Contents

Related Manuals for Makita 2712


Summary of Contents for Makita 2712
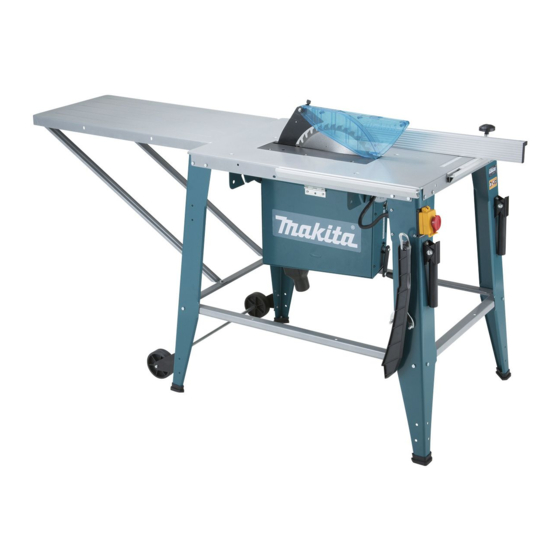
- Page 1 INSTRUCTION MANUAL Table Saw 2712 014518 IMPORTANT: Read Before Using.
-
Page 2: Specifications
ENGLISH (Original instructions) SPECIFICATIONS Model 2712 Arbor hole 30 mm Blade diameter 315 mm Blade body thickness 2 mm or less Thickness at 90° 85 mm Max. cutting capacities Thickness at 45° 58 mm Width 1,600 mm No load speed... -
Page 3: Additional Safety Rules For Tool
Dress properly. authorized service center unless otherwise indicated Do not wear loose clothing or jewellery, they can be in this instruction manual. Have defective switches caught in moving parts. Rubber gloves and non-skid replaced by an authorized service facility. Do not use footwear are recommended when working outdoors. -
Page 4: Installation
the workpiece as in ripping or cross cutting. bend or twist workpiece while feeding. If you stall NEVER use the tool with a faulty blade guard or or jam the blade in the workpiece, turn the tool off secure the blade guard with a rope, string, etc. immediately. - Page 5 − Table saw (1 unit) Attach the four legs to the inside of base edge. − Leg (4 pcs) Attach the leg with the hole for the switch to the side − Foot (4 pcs) with the sign "A "on the base. Secure the four legs −...
- Page 6 Install the tire complete to the legs and secure them with screws and hex nuts. 1. Tire complete 014568 Install the dust nozzle. Adjust the motor part to the 0°position and secure it by tightening the knob. Secure the power cord with the cord clamp.
-
Page 7: Functional Description
FUNCTIONAL DESCRIPTION CAUTION: Always be sure that the tool is switched off and • unplugged before adjusting or checking function on the tool. Adjusting the depth of cut 1. Handle 014520 1. Sub table The depth of cut may be adjusted by turning the handle. 2. -
Page 8: Installing Blade Guard
Model Dia. Blade thickness Kerf Be sure to hold the hex bolt carefully with the hex • 2712 315 mm 2 mm or less 2.8 mm or more wrench. If your grip should slip, the hex wrench 014540 may come off the hex bolt, and your hand could 1. -
Page 9: Operation
1. Blade guard 2. Riving knife 014527 014530 Place the blade guard into the groove on the riving knife. To check that the rip fence is parallel with the blade, Secure the blade guard by pivoting the lever on the secure the rip fence 2 - 3 mm from the blade. - Page 10 Failure to do so may cause dangerous kickbacks. When the width of rip is 65 mm - 150 mm wide, NEVER remove cut-off material while the blade is use the push stick to feed the workpiece. • running. NEVER place your hands or fingers in the path of •...
-
Page 11: Carrying Tool
OPTIONAL ACCESSORIES 1. Rip fence 2. Knob CAUTION: These accessories attachments • recommended for use with your Makita tool specified in this manual. The use of any other accessories or attachments might present a risk of injury to persons. Only use accessory or 014538 attachment for its stated purpose. - Page 12 Makita Corporation www.makita.com JM2718A012...
Need help?
Do you have a question about the 2712 and is the answer not in the manual?
Questions and answers