
Related Manuals for Pakedge Device & Software RK-1


Summary of Contents for Pakedge Device & Software RK-1
-
Page 1: Quick Start Guide
QUICK START GUIDE RK-1 High Throughput - Dual WAN, Gigabit Audio/Video Router Version 1.0 pakedgedevice&software inc... -
Page 2: Table Of Contents
Contents Overview Package Contents Installing the Router Changing the Router Password Accessing the Router GUI Connecting to the Internet Changing the LAN IP Troubleshooting and Support... -
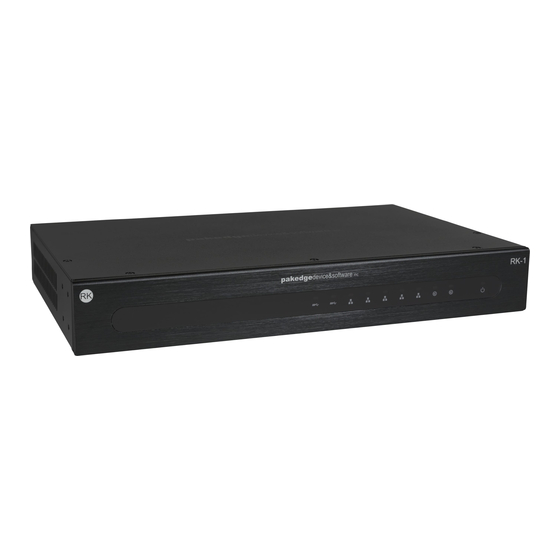
Page 3: Overview
Overview The RK-1 is an high power audio/video router that is designed to minimize installation times through an intuitive GUI. See the Table 1 for more information. - Page 4 Status Operation Blue USB is connected LINK/ Flashing USB 1 - 2 USB is being accessed Blue No device connected Blue Port is online (link established) LINK/ Flashing WAN 1 - 2 Activity Blue No device connected Blue Port is online (link established) LINK/ Flashing LAN 1 - 5...
- Page 5 You will find a description of the interfaces on the back of the RK-1 in Table Interface Type Speed Protocol Description Hold Reset Button for 10 seconds to Reset Button factory default the settings USB 1 - 2 USB-A 5Gbps USB 3.0...
-
Page 6: Package Contents
Package Contents RK-Router Mounting Brackets Power Cable 1ft CAT5E Cable Quick Start Guide Installing the Router If mounting the router in a standard 19” AV rack, attach the rack- mounting brackets that come with the router to the sides. If not rack- mounting, ensure that the router is physically mounted near power and network connections. -
Page 7: Changing The Router Password
Changing the Router Password It is strongly recommended that you change the default password for the router. Please refer to the user manual for step by step instructions. Accessing the Router GUI 1. Make sure your network card is set to obtain an IP address automatically. Then open any Internet browser and go to the address http://192.168.1.99 or you can simply... - Page 8 Internet access. If you are using a modem that has a router built into it, you may have to configure DMZ settings to allow complete functionality of the RK-1. Static IP: To configure the router to a static IP, complete the following steps: Hover your mouse towards the top of page to see the menu.
- Page 9 Click on Edit under WAN zone. Select Static Address for the Protocol.
- Page 10 Click on Switch Protocol. Enter the IP address from your ISP. Select the appropriate Subnet Mask from your ISP. You can select custom to enter a custom subnet mask. Then enter your Default Gateway and DNS Server. Leave the override MAC address at default. Click Apply.
- Page 11 PPPoE: To configure the router using a PPPoE connection, you will need to complete the following steps: Hover your mouse towards the top of page to see the menu. Click on Network Zones. Click on Edit under WAN zone. Select PPPoE from the Protocol drop down menu. Then click on Switch Protocol.
-
Page 12: Changing The Lan Ip
Enter the username that the ISP assigned under the PAP/CHAP username field. Enter the password in the PAP/CHAP password field. Click Apply when finished. The router is now setup for PPPoE. Changing the LAN IP The default IP address of the router is 192.168.1.99. If you need to change the IP address of the router or change the entire network address take the following steps. - Page 13 Click Edit under LAN zone. Enter the new IP address you wish to use in the IP Address field. In the following example we change the IP address of the router to 192.168.1.1. Click Apply towards the bottom to finalize the settings.
-
Page 14: Troubleshooting And Support
Troubleshooting and Support If you are unable to get the router functional using these steps, you can refer to the full manual on our website or contact the Technical Support Team for assistance. Contact information Website: www.pakedge.com Email: support@pakedge.com Phone: (650)385-8703 pakedgedevice&software inc 3847 Breakwater Avenue Hayward,CA 94545...
Need help?
Do you have a question about the RK-1 and is the answer not in the manual?
Questions and answers