Advertisement
Table of Contents
- 1 Table of Contents
- 2 Switch Overview
- 3 Preparing to Install the Switch
- 4 Installation
- 5 Configuring the Switch
- 6 Changing the IP Address of the Switch
- 7 Setting the Default Gateway
- 8 Console into the Switch
- 9 Resetting the IP Address through the Console
- 10 Factory Defaulting through the Console
- Download this manual
Advertisement
Table of Contents

Related Manuals for Pakedge Device & Software X-Series


Summary of Contents for Pakedge Device & Software X-Series
- Page 1 Quick Start Guide – Version 1.1 X-Series Switches S24av/S24P8av/S24P16av/S24Pav/S24Hav/S8Hav/S24f/S24Hf Enterprise-Class, Fully Managed Gigabit Switches with Rear or Front Facing Ports S24av/S24P8av/S24P16av/S24Pav/S24Hav/S8Hav S24f/S24Hf...
-
Page 2: Table Of Contents
Preparing to Install the Switch Installation Configuring the Switch Changing the IP Address of the Switch Setting the Default Gateway Console into the Switch Resetting the IP Address through the Console Factory Defaulting through the Console X-SERIES SWITCHES QUICK START GUIDE... -
Page 3: Switch Overview
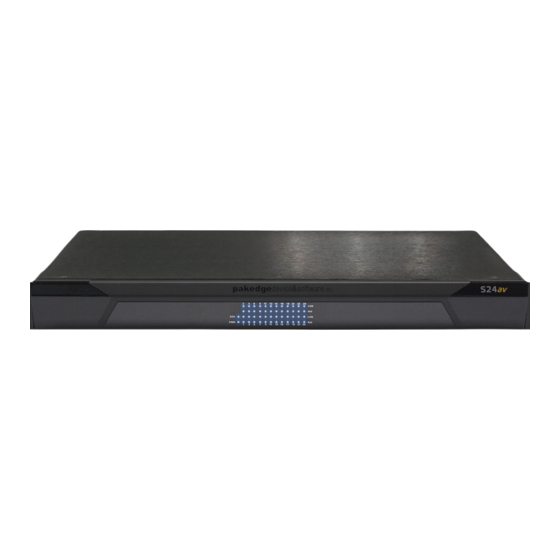
They come in a variety of configurations such as 8-port or 24-port, non-PoE, PoE and high powered PoE as well as front or rear facing ports. The X-Series switches are encased in AV like housings to appeal to customers demand for aesthetics. -
Page 4: Preparing To Install The Switch
Installing any of the X-Series switches is similar to installing any other Pakedge switch. If you have installed a managed switch before, the process will be very similar. The GUI for all of the X-Series switches will be the same so the configuration steps discussed later in this quick start guide can be used on any of the switches. -
Page 5: Configuring The Switch
CONFIGURING THE SWITCH 1. Connect the X-Series switch to power. The PWR LED will light up and the fans will start. 2. Connect a PC or laptop to any LAN port on the X-Series switch. 3. Configure the PC with a static IP address of 192.168.1.10 and subnet mask of 255.255.255.0 and then open any browser. - Page 6 6. Once you have logged into the switch you will have access to the GUI and will be able to make any changes you wish to the swtich. The following is an example of the system configuration page for the S24F. X-SERIES SWITCHES QUICK START GUIDE...
-
Page 7: Changing The Ip Address Of The Switch
CHANGING THE IP ADDRESS OF THE SWITCH 1. From the menu on the left, navigate to IP Basic Configuration-> IP Address Configuration. X-SERIES SWITCHES QUICK START GUIDE... - Page 8 192.168.1.206 you would enter 192.168.1.206/24 into the “IP Address / Subnet prefix” box. The /24 is another way of using the 255.255.255.0 subnet mask. 3. Click on “Create/Modify IP address” and now the switch will be on the new IP address. X-SERIES SWITCHES QUICK START GUIDE...
-
Page 9: Setting The Default Gateway
SETTING THE DEFAULT GATEWAY 1. To set the default gateway we will need to create a static route. Navigate to IP Basic Configuration-> Host Static Route. X-SERIES SWITCHES QUICK START GUIDE... - Page 10 3. Click “Apply” and now you should have a static route created, which means the default gateway has been set. For example, if the router is set to 192.168.1.99 then you would see an entry similar to the following: X-SERIES SWITCHES QUICK START GUIDE...
-
Page 11: Console Into The Switch
CONSOLE INTO THE SWITCH Any of the X-Series switches will have a console port to serve as a back door entrance to the switch. This can be beneficial in case the switch is not functioning properly or if the incorrect IP address was configured. - Page 12 The following is an example if you are using Putty: X-SERIES SWITCHES QUICK START GUIDE...
- Page 13 3. 3. If you are using Putty you need to go to Session on the left hand side and select Serial for the connection type and then click open to actually initiate the console session. X-SERIES SWITCHES QUICK START GUIDE...
- Page 14 4. Once the connection is established you should see a screen similar to the following: 5. You are now consoled into the switch. X-SERIES SWITCHES QUICK START GUIDE...
-
Page 15: Resetting The Ip Address Through The Console
5. Press <CTRL-Z>. 6. Type write (You will see Building and writing configuration). 7. Type copy run start (You will see Building and writing configuration). 8. The switch should now be accessible on its default IP address. X-SERIES SWITCHES QUICK START GUIDE... -
Page 16: Factory Defaulting Through The Console
3. Type Y when asked if you wish to continue. 4. Type reset and press <ENTER>. 5. Type Y when asked if you wish to continue. 6. The switch will now reboot and come back up with default settings. X-SERIES SWITCHES QUICK START GUIDE... - Page 17 TROUBLE SHOOTING & SUPPORT If you are unable to get the X-Series switches functional using these steps, you can refer to the User’s Manual on our website or contact the Technical Support Team for help. CONTACT INFORMATION: Website: www.pakedge.com Email: support@pakedge.com Phone: 650.385.8703...
- Page 18 X-SERIES SWITCHES QUICK START GUIDE...
- Page 19 X-SERIES SWITCHES QUICK START GUIDE...
- Page 20 3847 Breakwater Avenue Hayward, CA 94545-3606 Visit us at: www.pakedge.com © Pakedge Device & Software Inc. 2014 – All Rights Reserved...
Need help?
Do you have a question about the X-Series and is the answer not in the manual?
Questions and answers