Table of Contents

Related Manuals for Gigaset E630hx


Summary of Contents for Gigaset E630hx
- Page 1 E630 User guide online on your smartphone or tablet: Download the Gigaset Help app from Detailed information on the telephone system: User guide of your Gigaset telephone www.gigaset.com/manuals Documentation relating to your base/router...
- Page 3 You can use your handset with several different DECT bases. On a Gigaset base Connect your HX handset to a Gigaset base and use the many features with the quality you would expect from Gigaset. If your Gigaset base is IP-compatible, you can also make broadband calls using your HX handset with the highest voice quality (HDSP).
-
Page 4: Overview
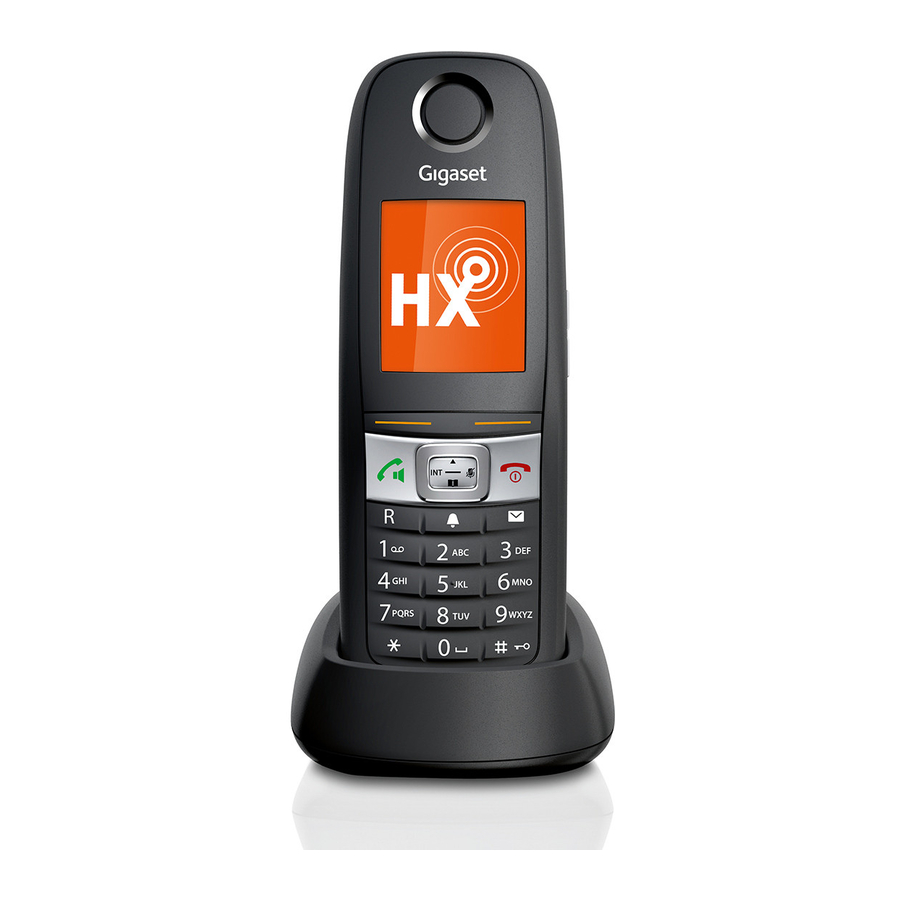
Overview Overview 4 Volume keys 5 Display keys Various functions, depending on the operating situation 6 End call key, On/off key End call; cancel function; Go back one menu level Press briefly Return to idle status Press and hold Switch the handset on/off Press and (in idle status) hold... -
Page 5: Table Of Contents
Contents Contents Overview ................2 Safety precautions . -
Page 6: Additional Information
Contents Additional information Regarding the telephone system, if the handset is connected to a Gigaset base: User guide for your Gigaset telephone Regarding the telephone system, if the handset is connected to another base/router: Documentation regarding your base/your router You can obtain all Gigaset user guides in PDF format: www.gigaset.com/manuals... - Page 7 Illustration in the user guide Illustration in the user guide Warnings, which, if not heeded, can result in injury to persons or damage to devices. Important information regarding function and appropriate handling or functions that could generate costs. Prerequisite for being able to carry out the following action. Additional helpful information.
-
Page 8: Safety Precautions
If you use a medical device (e.g. a pacemaker), please contact the device manufacturer. They will be able to advise you regarding the susceptibility of the device to external sources of high fre- quency energy (for the specifications of your Gigaset product see "Specifications"). -
Page 9: Getting Started
Getting started Getting started Contents of the package • One handset, • One charging cradle incl. power adapter, • One battery cover (rear cover for the handset), • One locking disc for the battery cover, • Two batteries, • One belt clip, •... -
Page 10: Setting Up The Handset For Use
Getting started Setting up the handset for use The display is protected by a plastic film. Please remove the protective film! Inserting the batteries Only use rechargeable batteries, as this could otherwise result in significant health risks and personal injury. For example, the outer casing of the batteries could be destroyed or the batteries could explode. -
Page 11: Changing The Display Language
OK . . . an available base is sought . . . if required: enter system PIN (default setting on Gigaset bases: 0000) Once registration is complete, the handset returns to idle status. The internal number of the handset appears in the display, e. g. INT 1. If not, repeat the procedure. -
Page 12: Setting The Date And Time
Getting started A handset can be registered to up to four base stations. ¤ Change of base: Select Base . . . use to select base or Best Base Select = selected) Best Base: The handset chooses the base station with the best reception as soon as it loses connection to the current base station. -
Page 13: Connecting The Headset
If you do not wish to connect a headset: ¤ Insert the rubber cover provided to guarantee the unit is splashproof. For information on recommended headsets, see the relevant product page at www.gigaset.com. Availability and operation of the functions may differ on your telephone. -
Page 14: Using The Telephone
"press the centre of the control key". In idle status Open the directory Press briefly Open the list of available online directories (Gigaset GO-Box Press and hold 100) or central directory of the base (e.g. CAT-iq base) Open the main menu... -
Page 15: Volume Keys
Getting to know your telephone During a conversation Open the directory Open the list of available online directories (Gigaset GO-Box Press and hold 100) or central directory of the base (e.g. CAT-iq base) Mute the microphone Initiate an internal consultation call... -
Page 16: Menu Guidance
Getting to know your telephone Menu guidance The functions of your telephone are displayed in a menu that consists of several levels The menu guidance depends on the base. Depending on the number and type of available functions, these may be provided in different menus, e.g. at top level or in a submenu. -
Page 17: Entering Text
Getting to know your telephone Entering text Input position ¤ to select an entry field. A field is activated when the New Entry cursor is blinking inside it. ¤ to move the position of the cursor. First Name: Peter| Correcting incorrect entries Surname: •... -
Page 18: Making Calls
Dialling from a public/central directory Depending on the base to which the handset is connected to, you can dial from a public directory, the Gigaset.net directory (e.g. Gigaset GO-Box 100) or a central directory on a CAT-iq base. ¤... - Page 19 Making calls Dialling from the redial list The redial list contains the 20 numbers last dialled with the handset. ¤ Briefly press the Talk key . . . the redial list opens . . . use to select an entry press the Talk key If a name is displayed: ¤...
-
Page 20: Incoming Calls
Making calls Incoming calls An incoming call is indicated by ringing, by a display on the screen and by the flashing Talk key . Accepting a call: • Press the Talk key • If Auto Answer is activated: Remove the handset from the charging cradle •... -
Page 21: Local Answer Machine
Local answer machine Local answer machine (only on Gigaset bases with local answer machine) Switching the answer machine on/off: ¤ . . . use to select Answer Machine Activation . . . use to select an answer machine (if there are several) Change . -
Page 22: Local Handset Directory
The local directory is unique to the handset. However, it is possible to send entries to other handsets ( p. 22). Information about online directories (e.g. on a Gigaset GO-Box 100) or central directories on CAT-iq bases user guide of the base. -
Page 23: Deleting Entries
Local handset directory Searching for/selecting a directory entry ¤ . . . use to browse searched names ¤ . . . use to enter initial letters (max. 8 letters) . . . the display jumps to the first name starting with these initial letters . - Page 24 Local handset directory Copying number to the directory Copy numbers to the directory: • From a list e.g. the call list or the redial list • When dialling a number The number is displayed or highlighted. ¤ Press the display key or Options Copy to Directory OK .
- Page 25 Local handset directory Copying individual entries ¤ . . . use to select the desired entry Options Copy Entry Internal . . . use to select the receiving handset OK . . . the entry is copied Copy the next entry after successful transfer: Press Yes or No Copying the entire directory ¤...
-
Page 26: Message Lists
Back The message list contains an entry for every answer machine assigned to the handset, e.g. for the local answer machine on a Gigaset base / CAT-iq router or for a network mailbox . Availability and operation of the functions... -
Page 27: Call Lists
Call lists Call lists The telephone saves different types of calls (missed, accepted and outgoing calls) in lists. List entry The following information is displayed in the list entries: Example • The list type (in the header) All calls • Icon for the type of entry: Frank Missed calls,... -
Page 28: Additional Functions
Additional information Regarding the telephone system, if the handset is connected to a Gigaset base: User guide for your Gigaset telephone Regarding the telephone system, if the handset is connected to another base/router:... -
Page 29: Spot Led
Spot LED Activate alert tone for an incoming call for Profile Silent: after switching to Profile Silent press the display key Beep . . . the icon appears in the status bar Changes to the settings listed in the table: •... - Page 30 Calendar Saving appointments to the calendar Date and time have been set. ¤ . . . use to select Additional Features Calendar . . . use to select desired day OK . . . then ¤ Switch on/off: Activation: . . . use to select On or Off ¤...
- Page 31 Calendar Opening the list ¤ Press the Message key Missed Alarms: . . . use to browse through the list of any appointments ¤ . . . use to select Additional Features Missed Alarms Each entry is displayed with the number or name, date and time. The most recent entry appears at the top of the list.
-
Page 32: Alarm Clock
Alarm clock Alarm clock Date and time have been set. Activating/deactivating the alarm clock and setting the wake-up time ¤ . . . use to select Additional Features Alarm Clock OK . . . then ¤ Switch on/off: Activation: . . . use to select On or Off Setting the wake-up time: ¤... -
Page 33: Baby Monitor
Baby monitor Baby monitor When the baby monitor is switched on, the stored (internal or external) destination number is called as soon as a defined noise level is exceeded in the vicinity of the handset. The alarm to an external number is cancelled after approximately 90 seconds. You can answer the alarm using the Two Way Talk function. - Page 34 Baby monitor Activating and setting the baby monitor ¤ . . . use to select Additional Features Baby Monitor activated Baby Monitor OK . . . then Switch on/off: ¤ 07:15 Activation: . . . use to select On or Off Enter destination: INT 1 ¤...
-
Page 35: Protection Against Unwanted Calls
Audio Settings Ringtones (Handset) Anon. Calls Silent Edit ( = on) . . . the call is only signalled on the display For all handsets (only on some Gigaset bases) ¤ . . . use to select Settings Telephony Anonymous... - Page 36 Protection against unwanted calls Black list (only on some Gigaset bases) When the black list function is activated, calls from black list numbers are not indicated or are only indicated in the display. These settings apply to all registered handsets.
-
Page 37: Adjusting The Telephone Settings
Briefly press the End call key . . . the idle display appears Display of info services as screensaver (only on a Gigaset GO-Box 100 or other Gigaset-IP base) Info Services are activated via the web configurator. The telephone is connected to the Internet. - Page 38 Switching the information ticker on/off (only on a Gigaset GO-Box 100 or other Gigaset-IP base) The text information from the Internet that is set for the screensaver Info Services can be displayed as a scrolling message in the idle display.
-
Page 39: Display Backlight
Handset Display backlight The display backlight always illuminates when the handset is taken out of the base station/ charging cradle or when a key is pressed. Any digit keys that are pressed appear on the display for pre-dialling. Switch the display backlight on/off when in idle status: ¤... - Page 40 Handset Changing the earpiece and handsfree volume You can set the volume of the earpiece and speaker at 5 levels independently of each other. Changes are only saved permanently in Profile Personal. During a conversation ¤ Press the volume keys on the right side of the handset ¤...
- Page 41 Handset Ringtones Ringtone volume Volume can be set at 5 levels or crescendo (increasing volume). ¤ . . . use to select Settings Audio Example Settings Ringtones (Handset) Volume Volume . . . use to select For internal calls and For internal calls alarms or External Calls .
- Page 42 Handset Switching the alert tone (beep) on/off Switch on an alert tone (beep) instead of the ringtone: ¤ . . . Press the Profile key to select Profile Silent press Beep within 3 seconds . . . the following icon appears in the status bar Switching off the alert tone: .
- Page 43 Handset Assigning a number to digit keys (quick dial) A number has not been assigned to the digit key. ¤ Press and hold the digit key ¤ Briefly press the digit key Press the display key QuickDial The directory opens. ¤...
- Page 44 Handset Assigning display keys, changing assignments ¤ Press and hold the left or right display key in idle status . . . the list of possible key assignments is opened . . . use to select function OK . . . possible options: Baby Monitor Set and activate/deactivate baby monitor Alarm Clock...
- Page 45 Handset Assigning handsets to a connection (line) (only on a CAT-iq router) Multiple handsets can be assigned to a connection. Incoming calls to the number designated to a connection will be forwarded to all handsets assigned to the connection. ¤ .
- Page 46 Handset Handset update (only on a CAT-iq router) ¤ . . . use to select Settings System Handset Update Update OK . . . updating of the handset firmware is carried out Resetting the handset to the default settings Reset any individual settings and changes that you have made. ¤...
-
Page 47: System
System System The following settings can be set via the menu on a registered handset or using the web configurator of the telephone/router. Refer to the relevant documentation for which settings can be configured on your base/router. Setting the date and time manually (depending on the base) To ensure you have the correct time for incoming calls and to use the alarm clock and calendar, for example, the date and time must be set. - Page 48 = on) Setting the IP address of the base station in LAN (only on a Gigaset GO-Box 100 or other Gigaset-IP base) Your base station is connected to a router or a PC. An IP address is required in order for the LAN to "recognise" your phone. The IP address can be assigned to the phone automatically (by the router) or manually.
-
Page 49: Updating The Phone Firmware
Press the Paging key on the base station Updating the phone firmware (only on a Gigaset GO-Box 100 or other Gigaset-IP base) The firmware update is downloaded directly from the Internet by default. The relevant web page is preconfigured in your phone. - Page 50 You can deactivate the automatic version check via the Web configurator. Checking the base station's MAC address (only on a Gigaset base) Depending on the network configuration, you may require the MAC address of the base station, e.g. in order to enter it in the router's access control list.
- Page 51 System Resetting system PIN (only on a Gigaset base) Resetting the base station to the original PIN 0000: ¤ Unplug the network cable from the base station Press and hold the Registration/Paging key on the base station At the same time reconnect the network cable to the base station Press and hold the key for at least 5 secs .
-
Page 52: Appendix
Please have your proof of purchase ready when calling. Please note that if the Gigaset product is not sold by authorised dealers in the national territory the product may not be fully compatible with the national telephone network. It is clearly spec- ified on the box near the CE mark for which country/countries the equipment has been devel- oped. -
Page 53: Customer Service & Product Warranty - Australia And New Zealand
2. The defect was caused by an accident, misuse, abuse, improper installation or op- eration, vermin infestation, lack of reasonable care, unauthorised modification, loss of parts, tampering or attempted repair by a person not authorised by Gigaset; 3. The product has been damaged by lightning or a mains power surge. - Page 54 Replacement or repair services are only offered for products purchased in Australia and New Zealand that bear Gigaset Communications GmbH local registered N Number and Telepermit markings. Please have your proof of purchase ready when calling.
- Page 55 In the case of new devices and their components exhibiting defects resulting from manufacturing and/or material faults within 24 months of purchase, Gigaset Communications shall, at its own option and free of charge, either replace the device with another device reflecting the current state of the art, or repair the said device.
- Page 56 Gigaset Communications. • This Guarantee shall apply to new devices purchased in the European Union. For Products sold in the Republic of Ireland the Guarantee is issued by Gigaset Communications UK Limited, 2 White Friars, Chester, CH1 1NZ. • Any other claims resulting out of or in connection with the device shall be excluded from this Guarantee.
- Page 57 Our environmental statement We at Gigaset Communications GmbH are aware of our social responsibility. That is why we actively take steps to create a better world. In all areas of our business – from product planning and production to sales and waste of disposal –...
-
Page 58: Contact With Liquid
Customer service & product warranty – Australia and New Zealand Disposal - Australia and New Zealand Batteries should not be disposed of in general household waste. Observe the local waste disposal regulations, details of which can be obtained from your local authority or the dealer you purchased the product from. All electrical and electronic equipment must be disposed of separately from general household waste using the sites designated by local authorities. -
Page 59: Technical Data
1.2 V Capacity: 750 mAh Handset operating times/charging times The operating time of your Gigaset depends on the capacity of the battery, its age and the way it is used. (All times are maximum possible times.) Standby time (hours) 320/200 * Talktime (hours) Operating time with 1.5 hours of calls per day (hours) -
Page 60: Display Icons
Display icons Display icons The following icons are displayed depending on the settings and the operating status of your telephone. Icons in the status bar Icon Meaning Icon Meaning Signal strength (No Radiation off ) Keypad lock activated 1% -100% Battery charge status: white, if Maximum Range on;... - Page 61 Display icons Display icons to indicate . . . Icon Meaning Icon Meaning External call Reminder for appointment Internal call Reminder for anniversary Establishing a call (outgoing call) Alarm call Connection established Answer machine is recording No connection established/ connection terminated Other display icons Icon Meaning...
-
Page 62: Index
Index Index Calling ......external ...... - Page 63 Index ..........Display keys alarm clock .
- Page 64 Index ........... . Message lists Screensaver .
- Page 65 Issued by Gigaset Communications GmbH Frankenstr. 2a, D-46395 Bocholt © Gigaset Communications GmbH 2016 Subject to availability. All rights reserved. Rights of modification reserved. www.gigaset.com Apple, the Apple logo and iPhone are trademarks of Apple Inc., registered in the U.S. and other countries.
Need help?
Do you have a question about the E630hx and is the answer not in the manual?
Questions and answers