Grace M9XX Owner's Manual
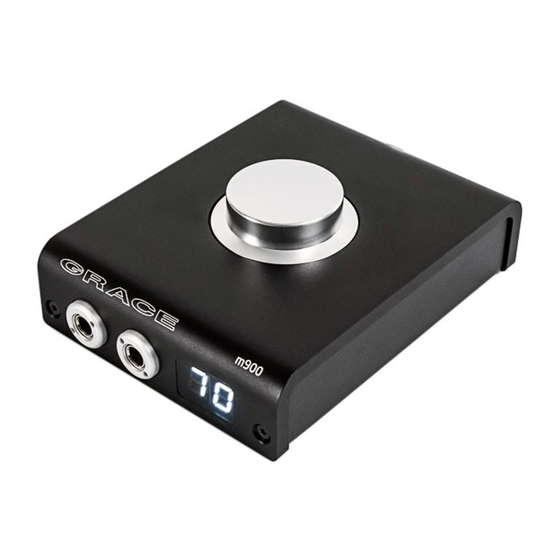
Audiophile headphone amp/dac
Hide thumbs
Also See for M9XX:
- Owner's manual (15 pages) ,
- Owner's manual (15 pages) ,
- Owner's manual (15 pages)
Table of Contents
Advertisement
Quick Links
Download this manual
See also:
Owner's Manual
Advertisement
Table of Contents

Related Manuals for Grace M9XX


Summary of Contents for Grace M9XX
- Page 1 Audiophile Headphone Amp / DAC Owner’s Manual Revision C 10/25/2015 Grace Design / Lunatec LLC 4689 Ute Highway, Longmont, CO 80503 info@gracedesign.com w ww.gracedesign.com 1.303.823.8100...
- Page 2 USB bus power supply design, the m9XX delivers unprecedented playback performance with compact, stylish ergonomics. Setup and operation is of the m9XX simple. While mostly plug and play, there are a few operational concepts that are helpful to understand. We encourage you to read this manual thoroughly to familiarize yourself with the unit so you can use and enjoy it to its fullest extent.
- Page 3 80mW per channel driven into 20 Ohm headphones USB #2 - High Power Input (rear panel) Use this input to operate the m9XX in High Power mode. An included 2A USB charger provides additional power the m9XX, translating to additional power to the headphones of over 800mW per channel with both channels driven into 20 Ohm headphones.
-
Page 4: Operation
The box will contain the m9XX, a 2A USB wall charger and 2 USB type B mini cables – one 6' and one 10'. If you are missing any of these items, please contact Grace Design at 1.303.823.8100. -
Page 5: Connecting Headphones
While this does not hurt the m9XX, it is good practice nonetheless to mute the audio (push down once on the volume knob) or pause your playback source while plugging or unplugging headphones. - Page 6 Regardless of the type of computer you will use to playback audio, it must have at least one available USB 2 (or 3) port. The m9XX ships with 2 standard USB type A to USB type B micro cables, one 6' and one 10'. The type A connector plugs into the computer and the type B micro connector to the #1 USB m9XX input.
-
Page 7: Using The Setup Menu
Using the Setup Menu Navigating The m9XX provides several setup and calibration options, which are accessed in a simple setup menu. The setup menu is accessed by the top panel volume encoder. To enter the setup menu, simply push and hold the volume encoder for 3 seconds. - Page 8 Decimal points ON indicate that display dimmer mode is active. Decimal points OFF indicate that display dimmer mode is not active. POWER UP LEVEL Enters current level setting as the default power up level. Set to 0 as factory default. Push encoder to activate. Decimal points ON indicate that current level has been stored.
-
Page 9: Specifications
Specifications THD+N at Maximum Volume, 1kHz, 22Hz-22kHz BW 0dBFS In, +14dBV Out <0.002% Intermodulation Distortion SMTPE/DIN 4:1 50Hz, 7kHz @1.0V out, no load <0.008% @1.0V out, 32 Ohm load <0.009% Frequency Response +/-3dB Fs=96kHz 0.5-45.9kHz Dynamic Range 20-22kHz bandwidth 112dB 20-22kHz bandwidth and A weighting filter 115dB Output Noise... -
Page 10: Cleaning And Maintenance
INCLUDING ANY WARRANTIES OF MERCHANTABILITY OR FITNESS FOR A PARTICULAR PURPOSE. In no event will Grace Design be liable for lost profits or any other incidental, • consequential or Exemplary damages, even if Grace Design is aware of the possibility of such damages. - Page 11 This warranty gives the customer specific legal rights. The customer may also • have other rights, which vary from state to state. Some states do not allow limitations on implied warranties or consequential damages, so some of the limitations of the above may not apply to a particular customer.
Need help?
Do you have a question about the M9XX and is the answer not in the manual?
Questions and answers