Daikin ERHQ011BAV3 Installation Manual
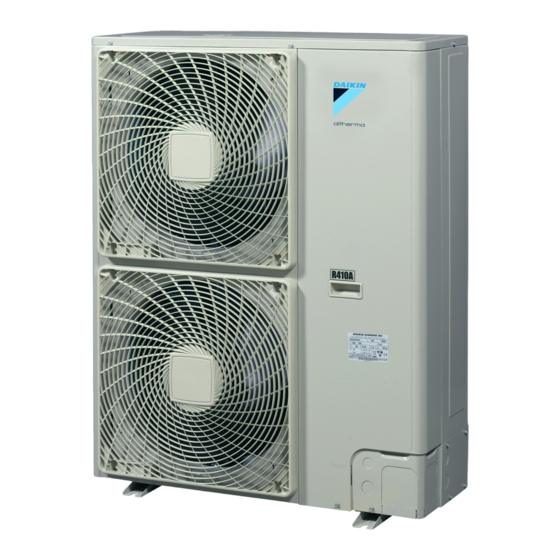
Outdoor unit for air to water heat pump
Hide thumbs
Also See for ERHQ011BAV3:
- Installation manual (28 pages) ,
- Installation manual (28 pages) ,
- Installation manual (20 pages)
Table of Contents
Advertisement
Advertisement
Table of Contents

Related Manuals for Daikin ERHQ011BAV3


Summary of Contents for Daikin ERHQ011BAV3
-
Page 1: Installation Manual
Installation manual Outdoor unit for air to water heat pump ERHQ011BAV3 ERHQ014BAV3 ERHQ016BAV3 ERHQ011BAW1 ERHQ014BAW1 ERHQ016BAW1 ERLQ011CAV3 ERLQ014CAV3 ERLQ016CAV3 ERLQ011CAW1 Installation manual ERLQ014CAW1 English Outdoor unit for air to water heat pump ERLQ016CAW1... - Page 2 (mm) ERHQ — ≥100 A, B, C — ≥100 ≥100 ≥100 B, E — ≥100 ≥1000 ≤500 A, B, C, E — ≥150 ≥150 ≥150 ≥1000 ≤500 — ≥500 D, E — ≥500 ≥1000 ≤500 B, D — ≥100 ≥500 B, D, E <H ≤½H...
- Page 3 3PW57793-1...
-
Page 4: Table Of Contents
Latest revisions of the supplied documentation may be available on 4.1.1 To provide the installation structure ......the regional Daikin website or via your dealer. 4.1.2 To install the outdoor unit..........The original documentation is written in English. All other languages 4.1.3... -
Page 5: Installation
4 Installation INFORMATION Installation You can use the optional drain plug kit (EKDK04) (only for ERHQ). Mounting the outdoor unit NOTICE If drain holes of the outdoor unit are covered by a mounting 4.1.1 To provide the installation structure base or by floor surface, raise the unit to provide a free space of more than 150 mm under the outdoor unit. -
Page 6: Connecting The Refrigerant Piping
4 Installation Connecting the refrigerant piping DANGER: RISK OF BURNING 4.2.1 To connect the refrigerant piping to the outdoor unit 1 Do the following: ▪ Remove the service cover (a) with screw (b). ▪ Remove the piping intake plate (c) with screw (d). 6 If the outdoor unit is installed above the indoor unit, cover the stop valves (h, see above) with sealing material to prevent condensed water on the stop valves from moving to the indoor... -
Page 7: Checking The Refrigerant Piping
4 Installation Then ▪ Check for leaks again. ▪ Perform vacuum drying again. The indoor unit is installed Install an oil trap every 10 m (height higher than the outdoor difference). NOTICE unit Make sure to open the stop valves after installing the refrigerant piping and performing vacuum drying. -
Page 8: Connecting The Electrical Wiring
4 Installation 4.5.2 Specifications of standard wiring Connecting the electrical wiring components DANGER: RISK OF ELECTROCUTION Component ERHQ ERLQ ERHQ ERLQ WARNING Power supply 31.9 A 34.2 A 13.5 A 16.3 A ALWAYS use multicore cable for power supply cables. cable Voltage 230 V 400 V NOTICE Phase For applications with preferential kWh rate power supply:... -
Page 9: To Reposition The Air Thermistor On The Outdoor Unit
4 Installation Connecting to the When cables are routed from the unit, a frame protection sleeve for the conduits (PG insertions) can be inserted at the knockout hole. When you do not use a wire conduit, protect the wires with vinyl tubes to prevent the edge of the knockout hole from cutting the wires. -
Page 10: Finishing The Outdoor Unit Installation
5 Starting up the outdoor unit Finishing the outdoor unit installation 4.6.1 To finish the outdoor unit installation 1 Insulate and fix the refrigerant piping and interconnection cable as follows: Gas pipe Gas pipe insulation Interconnection cable Liquid pipe Liquid pipe insulation Finishing tape 2 Install the service cover. -
Page 11: Wiring Diagram
6 Technical data F1U~F9U ▪ F1U, F2U: Fuse (31.5 A / 500 V) Wiring diagram (ERHQ_W1 + ERLQ_W1) ▪ F3U~F6U: Fuse (T 6.3 A / 250 V) 6.2.1 Wiring diagram: Outdoor unit ▪ F7U: Fuse (T 5.0 A / 250 V) ▪ F8U, F9U: Fuse (F 1.0 A / 250 V) The wiring diagram is delivered with the unit, located at the inside of the service cover. - Page 12 6 Technical data Terminal strip (power supply) Connector (option for ERHQ: bottom plate heater) Connector (option) X77A Connector (option) (ERHQ_W1 + ERLQ_W1) Expansion valve (main) Expansion valve (injection) (ERLQ) Solenoid valve (4‑way valve) Solenoid valve (injection) (ERHQ_W1) Solenoid valve (hot gas pass) (ERLQ) Z1C~Z9C Noise filter...
- Page 16 4P385894-1 0000000Z 4P385894-1 2015.05...
Need help?
Do you have a question about the ERHQ011BAV3 and is the answer not in the manual?
Questions and answers