
Related Manuals for StarTech.com ATX8400PRO2B


Summary of Contents for StarTech.com ATX8400PRO2B
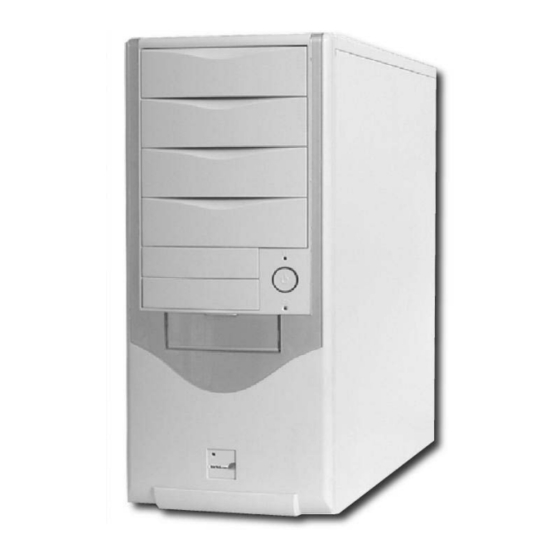
- Page 1 ATX Mid-Tower Case Professional Series Mid-Tower Case ATX8400PRO2B ATX8400PRO2 Instruction Manual ATX8450PRO2B ATX8450PRO2 Actual product may vary from photo...
- Page 2 StarTech.com. Where they occur these references are for illustrative purposes only and do not represent an endorsement of a product or service by StarTech.com, or an endorsement of the product(s) to which this manual applies by the third-party company in question.
-
Page 3: Table Of Contents
Instruction Manual T T a a b b l l e e o o f f C C o o n n t t e e n n t t s s Introduction ........... . .1 Features . -
Page 4: Contents
I I n n t t r r o o d d u u c c t t i i o o n n Thank you for purchasing a StarTech.com professional series mid-tower computer case. The convenient screwless design allows you to build and update your computer system with ease. -
Page 5: Removing The Cover From Your Case
2. If your motherboard comes with an input/output panel (the collection of ports on the back of your system) that is different than the panel provided by StarTech.com, remove the StarTech.com input/output panel by firmly pressing it from the outside until it pops free. -
Page 6: Installing Your Floppy And Cd Drives
5. Move the green-handled floppy latch into the “Locked” position to secure the drive. NOTE: If you are going to be moving the computer case, StarTech.com recommends securing the disk drive with a screw to prevent damage. 6. Connect your disk drive to your motherboard and power supply as directed in their respective installation guides. -
Page 7: Installing A Hard Disk Drive
3. Install your expansion card as directed by the manufacturer. 4. Repeat Steps 2 and 3 for any other expansion cards you wish to install. NOTE: If you are going to be moving the computer case, StarTech.com recommends securing the expansion slot holder with a screw to prevent damage. -
Page 8: Powering Your Computer
Repeat for the three other holes. Installing an Extra 3.5” Drive Bay With the StarTech.com 8300HDDKIT, you can add two extra 3.5” drive bays to your system without increasing the case size. 1. Separate the bracket from the stand by lifting the black tab and sliding the bracket away from the stand. - Page 9 Instruction Manual being on the outside of the case. 5. Use the instructions on pages 4 and 5 in this manual to install your drives to the bracket.
-
Page 10: Technical Support
Limitation of Liability In no event shall the liability of StarTech.com Ltd. and StarTech.com USA LLP (or their officers, directors, employees or agents) for any damages (whether direct or indirect,... - Page 11 Visit www.startech.com for complete information about all our products and to access exclusive interactive tools such as the Parts Finder and the KVM Reference Guide. StarTech.com makes it easy to complete almost any IT solution. Find out for yourself why our products lead the industry in performance, support, and value.
Need help?
Do you have a question about the ATX8400PRO2B and is the answer not in the manual?
Questions and answers