
Related Manuals for STIEBEL ELTRON DHF 13 C-AU


Summary of Contents for STIEBEL ELTRON DHF 13 C-AU
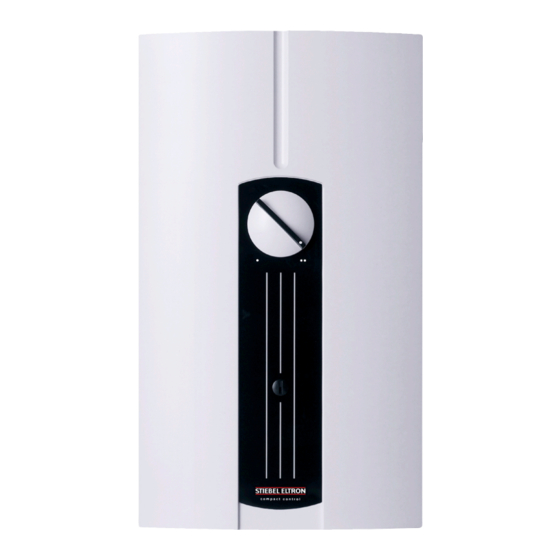
- Page 1 OPERATING AND INSTALLATION Hydraulically controlled instantaneous water heater » DHF 13 C-AU » DHF 15 C-AU...
-
Page 2: Table Of Contents
CONTENTS | SPECIAL INFORMATION SPECIAL INFORMATION SPECIAL INFORMATION OPERATION General information �����������������������������������������2 - The appliance may be used by children aged 8 Safety instructions ����������������������������������������������� 2 and up and persons with reduced physical, sen- Other symbols in this documentation ����������������������� 2 sory or mental capabilities or a lack of experience Units of measurement ������������������������������������������... -
Page 3: General Information
OPERATION General information OPERATION Other symbols in this documentation Note General information is identified by the symbol shown on the left. General information f Read these texts carefully. The chapters "Special Information" and "Operation" are intended for both the user and qualified contractors. Symbol Meaning The chapter "Installation"... -
Page 4: Safety
OPERATION Safety Safety Test symbols See type plate on the appliance Intended use Information for Australia/New Zealand: This appliance is intended for domestic use. It can be used safely Installation complies with standard AS/NZS 3500.4. by untrained persons. The appliance can also be used in a non-do- mestic environment, e.g. -
Page 5: Recommended Tap/Valve Settings
OPERATION Cleaning, care and maintenance Cleaning, care and maintenance Recommended tap/valve settings f Never use abrasive or corrosive cleaning agents. A damp Note cloth is sufficient for cleaning the appliance. If the outlet temperature is not high enough when the f Check the taps regularly. -
Page 6: Installation
INSTALLATION Safety INSTALLATION Preparations Installation site Safety Material losses Install the appliance in a room free from the risk of frost. Only a qualified contractor should carry out installation, commis- sioning, maintenance and repair of the appliance. f Always install the appliance vertically near the draw-off point. -
Page 7: Standard Installation
INSTALLATION Installation Thermostatic pressure valves must be suitable for hydraulically Preparing the power cable controlled instantaneous water heaters. Permissible water pipe materials ≥ 30 - Cold water inlet pipe: Galvanised steel pipe, stainless steel pipe, copper pipe or plastic pipe Material losses Making the water connection If you use plastic pipework in the cold water inlet line,... - Page 8 INSTALLATION Installation f Fit the cold water inlet pipe and the DHW outlet pipe from Fitting the cable grommet the pipework with flat gaskets to the extensions from the appliance. Fitting wall mounting bracket and appliance 1 Cable grommet f Fit the cable grommet. 1 Wall mounting bracket 2 Threaded stud Making the electrical connection...
- Page 9 DHF 13 C-AU, DHF 15 C-AU Template...
- Page 10 383 mm...
- Page 11 398 mm D0000043269...
-
Page 13: Alternative Installation Methods
INSTALLATION Installation Fitting the sealing elements for the appliance cover f Fit the strainer and the plastic profile washer in the tee for the cold water inlet. Damage to the appliance and environment The strainer must be fitted for the appliance to function. f When replacing the appliance, check that the strain- er is present. -
Page 14: Commissioning
INSTALLATION Commissioning 11. Commissioning Appliance handover f Explain the appliance function to users and familiarise them with its operation. WARNING Electrocution f Make users aware of potential dangers, especially the risk of Commissioning may only be carried out by a qualified scalding. -
Page 15: Troubleshooting
INSTALLATION Troubleshooting 13. Troubleshooting Fault Cause Remedy No hot water. The fuse/MCB in the fuse box has blown/responded. Check the fuses/MCBs in your fuse box/distribution panel. The heating system is faulty. Replace the tubular heater heating system. The appliance does not start. The mains water pressure is too low. -
Page 16: Specification
INSTALLATION Specification 15. Specification 15.2 Wiring diagram 3/PE ~ 400 V 15.1 Dimensions and connections ≤12 3’ 1’ 2’ I > 15.3 DHW output DHW output is subject to the mains voltage, the appliance's con- b02 Entry electrical cables I nected load and the cold water inlet temperature. -
Page 17: Data Table
INSTALLATION Specification 15.5 Data table DHF 13 C-AU DHF 15 C-AU 222214 233985 Electrical data Rated voltage Rated output 400 V stage I max. Rated output 400 V stage II min. Rated output 400 V stage II max. 13.2 Rated current 19.5... -
Page 18: Warranty
Who gives the warranty number and e-mail address) of the owner; The warranty is given by Stiebel Eltron (Aust) Pty Ltd 9.4. The address where the unit is installed and the location (A.B.N. 82 066 271 083) of Unit 4/8 Rocklea Drive, Port Mel- (e.g. - Page 19 The Stiebel Eltron warranty for the unit is in addition to any b) connection to an incorrect water supply; rights and remedies you may have under the Australian c) connection to water from a bore, dam or swimming Consumer Law.
- Page 20 Deutschland Verkauf Tel. 05531 702-110 | Fax 05531 702-95108 | info-center@stiebel-eltron.de STIEBEL ELTRON GmbH & Co. KG Kundendienst Tel. 05531 702-111 | Fax 05531 702-95890 | kundendienst@stiebel-eltron.de Dr.-Stiebel-Straße 33 | 37603 Holzminden Ersatzteilverkauf Tel. 05531 702-120 | Fax 05531 702-95335 | ersatzteile@stiebel-eltron.de Tel.
Need help?
Do you have a question about the DHF 13 C-AU and is the answer not in the manual?
Questions and answers