Sign In
Upload
Download
Table of Contents
Contents
Add to my manuals
Delete from my manuals
Share
URL of this page:
HTML Link:
Bookmark this page
Add
Manual will be automatically added to "My Manuals"
Print this page
×
Bookmark added
×
Added to my manuals
Manuals
Brands
Smoke hollow Manuals
Grill
D4015SS
Assembly, care & use manual
Smoke hollow D4015SS Assembly, Care & Use Manual
Digital electric smoker
Hide thumbs
1
2
3
4
5
Table Of Contents
6
7
8
9
10
11
12
13
14
15
16
17
18
19
20
21
22
23
24
25
26
27
28
page
of
28
Go
/
28
Contents
Table of Contents
Troubleshooting
Bookmarks
Table of Contents
Important Safeguards
Table of Contents
Parts and Tool List
Smoker Assembly
Seasoning
To Use the Wood Chip Box
Door Latch
To Clean Smoker
Control Panel Operations
Controller
Operating
Troubleshooting Guide
Grease Tray
Rear Handle
Cooking Grids
Control Panel/Controller Access/Replacement
Meat Probe
Smoking Techniques
Limited Warranty
Advertisement
Quick Links
1
Parts and Tool List
2
To Use the Wood Chip Box
3
Control Panel Operations
4
Controller
5
Operating
6
Troubleshooting Guide
7
Control Panel/Controller Access/Replacement
8
Smoking Techniques
Download this manual
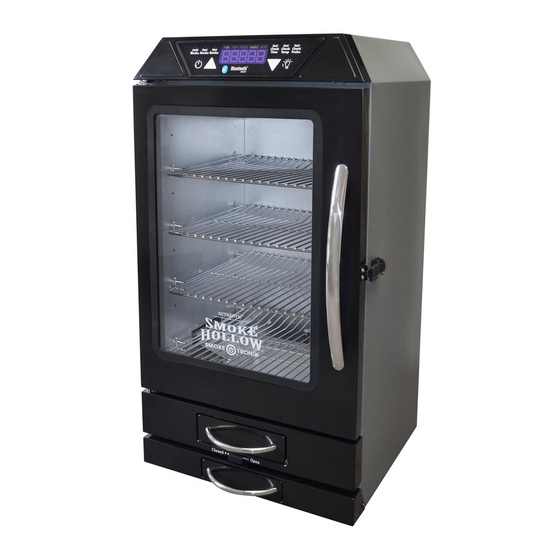
Digital Electric Smoker
For Models
D4015SS / D4015B
THIS IS YOUR ASSEMBLY, CARE & USE MANUAL
WITH IMPORTANT WARNING & SAFETY INFORMATION.
PLEASE SAVE THESE INSTRUCTIONS.
Approximate assembly time: 20 minutes
Tools needed for assembly: Phillips head screwdriver
5002887
FOR OUTDOOR USE ONLY
Table of
Contents
Previous
Page
Next
Page
1
2
3
4
5
Advertisement
Table of Contents
Need help?
Do you have a question about the D4015SS and is the answer not in the manual?
Ask a question
Questions and answers
Related Manuals for Smoke hollow D4015SS
Grill Smoke Hollow Deluxe Outdoor Grill & Smoker 8500 Assembly And Operation Instructions Manual
(27 pages)
Grill Smoke hollow D4015B Assembly, Care & Use Manual
Digital electric smoker (28 pages)
Grill Smoke hollow DG1100S Manual
Propane & charcoal (108 pages)
Grill Smoke hollow DG850C Manual
(97 pages)
Grill Smoke Hollow SH7000 Assembly & Operation Manual
Deluxe outdoor grill & smoker (28 pages)
Grill Smoke hollow 7000CGS Assembly & Operation
Grill & smoker (28 pages)
Grill Smoke hollow 26142G Assembly & Operation
Gas smoker (13 pages)
Grill Smoke hollow 30169G Assembly & Operation
Gas smoker (31 pages)
Grill Smoke hollow 30160G Assembly & Operation
Gas smoker (24 pages)
Grill Smoke hollow LS2016-2B Owner's Manual
Lp gas barrel grills (22 pages)
Grill Smoke hollow 2415PG Owner's Manual
Pellet smoker grill (21 pages)
Grill Smoke hollow PS9900 Assembly & Operation
Grill & smoker (38 pages)
Grill Smoke hollow VT280B1 Owner's Manual
Tabletop gas grill vector series (17 pages)
Grill Smoke hollow 105 Owner's Manual
Tabletop gas grill (17 pages)
Grill Smoke hollow SH3020 Owner's Manual
30-inch charcoal grill (16 pages)
Grill Smoke hollow SH9916 Owner's Manual
Grill & smoker (32 pages)
This manual is also suitable for:
D4015b
Table of Contents
Save PDF
Print
Rename the bookmark
Delete bookmark?
Delete from my manuals?
Login
Sign In
OR
Sign in with Facebook
Sign in with Google
Upload manual
Upload from disk
Upload from URL


Need help?
Do you have a question about the D4015SS and is the answer not in the manual?
Questions and answers