Table of Contents
Advertisement
Quick Links
Advertisement
Table of Contents

Related Manuals for Asus SABERTOOTH Z170 MARK 1


Summary of Contents for Asus SABERTOOTH Z170 MARK 1
- Page 2 Product warranty or service will not be extended if: (1) the product is repaired, modified or altered, unless such repair, modification of alteration is authorized in writing by ASUS; or (2) the serial number of the product is defaced or missing.
-
Page 3: Table Of Contents
Contents Package contents ......................4 Installing the assistant fans ..................5 Installing the Dust Defenders..................7 Installing the DIMM slot covers ............... 7 Installing the PCIe x16 and PCIe x1 slot covers ..........7 Installing the onboard connector caps ............7 Installing the back I/O caps ................ -
Page 4: Package Contents
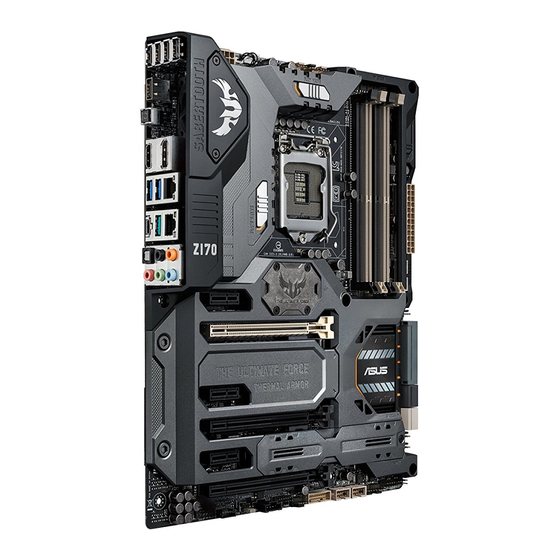
Package contents Check your SABERTOOTH Z170 MARK 1 motherboard package for the following items: 1 x USB Type C connector cover 2 x DIMM slot covers 1 x Connector cap set 2 x Onboard USB 2.0 connector (LAN cap, HDMI cap, DVI cap, DP caps cap, Front USB 3.0 cap) -
Page 5: Installing The Assistant Fans
Installing the assistant fans The SABERTOOTH Z170 MARK 1 motherboard package comes with a 35 mm and a 40 mm assistant fans for additional cooling solution and better airflow. To install the 40 mm assistant fan: Locate and remove the screw on the back I/O (A) then remove the back I/O fan cover lid (B). - Page 6 To install the 35 mm assistant fan on the cover hatch: Locate and remove the screws from the cover hatch (A) then remove the lid from the Thermal Armor cover (B). You can attach the bead chain to the Thermal Armor cover.
-
Page 7: Installing The Dust Defenders
Installing the Dust Defenders The Dust Defenders are designed to prevent dust and small particles from building up in the motherboard’s expansion and memory slots or connectors. Installing the DIMM slot covers Install the DIMM slot covers into unused DIMM slots on your motherboard. Installing the PCIe x16 and PCIe x1 slot covers Install the PCIe x16 or PCIe x1 slot covers into unused PCIe x16 or PCIe x1 slots on your motherboard. -
Page 8: Installing The Back I/O Caps
Installing the back I/O caps The SABERTOOTH Z170 MARK 1 accessory package takes protection to the next level with the back I/O port caps. Refer to the illustrated guide for the proper placement of back I/O caps: To support various models, your package may include additional back I/O port caps for your motherboard. -
Page 9: Installing The Thermistor Cable
Installing the Thermistor cable The Thermistor cable works together with the Thermal Radar 2 utility to allow you to monitor the temperature of selected devices or critical components inside your motherboard. Thermistor sensor Thermistor connector To install the Thermistor cable: Locate the thermal sensor headers labeled T_SENSOR1, T_SENSOR2, or T_SENSOR3 on your motherboard then connect the... -
Page 10: Contact Information
ASUS COMPUTER GmbH (Germany and Austria) Address Harkort Str. 21-23, 40880 Ratingen, Deutschland +49-2102-959931 Web site http://www.asus.de Online contact http://eu-rma.asus.com/sales Technical Support Telephone +49-2102-5789555 Support Fax +49-2102-959911 Online support http://support.asus.com/techserv/techserv.aspx Where to find more information Visit www.asus.com for additional information and product updates. 15060-65900000...
Need help?
Do you have a question about the SABERTOOTH Z170 MARK 1 and is the answer not in the manual?
Questions and answers