
Related Manuals for Audio Analogue Maestro MONO BLOCK POWER AMPLIFIER


Summary of Contents for Audio Analogue Maestro MONO BLOCK POWER AMPLIFIER
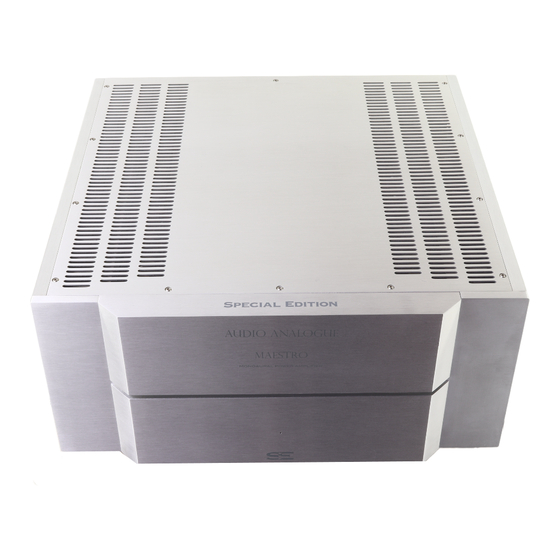
- Page 1 AUDIO ANALOGUE MAESTRO MONO BLOCK POWER AMPLIFIER OWNER’S MANUAL MANUALE D’ISTRUZIONI...
- Page 2 INTRODUCTION AUDIO ANALOGUE does not take any responsibilities in the following cases: Whenever the operational procedures related to the use and the maintenance of the equipment as described in this manual are not respected. Whenever damages to the equipment occur because of fixing and modifications made form non-authorized staff or because of normal deterioration of the system.
- Page 3 PREMESSA AUDIO ANALOGUE non accetta responsabilità nei casi in cui: Le procedure operative di utilizzo e manutenzione dell’apparato descritte nel manuale non siano rispettate. I danni si verifichino in seguito a riparazioni o modifiche dell’apparato eseguite da personale non autorizzato o a seguito di normale deterioramento dell’apparato.
- Page 4 Dear Audiophile, Congratulations and thank you for choosing Maestro. You’ve bought a high-quality and high-precision audio unit that will provide extraordinary performances when integrated in a high-end system. Its refined circuits provide high sound pureness while its innate elegance will m ake it easy to integrate the unit in any environment and in any audio system. To obtain the best performance from your new amplifier, we suggest you to use only high-quality connectors and components;...
- Page 5 WARNING Before operating this unit please adhere to the safety instructions contained in this manual. Do not open the unit chassis. No procedures different to the ones explained in this manual should be operated. For servicing please contact only authorized personnel or your local AUDIO ANALOGUE dealer. Not following the instructions provided in this manual makes the unit warranty null.
- Page 6 SAFETY AND MAINTENANCE PRECAUTIONS To prevent any possible inconvenience, please follow the precautions listed above: Turn the unit on only when you are sure that it has been installed according to the instructions provided by this manual. Do not locate t h e unit in places subject to damp and/or temperature sudden changes. Check that security information labels are visible and preserved.
- Page 7 INTRODUCTION The amplifier Maestro Monoblock has been perfectly realised in every single detail in order to improve the sound performance. Many hours spent to design and simulate the new circuit’s configuration, have been followed by a lot of listening tests. The target was to obtain an amplifier with balanced inputs suitable to every kind of speaker maintaining the same refinement of the amplifiers with low output power.
-
Page 8: Power Stage
POWER STAGE The Maestro Monoblock’s nominal output power is of 250W @8ohms impedance. This power goes up to 800W@2ohms. The protections starts to work at around 1000W with a load of 1ohm(if your house system can support it!) To obtain this kind of power levels the supply section has been over dimensioned. -
Page 9: Unit Installation
UNIT INSTALLATION Apart from the amplifier and this manual, the package should contain the following items: 1 Power cord 1 Warranty card Please check the package content. If any of the items listed above is missing, please contact your local dealer. After opening the package, carefully extract the unit and remove the plastic protection. -
Page 10: Front Panel
FRONT PANEL 1 POWER LED INDICATOR It turns light red when the amplifier is powered and in stand-by mode. It turns bright red when the amplifier is exiting the stand-by mode. It turns green when the amplifier is powered and operative. It turns red and blinks to indicate that the unit protection is at work. -
Page 11: Back Panel
BACK PANEL Connections 1 LINE IN Preamplifier out must be connected to this input. 2 SPEAKER OUTPUT 3 IEC POWER INLET 4 FUSE HOLDER 5 POWER SWITCH 6 NEGATIVE INPUT FOR BRIDGED USE PANNELLO POSTERIORE Collegamenti 1 INGRESSO LINEA COLLEGARE IL CAVO PROVENIENTE DALL’USCITA DEL PREAMPLIFICATORE A QUESTO INGRESSO . 2 USCITA DIFFUSORE 3 PRESA IEC DI ALIMENTAZIONE RETE 4 PORTAFUSIBILE... -
Page 12: Collegamento Degli Ingressi
INPUTS CONNECTION Connect your preamplifier outputs to the Maestro Monoblock power amplifier RCA line in. The connection may be either balanced or unbalanced. If you choose an unbalanced connection, the connector of the other phase may be left open or connected to a 600O impedance termination. Using balanced connection results into a better noise/sound ratio. -
Page 13: Funzionamento
OPERATING Once the unit is correctly connected, switch on the power switch placed on the back panel, the power led indicator turns light red. Turn the unit on by pressing the power switch on the base, back to the front panel. The power led indicator will turn bright red for 15-20 seconds. -
Page 14: Fuse Replacement
FUSE REPLACEMENT The power amplifier is equipped with a single external fuse placed close to the IEC power inlet as described before (see “Back panel”, page 11). Power interruption value of the fuse is 500mA delayed for 220-240V systems and 1A delayed for 110-120V systems. -
Page 15: Troubleshooting
TROUBLESHOOTING SYMPTOM: LED is off, no sound. CAUSE: power cord incorrectly plugged. REMEDY: make sure the power cord is correctly plugged into the wall outlet. SYMPTOM: LED is green, no sound. CAUSE: faulty connection t o the sound source. REMEDY: make sure that the preamplifier is correctly hooked-up to the sound source. - Page 16 AUDIO ANALOGUE Head Office Ufficio commerciale: Via C. Bottai, 88B - 51015 Monsummano Terme (PT) Italy tel. 0572 954513 fax 0572 954010 R&D Laboratory Laboratorio ricerca e sviluppo: Via XX Settembre, 47 - 56017 San Giuliano Terme (PI) Italy www.audioanalogue.com - info@audioanalogue.com...
Need help?
Do you have a question about the Maestro MONO BLOCK POWER AMPLIFIER and is the answer not in the manual?
Questions and answers