Table of Contents
Advertisement
Quick Links
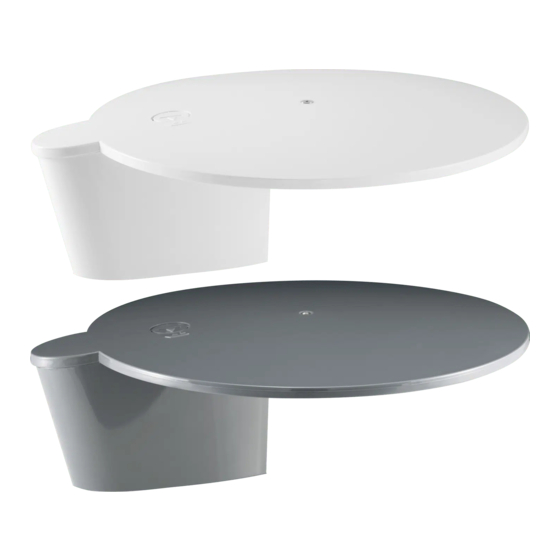
Gazelle Pro
B2414, B2414/G, B2415
Installation and user manual
Installation et mode d'emploi
UK contact:
Helpline:
+44 (0) 1553 811000
Email:
support@maxview.co.uk
Web:
www.maxview.co.uk
Maxview reserve the right to change specifications without prior notice
Maxview behält sich das Recht vor die Spezifikation ohne weitere Ankündigung zu ändern
9111055 Iss 3
DE Kontakt:
Tel:
+49 (0) 8145 9969980
Email:
info@maxview.de
Web:
www.maxview.de
NL contact Astrasat Discount B.V.
Tel:
+31 (0) 5079 3213
Email:
td@astrasat.nl
Web:
www.astrasat.nl
Advertisement
Table of Contents

Related Manuals for Maxview gazelle pro B2414


Summary of Contents for Maxview gazelle pro B2414
- Page 1 +31 (0) 5079 3213 Email: support@maxview.co.uk Email: info@maxview.de Email: td@astrasat.nl Web: www.maxview.co.uk Web: www.maxview.de Web: www.astrasat.nl Maxview reserve the right to change specifications without prior notice Maxview behält sich das Recht vor die Spezifikation ohne weitere Ankündigung zu ändern 9111055 Iss 3...
- Page 2 • We recommend you check the mechanical integrity of a roof mounted product at least once a year • If in the event that you do experience a problem with the product call Maxview Customer Service +44 (0)1553 811000 For Variable Signal Booster •...
- Page 3 à son installation et utilisation. Le non-respect des consignes peut causer des dommages à votre véhicule et / ou des blessures graves. Maxview décline toute responsabilité en cas d’incident ou d’accident si elles sont dues à la non observation des instructions d’installation ou du mode l’utilisation du produit.
- Page 4 Product contents/Contenu du produit A. Antenna Head Unit E. 1m F to Coaxial Flylead J. Fixing Screws B. Mounting Foot with integrated F. Fused Power Cable K. F Connector 5 Metre Coaxial Cable G. Clamping Tool L. Telescopic VHF Aerial C.
- Page 5 Installation/Installation Optional if required En option, si nécessaire Page 4 Page 5...
- Page 6 1. Fit Mounting Foot/Installer le pied de montage Decide a location, then choose a fixing method that best suits your requirements. Décider d’un emplacement, puis choisir une méthode de fixation qui convient le mieux à vos besoins. Wet seal with clamping tool Wet seal with screw fixings Dry seal with screw fixings Joint humide avec fixation...
- Page 7 Press down firmly on mounting foot Press down firmly on mounting foot Using the 4 fixing screws secure and wipe away excess sealant with a and wipe away excess sealant with a Gazelle Pro Base to vehicle roof. dry cloth, ensuring a watertight seal dry cloth, ensuring a watertight seal has been achieved.
- Page 8 2. Installing the Head Unit/Installation de l’unité principale Start Démarrer Finish Terminer Place the Head Unit onto mounting Attach using fixing bolt. Ensure unit Insert bolt cap ensuring correct foot, ensuring Sealing Gasket is flat in is securely fixed in place. orientation and position.
- Page 9 4. Installing the Telescopic Aerial - if required/ Installation de l’antenne télescopique aérienne - si nécessaire The optional Telescopic Aerial can be installed on the unit to improve VHF (FM) reception. 1. Remove the screw from head unit 2. Replace with the Telescopic Aerial. Turn aerial clockwise using leverage to achieve tight fit until aerial is orientated to back of vehicle L’antenne télescopique en option peut être montée sur l’appareil pour améliorer la réception VHF (FM).
- Page 10 Using Variable Signal Booster/Utilisation de l’Amplificateur de signal Connections & features/Connexions et caractéristiques: A. 12/24V power input Tension d’entrée 12 / 24V B. On/off power switch Interrupteur de marche/arrêt C. Wall fixing hole Trou de fixation au mur D. Antenna input Entrée d’antenne E.
- Page 11 Q & A’s Fault Finding/Détection de pannes - Questions et réponses 1. I have no picture on my TV or the picture is breaking up/freezing? ¢ Ensure all connections are correct ¢ Ensure the Variable Signal Booster power LED is on ¢...
- Page 12 This does not affect your statutory rights. Please keep your receipt of proof of purchase. La Maxview Gazelle Pro est garantie contre les pièces défectueuses ou les défauts de fabrication pendant 2 ans à compter de la date d’achat. Cela exclut tout dysfonctionnement causé par une mauvaise utilisation, ou dommage accidentel ou volontaire.
Need help?
Do you have a question about the gazelle pro B2414 and is the answer not in the manual?
Questions and answers