
Subscribe to Our Youtube Channel
Related Manuals for DYNACO SCA-80


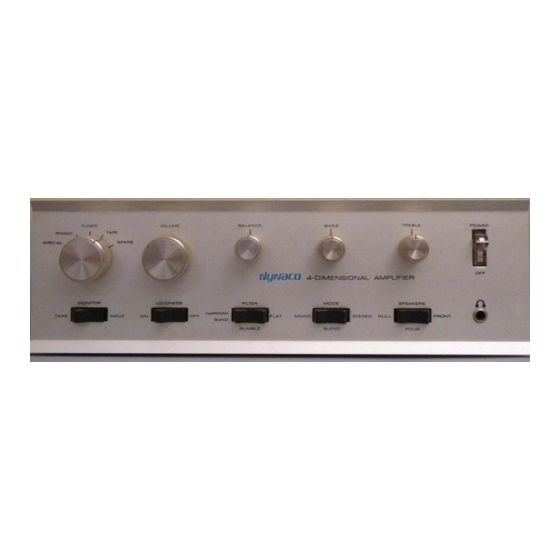
Summary of Contents for DYNACO SCA-80
- Page 1 SCA-80(Q) C11 REPLACEMENT ASSEMBLY MANUAL © 2014-2016 AkitikA, LLC All rights reserved Revision 1p05 July 3, 2016 Page 1 of 15...
-
Page 2: Table Of Contents
Table of Contents Table of Contents........................ 2 Table of Figures ........................2 Section 1: About This Manual .................... 3 Other SCA-80 Upgrades ....................3 Who Should Attempt these Projects? ................3 Tools You’ll Need......................3 Project Overview ......................4 About Components ......................4 Recommended Solder ..................... -
Page 3: Section 1: About This Manual
This manual gives the information you need to build and install a replacement for C11 and the associated components in the SCA-80’s power supply. Compared to the original power supply, the replacement power supply should give better sound. Here’s why: ... -
Page 4: Project Overview
3. pencil type soldering iron of 25 to 50 Watts (no huge honking soldering guns or blowtorches) 4. wire cutters and strippers 5. Magnifying glass, if you’re over 42! Project Overview The project consists of the following steps: 1. Building the new power supply circuit board. 2. -
Page 5: Section 2: Building The Power Supply Pc Board
Section 2: Building the Power Supply PC Board Figure 1-A Soup Bowl Makes Assembly Easy First, Get A Soup Bowl! A wide, flat soup bowl makes a great holder for the parts that you’ll install into the printed circuit board. So get that soup bowl, then open the parts envelope, and carefully transfer the parts into the soup bowl. -
Page 6: Figure 2-Guide To Component Installation
Figure 2-Guide to component installation Designation Value Color Code Done() Blue, Yellow, White, Black, Brown Leave this slot empty Blue, Yellow, White, Black, Brown 60K4 Blue, Black, Yellow, Red, Brown Brown, Brown, Black, Red, Brown Leave this slot empty Brown, Black, Black, Red, Brown Page 6 of 15... -
Page 7: Resistor Notes
Resistor Notes All the resistors are ¼ W, 1%, Metal Film K stands for 1000. Thus, 60K4 is a short-hand that means 60,400 Ohms. Some people like to convert the K notation to a number by: 1. Replace the K by a decimal point. 2. -
Page 8: Install The 24 Volt Regulator, To-220 Package
Install the 24 Volt Regulator, TO-220 Package The 24 volt regulator (P/N TL783), U1, comes in a TO-220 package that looks like this (there may be some variation in the plastic molding): Install it with a heat sink, 6-32x3/8” screw , and a keps nut following Figure 4. -
Page 9: Install The Capacitors
PCB. Remove the Old Power Supply 1. Disconnect the SCA-80 from your music system. 2. Unplug the power cord and allow the amp to sit for one minute before moving on. Caution: Be sure that the power is unplugged! 120/240 VAC can be lethal! 3. -
Page 10: Install The New Power Supply
Get masking tape and a pen so you can mark the wires that connect to C11 before removing them. Mark them as indicated in this table. Mark Number Where wires connected Done() Label of wires with terminal of C11, where the 4700 Ohms and 10 K Ohm resistors come together. -
Page 11: Figure 7-Showing Location Of C11
Figure 7-Showing location of C11 Page 11 of 15... -
Page 12: Connect The New Power Supply
Your SCA-80 should still be disconnected from your music system and it should still be unplugged from the wall outlet. Carefully plug in the SCA-80 to the wall outlet, taking special care to avoid contact with the high voltage (either 120 V or 240 Volt) wiring inside the unit. Set your meter to DCV... -
Page 13: Figure 8-New Power Supply Installed In Sca80(Q)
2. Wait one minute to allow the caps to discharge. 3. Put the top back on, and re-install the five screws that hold it in place. 4. Reinstall the SCA-80 to your music system. Figure 9-Close up of Assembled Circuit Board... -
Page 14: Schematic
Schematic Figure 10-Schematic of C11 Replacement Electronically Regulated Power Supply for SCA-80 Page 14 of 15... -
Page 15: Resistor Color Code
Resistor Color Code Figure 11-demonstrating the resistor color code Here’s an extreme close-up of a ¼ W metal film 20K (20,000) Ohm resistor, designated by the standard resistor color code. The colors map to numbers: Color Number Black Brown Orange Yellow Green Blue...
Need help?
Do you have a question about the SCA-80 and is the answer not in the manual?
Questions and answers