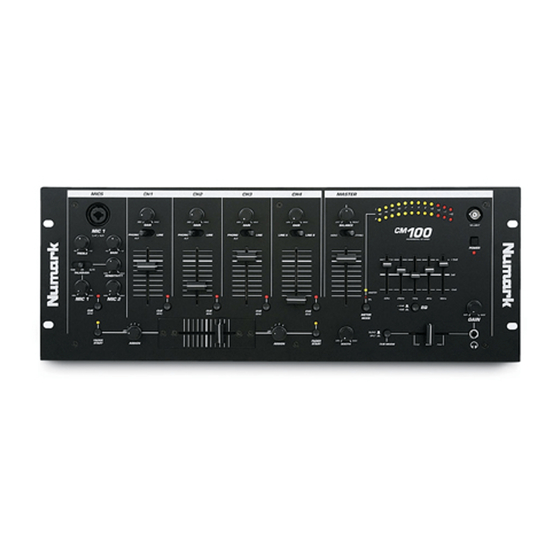
Summary of Contents for Numark CM-100
- Page 1 Professional Disc Jockey Products CM-100 PROFESSIONAL DJ MIXER USER’S MANUAL ©1999 Industries http://www.numark.com...
-
Page 2: Safety Instructions
CM100 Safety Information SAFETY INSTRUCTIONS a) Read Instructions - All the safety and operating instructions should be read before this product is connected and used. b) Retain Instructions - The safety and operating instructions should be kept for future reference. c) Heed Warnings - All warnings on this product and in these operating instructions should be followed. -
Page 3: Very Important
VERY IMPORTANT Please read this entire manual before connecting this unit to your system For optimum performance: The crossfader is a user replaceable item and subject to wear. Excessive force can wear out the fader quickly. This is not a warranted item. - Page 4 CM100 PROFESSIONAL DJ MIXER CONGRATULATIONS! You have purchased the CM100 Stereo Mixer by dependable control over your input and output sources. Whether you install this piece in a permanent environment or take it on the road, you are sure to utilize the features of the CM100. The CM100 features all new circuitry and the latest in manufacturing and design technology to give you greater quality and better reliability than ever before.
- Page 5 Safety Measures Important Information Registration Introduction Quick Setup Diagram Description of the Features Specifications Warranty ©1999 Industries TABLE OF CONTENTS - The Leader in DJ Technology - 5 - CM100 http://www.numark.com...
- Page 6 CM100 - The Leader in DJ Technology ©1999 Industries - 6 - http://www.numark.com...
-
Page 7: Quick Setup Diagram
CM100 QUICK SETUP DIAGRAM Study this setup diagram. Make sure all faders are at "zero" and all devices are off. First, connect all stereo input sources. Next, connect your microphone(s) and monitor headphones. Finally, connect the stereo outputs to the power amplifier(s) and/or audio sources. Plug your mixer into AC power. Now you are ready to switch everything on. -
Page 8: Mixer Features
CM100 MIXER FEATURES We have divided this section into various functional blocks: Inputs, Microphone, Crossfader, Equalizer, Outputs, and Headphone Cueing. It is important to learn how each of these work. INPUTS 1. Input faders - control individual source levels in the mix. - Page 9 EQUALIZER 12. 5-Band Stereo Graphic Equalizer (EQ) - compensates for differences in source material sound quality. In ultra-compact mobile systems this EQ can be used to tailor the sound to the acoustical requirements of the room. Center frequencies are 63Hz, 250Hz, 1kHz, 4kHz and 16kHz.
-
Page 10: Rear Panel Features
CM100 REAR PANEL FEATURES 27. Phono Inputs – for attaching your turntables. When these connectors are used, your signal is fed directly to the high-quality RIAA phono pre-amplifiers. Use this position only for turntables . Line level sources will overload the sensitive phono pre-amps and will cause distortion. -
Page 11: Specifications
SPECIFICATIONS INPUTS: Line: 10k input impedance 85mV rms sensitivity (for 1.22V output) Mic: 10k input impedance unbalanced 2 mV rms sensitivity (for 1.22V output) 60mV rms max input Phono:47k input impedance 1.5mV rms sensitivity @ 1 KHz OUTPUTS: Line: Headphone Amp: 0.5 watt into 47 Distortion SIGNAL TO NOISE RATIOS* (vs. -
Page 12: Return Information
What is covered and for how long? NUMARK INDUSTRIES LCC ("NUMARK") warrants to the original purchaser that NUMARK'S DJ mixers and amplifiers are free from defects in material and workmanship under normal use and service for the period commencing upon the date of purchase from an authorized NUMARK dealer and continuing for the following period of time after that date for (2) Years.


Need help?
Do you have a question about the CM-100 and is the answer not in the manual?
Questions and answers