
Related Manuals for Sencor SRC 190


Summary of Contents for Sencor SRC 190
- Page 1 SRC 190 USER’S MANUAL Alarm radio clock NÁVOD K OBSLUZE Radiobudík NÁVOD NA OBSLUHU Rádiobudík FELHASZNÁLÓI KÉZIKÖNYV Rádiós ébresztőóra INSTRUKCJA OBSŁUGI Budzik radiowy...
- Page 2 EN - 1...
-
Page 3: Function And Controls
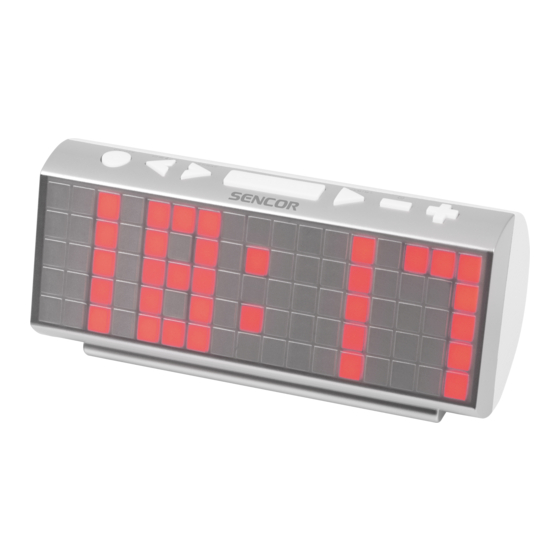
FUNCTION AND CONTROLS 1. ON –OFF / ALARM OFF 2. << / TUNE - / YEAR/MONTH-DAY / TEMPERATURE / C-F / BETWEEN DISPLAY CONTENTS ON-OFF/ SKIP BACK BUTTON 3. >> / TUNE + / SKIP FORWARD / NAP / DST 4. -
Page 4: Led Display Mode
LED DISPLAY MODE TIME Indicator ALARM 1 Indicator PM Indicator ALARM 2 Indicator MONTH Indicator DAY Indicator TEPMERATURE Indicator GET STARTED • Select a proper place for the device such as a dry, and even non slip area where you can easily operate the device. •... -
Page 5: Ac Power Connection
Note: The unit will operate without a battery installed but your time & alarm setting and radio presets will be lost and will have to be reset in the event of power interruption or failure. IMPORTANT: Be sure that the battery is installed correctly. Wrong polarity may damage the unit and void the warranty. -
Page 6: Switching The Unit On/Off
Make sure the hour is set so that the PM indicator is displayed correctly for afternoon/night times. SWITCHING THE UNIT ON/OFF Press the unit on/off button (1) to switch the unit on or off. VOLUME ADJUST Press the unit (6) and (7) button to set the desired volume level. The volume level reading will appear in the LED DISPLAY. - Page 7 begins to scan. Release the button. The tuner will stop on the fi rst strong station it fi nds. MANUAL SEARCH FOR RADIO STATIONS 1. Tap the unit (2) and (3) button repeatedly to choose your desired radio station. 2. Tap the unit (6) and (7) button to set the desired volume level. The volume level reading will appear in the LED DISPLAY.
- Page 8 SETTING THE ALARM 1 (BEEPER) Normal Time→ AL 1 Hour → AL 1 Min → AL 1 weekday Alarm → AL 1 beeper → Normal Time. SETTING THE ALARM 1 (RADIO) Normal Time → AL 1 Hour → AL 1 Minute → AL 1 weekday → AL 1 beeper →...
-
Page 9: Turning Off The Alarm
(up to maximum level 15). When the radio is turned ‘On’ at the preset alarm time, the radio will begin to sound at a low volume and gradually increases to the preset volume level. Note: it is not possible to adjust the volume level during the radio alarm. If volume adjustment is needed, you must turn ‘Off’... -
Page 10: Sleep Operation
SLEEP OPERATION The sleep timer allows you to turn the unit off after a designated time has elapsed. 1. While listening to the radio, tap the SLEEP button and sleep time ‘90’ (minutes) appears in the LED DISPLAY. 2. Repeatedly tap the SLEEP button to select a sleep timer of 90, 60, 30 or 15 minutes. - Page 11 ALTERNATE DISPLAY BETWEEN TIME AND TEMPERATURE MONTH-DATE DISPLAY 1. In radio off mode, press and hold the unit button (2) for about 3 seconds until “ON” appears in the LED DISPLAY. 2. The DISPLAY will alternate between the current Time for 10 seconds and month- date for 5 seconds and temperature for 5 seconds as follows: TIME...
-
Page 12: Specifications
WARNING 1. No naked fl ame sources, such as lighted candles, should be placed on the apparatus. 2. Do not place the product in closed bookcases or racks without proper ventilation. 3. The mains plug is used as the disconnect device, the disconnect device shall remain readily operable. -
Page 13: Instructions And Information Regarding The Disposal Of Used Packaging Materials
INSTRUCTIONS AND INFORMATION REGARDING THE DISPOSAL OF USED PACKAGING MATERIALS Dispose of packaging material at a public waste disposal site. DISPOSAL OF USED ELECTRICAL AND ELECTRONIC APPLIANCES The meaning of the symbol on the product, its accessory or packaging indicates that this product shall not be treated as household waste. - Page 14 Cases when the claiming product cannot be indentified according to the presented documents (e.g. the serial number or the warranty seal has been damaged). Authorized service centers Visit www.sencor.eu for detailed information about authorized service centers. EN - 13...
Need help?
Do you have a question about the SRC 190 and is the answer not in the manual?
Questions and answers