Advertisement
!
Service
Information
Philips Domestic Appliances and Personal Care
PRODUCT INFORMATION
− Maximum air displacement
− Maximum vacuum water column
− Power consumption (IEC)
− Dust storage capacity
− Cord length (depends on version)
− Filter system
− Dimensions cleaner
− Weight cleaner
OPTIONAL
− Exhaust air filter
− Sydney cotton dustbag
− Sydney paper dustbag
− Sydney closable pap.dustbag
− Turbo brush
SERVICE INFORMATION
− To open the appliance, first remove the control panel (item 11)
with a big screw driver to disconnect the 2 snap locks (see
drawing).
− Component configuration on exploded view may differ in case of
specific versions. However, the actual components are
distinguished bij means of code numbers.
− If a repair has been made, make sure that all functions of the
appliance are working correctly.
− The spare parts have been standardized as much as possible.
− Item 6, cotton dustbag, is used in those countries where paper
dustbags are not available.
− Item 21 is provided with a long cord-winder spring; both long and
short cords can be used in combination with this spring.
Published by Philips Domestic Appliances and Personal Care
4822 729 21766
97/04
PCS 88 357
: 32 I/sec
: 240 cm
: 1200 W
: 3 l
: 6 or 8.5 metres
: Paper dustbag
: Motor inlet filter
: Exhaust air filter
: 44.5 x 29.5 x 25 cm
: 5.5 kg
HR 6932 = 4822 015 70056
HR 6997 = 4822 480 10115
HR 6998 = 4822 480 10114
HR 6999 = 4822 480 10113
HR 6988 = 4822 479 20196
Printed in the Netherlands
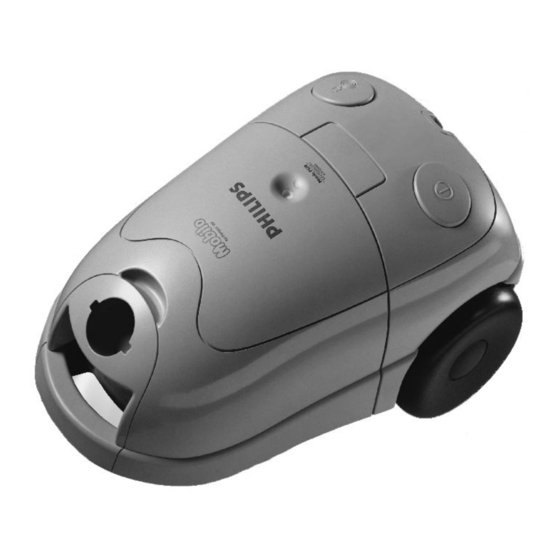
Vacuum cleaner
− Items 37,38 and 39 can be used if the version is provided with an
electrically switched park assist.
− Item 71 up to and including item 80. The assembly of accessories
depends on the national version.
To connect the nozzle, the telescopic tube and the handle:
insert the narrowed section into the wider section while
turning it a little (fig. 1). To disconnect: pull while rotating.
To adjust the telescopic tube (item 74) to the required length,
pull the locking knob in the direction of the arrow (fig. 2) while
sliding the top section of the telescopic tube into or outof the
lower section.
fig. 1
− To (dis)assemble the appliance use TORX screw driver no T15
= 4822 395 10329, which is one of a set consisting of T20, T15,
TI0, T9, T8, T7 and T6 = 4822 395 50145.
− Depending on the original length of the cord, the spare cord must
be shortened.
− Adjusting the PCB on the motor to 220V, 60Hz.
1. Make sure that the potentiometer (item 36) is set at min.
position.
2. Adjust the potentiometer on the PCB item 45, on the motor to
220V/60Hz to allow the motor to run smoothly.
Please note: the standard setting of the spare PCB is
230V/50Hz.
There are open-circuit voltages on all wires.
− MSH coding: 8838 514 00000 ( sahara yellow )
8838 532 00000 ( racing green )
8838 536 00000 ( blue purple )
8838 539 00000 ( california white )
©
Copyright reserved
HR 8514
HR 8532
HR 8536
HR 8539
fig. 2
Subject to modification
Advertisement
Table of Contents

Related Manuals for Philips HR 8514


Summary of Contents for Philips HR 8514
-
Page 1: Vacuum Cleaner
− Item 21 is provided with a long cord-winder spring; both long and short cords can be used in combination with this spring. © Published by Philips Domestic Appliances and Personal Care Printed in the Netherlands Copyright reserved Subject to modification... - Page 2 HR 8..514 .532 .536 .539 Description 4822 442 00836 Acc. cover 4822 442 00837 Acc. cover 4822 442 00873 Acc. cover 4822 442 00835 Acc. cover 4822 492 11408 Dust indicator spring 4822 441 11967 Dust cover 4822 441 11971 Dust cover 4822 441 11974 Dust cover...
- Page 3 HR 8..514 .532 .536 .539 Description 4822 214 12224 Speed control 220-240V 4822 479 20197 Cord winder lever 4822 401 11691 Clamp park-aid 4822 271 30856 Micro switch park-aid 4822 402 10706 Lever park-aid 4822 276 13205 Push button switch 4822 462 10911 Motor cover 4822 466 10765...
- Page 6 PCS 88 360 PCS 88 359...
- Page 7 DAP274...
Need help?
Do you have a question about the HR 8514 and is the answer not in the manual?
Questions and answers