Table of Contents
Advertisement
Available languages
Available languages
EVO-ONE
ALL-IN-ONE DATA INTERFACE
REMOTE STARTER / ALARM
WIRING / CONNECTION GUIDE
(20-PIN) SECONDARY CONNECTOR
(+) Foot Brake
750
(-) Parking Light
mA
(-) Trunk Release
750
mA
(-) Hand Brake
(-) Hood Status
Bypass confi g.
Purple/Yellow
Bypass confi g.
Bypass confi g.
Bypass confi g.
Bypass confi g.
750 mA MAXIMUM OUTPUT. Do not exceed the maximum current or permanent damage to the module
(6-PIN) POWER CONNECTOR
Ground
Black
(+) Ignition
Pink
(+) Starter
Yellow
ONE
(6-PIN) BYPASS RELAY
(4-PIN) DATA-LINK ANTENNA
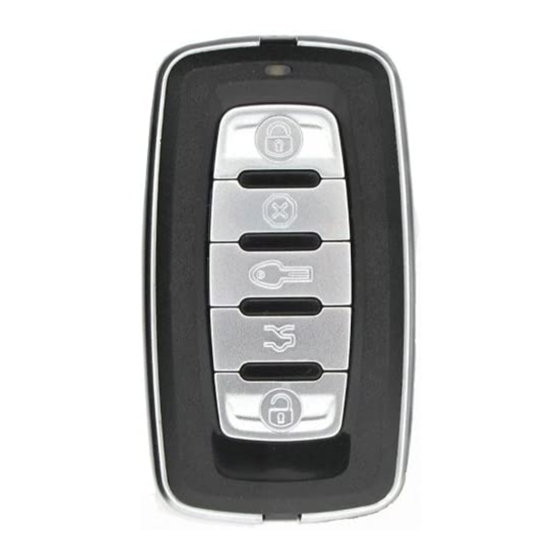
PROGRAMMING REMOTE TRANSMITTER(S)
1
2
STEP
STEP
Turn the
Press and
Ignition
hold
on.
the valet-
switch
until the LED
fl ashes, then
release.
A1
Black
In
Pink
Out
Yellow/Black
Out
Brown/White
In
Pink/Black
In
Green/White
Green/Red
White/Black
Out
Lt.Blue
A20
will occur that will not be covered under warranty.
In
Out
Out
E6
D
C
B
Red
White
Blue
(5-PIN) CAN-BUS
3
4
STEP
STEP
x5
x1
Press and
Press and
release the
release the
valet-switch
brake pedal
fi ve time. The
once.
park-lights
will fl ash to
confi rm.
In
Yellow
(+)
Out
Purple
Out
Purple/White
(-) Unlock/Disarm
Out
Green
Out
White
Out
Orange
Out
Orange/Black
Out
Dk.Blue
In
Red/Blue
Lt.Blue/Black
E1
Out
White
Out
Orange
In
Red
I
J
H
Blue
Black
REMOTE STARTER PROGRAMMING LED
BYPASS PROGRAMMING BUTTON
(4-PIN) RS-232 DATA-LINK & FLASH-LINK UPDATER PORT
(4-PIN) ANTENNA
The system can learn up to a maxi-
mum of 4 transmitters.
Any transmitters can be stored in
more than 1 memory slot.
When a 5th transmitter is learned
the 1st remote is erased (FIFO).
5
STEP
On each Transmitter
Press and
press and release
release the
the
button then
brake-pedal
press and release
the
button. The
park-lights will fl ash
to confi rm.
INSTALLATION GUIDE
(3-PIN) Shock Sensor
(2-PIN) Valet/Programming Button
Ignition
Bypass
(-) Lock/Arm
750
mA
750
mA
(-) Ignition
750
mA
(-) Start
750
mA
(-) Disarm
750
mA
(-) Horn/Siren
750
mA
(-) GWR
750
mA
Bypass confi g.
Bypass confi g.
(+) ParkLight/IGN2
/ACC/START
Programmable Output
(FUNCTION 2 & 31)
(+) ACC / IGN2
Programmable Output
(FUNCTION 2 & 31)
(+) 12V
LED Blue
CAN ACTIVITY
LED Yellow
IGNITION ON
LED Red
BYPASS DATA
CUT LOOP FOR
AUTOMATIC
TRANSMISSION
MODE.
6
7
STEP
STEP
x1
Turn the
Ignition
off.
once.
QUICK
FTX75
G
White
F
Black
A
E
White
,
WWW.FORTIN.CA
Copyright © 2014,
FORTIN AUTO RADIO INC
ALL RIGHTS RESERVED
MADE IN CANADA
REV.:20141003
Advertisement
Table of Contents

Related Manuals for Fortin EVO-ONE FTX75


Summary of Contents for Fortin EVO-ONE FTX75
- Page 1 Copyright © 2014, until the LED park-lights button. The fl ashes, then will fl ash to park-lights will fl ash FORTIN AUTO RADIO INC release. confi rm. to confi rm. ALL RIGHTS RESERVED MADE IN CANADA REV.:20141003...
- Page 2 FUNCTION PROGRAMMING STEP STEP STEP STEP STEP STEP MODE 1 - LOCK MODE 2 - UNLOCK MODE 3 - START (3 SECONDS) MODE 4 - TRUNK (3 SECONDS) MODE 5 - TRUNK LOCK MODE 6 - TRUNK UNLOCK Disarm alarm, Press and hold Press and release the valet-switch Press and...
- Page 3 Disable — — is pressed. application for the Installation guide (function 24) www.fortin.ca 10 sec latch or 20 sec latch or 30 sec latch or 25 Yellow/Black (A13) 0.5 seconds & Latch until 0.5 seconds...
- Page 4 This module must be install by qualifi ed technician. This instruction guide may change without notice. To download the installation guide, user guide, or the latest quick installation guide, visit: www.fortin.ca...
- Page 5 Copyright © 2014 clignote, puis tionnement Les feux de positionnement relâchez. clignoteront FORTIN AUTO RADIO INC clignoteront pour confi rmer. TOUS DROITS RÉSERVÉS pour con- FABRIQUÉ AU CANADA fi rmer. REV.:20141003...
- Page 6 PROGRAMMATION DES FONCTIONS ÉTAPE ÉTAPE ÉTAPE ÉTAPE ÉTAPE ÉTAPE MODE 1 - VERROUILLAGE MODE 2 - DÉVERROUILLAGE MODE 3 - DÉMARRAGE (3 SECONDES) MODE 4 - VALISE (3 SECONDES) MODE 5 - VALISE VERROUILLAGE MODE 6 - VALISE DÉVERROUILLAGE Désarmez Appuyez et Appuyez 1 à...
- Page 7 Désactivé — — application ouverte. puyé. Voir www.fortin.ca pour le Guide d’installation (fonction 24) Lorsqu’activée la commande Jaune/Noir (A13) Maintiens 10 sec ou Maintiens 20 sec ou Maintiens 30 sec 0.5 seconde &...
- Page 8 Ce module doit être installé par un technicien qualifi é. Ce guide d’instruction peut faire l’objet de changement sans préavis. Pour télécharger le guide d’installation, le guide de l’utilisateur, ou le plus récent guide d’installation rapide, visitez: WWW.FORTIN.CA...
Need help?
Do you have a question about the EVO-ONE FTX75 and is the answer not in the manual?
Questions and answers