Table of Contents
Advertisement
Quick Links
Fortin FTX44, FTX64, FTX75 with EVO-ALL
Fortin FTX44, FTX64, FTX75 with EVO
***WARNING FTX5, FTX25 and ATX5 are not compatible with the EVO-ALL
***WARNING FTX5, FTX25 and ATX5 are not compatible with the EVO
1. Plug in the Flash-Link-2 updater into the comp
provided USB cable.
2. Run Flash Link Manager Software.
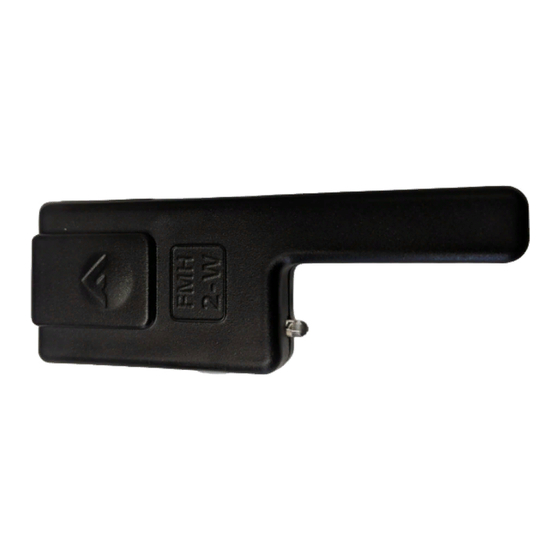
***Only compatible with FMH 2-way Antennas
***Only compatible with FMH 2
2 updater into the computer's USB port with the
Software.
ALL
ALL
uter's USB port with the
Advertisement
Table of Contents

Subscribe to Our Youtube Channel
Related Manuals for Fortin FTX64


Summary of Contents for Fortin FTX64
- Page 1 Fortin FTX44, FTX64, FTX75 with EVO Fortin FTX44, FTX64, FTX75 with EVO-ALL ***WARNING FTX5, FTX25 and ATX5 are not compatible with the EVO ***WARNING FTX5, FTX25 and ATX5 are not compatible with the EVO-ALL ***Only compatible with FMH 2 ***Only compatible with FMH 2-way Antennas 1.
- Page 2 3. Plug in the Module you want to Flash update with the provided DATALINK cable. 4. Click on EVO-ALL OPTIONS tab. 5. Activate Supported RF Kits and option H2 – Fortin 2.
- Page 3 6. Click SAVE OPTIONS. 7. Wait for the Options Saved message to appear in the top right corner. 8. Connect the FMH antenna and the EVO-ALL together with the cable adapter |# PART NO. : “RF-A2A”. StandAlone without T-Harness.
- Page 4 StandAlone with T-Harness use the “Do-It-Yourself” way : Modify the Antenna cable supplied with the Fortin Antenna with a knife as shown. Attach a chassis Ground on Pin 3 and a 12V constant on Pin 4 of the supplied Antenna cable as shown.
- Page 5 Insert the 4-Pin (Data-Link) connector. Release the programming button when the LEDs are BLUE AND RED. Press and hold the FORTIN programming button again for 5 seconds (Blue and Red will go Off and back On after 5 seconds). Turn ignition On, the Yellow LED will turn On.
Need help?
Do you have a question about the FTX64 and is the answer not in the manual?
Questions and answers