Panasonic DMC-TZ110 Basic Operating Instructions Manual
Hide thumbs
Also See for DMC-TZ110:
- Operating instructions for advanced features (406 pages) ,
- Basic operating instructions manual (64 pages)
Table of Contents
Advertisement
Basic Operating Instructions
Model No.
Please read these instructions carefully before using this product, and
save this manual for future use.
More detailed operating instructions are available in "Operating
Instructions for advanced features (PDF format)". To read it, download
it from the website. (→45)
GA GH
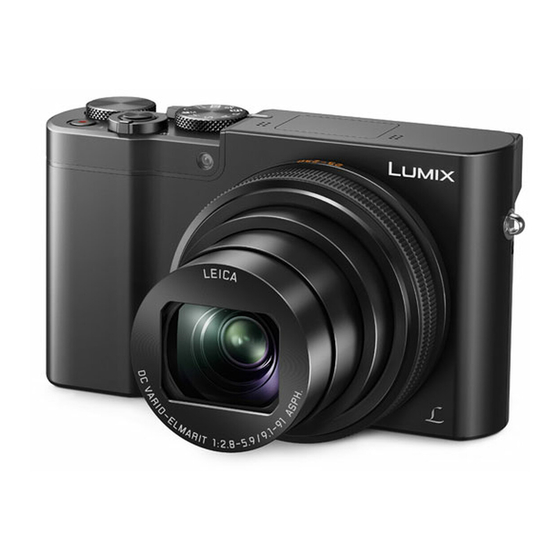
DMC-TZ110/DMC-ZS110
DMC-TZ80/DMC-ZS60
DMC-TZ110/DMC-ZS110
Digital Camera
DMC-TZ80/DMC-ZS60
SQT1184
M0116KZ0
Advertisement
Table of Contents


Need help?
Do you have a question about the DMC-TZ110 and is the answer not in the manual?
Questions and answers