Table of Contents
Advertisement
Advertisement
Table of Contents

Related Manuals for Vacmaster VMVK1520SIWC


Summary of Contents for Vacmaster VMVK1520SIWC
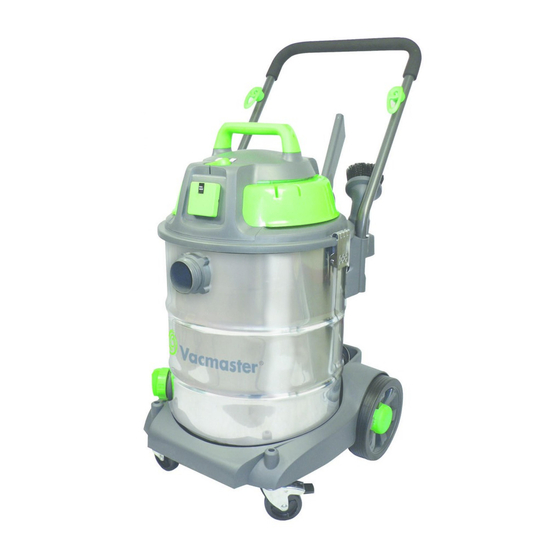
- Page 1 WET & DRY VACUUM CLEANER VMVK1520SIWC VMVK1520SIWC / 1500W / 20L...
-
Page 2: Table Of Contents
Exploded View and Parts List _________________________________________________ 10 thank you for purchasing this Vacmaster® wet/dry vacuum cleaner. Feel confident that with Vacmaster® you are obtaining a high quality product engineered for optimal performance. this vacuum is capable of picking up liquids and dry materials. -
Page 3: Warranty
• If your Wet/Dry Vac is not working as it should, has missing parts, has been dropped or damaged, left outdoors or dropped into water, return it to an independent service Vacmaster® takes pride in producing a high quality, durable product. This center. -
Page 4: Specifications
PET Cartridge Filter __________________________ Special Safety Information Filter Retainer ______________________________ • Never vacuum up hot ashes or pointed or sharp objects. Collection Bag _____________________________ • Never use the appliance in damp rooms. Foam Sleeve Filter __________________________ • Don’t use the appliance without a dust bag (an exception is wet vacuuming). Make Air Control Handle __________________________ sure that the dust bag is inserted into the appliance correctly. -
Page 5: General Assembly Instructions
installed. If cartridge filter is not installed, refer to page 8 for filter installation. (fig.8&fig.9)The PET cartridge filter fit for wet & dry vacuum cleaning. 8. Put the PRE cloth filter over the filter tray with the attached PET cartridge filter. (fig.10) 9. -
Page 6: Switching On/Off
HaZardS FrOM VapOrS Or dUST, dO NOT VaCUUM TOXIC MaTErIalS. WARNING: dO NOT plUg IN pOWEr COrd TO pOWEr OUTlET. MaKE SUrE WItCHING ON/OFF plUg IS dISCONNECTEd BEFOrE CHaNgINg aNd ClEaNINg FIlTErS. 1. Verify that the power cord is disconnected from the outlet. (fig.1) 2. -
Page 7: Wet Vacuum Operation
2. Remove collection bag & cartridge filter, then carefully install the foam sleeve filter over the filter cage and place the power head back on the container. (fig. 2) See filter installing instructions on page 9. 3. Fit the desired nozzle to the vacuum hose. (fig.3) 4. -
Page 8: Maintenance
AINtENANCE NStALLING & CLEANING CARtRIDGE FILtERS Installing Cartridge Filter WARNING: dO NOT plUg IN pOWEr COrd TO pOWEr OUTlET. MaKE SUrE 1. Verify that the power cord is disconnected from the outlet. (fig.1) plUg IS dISCONNECTEd BEFOrE CHaNgINg aNd ClEaNINg FIlTErS. 2. -
Page 9: Installing & Cleaning Hepa Filter
Cleaning Foam Sleeve Filter 1. With the removed power head in the upside down position, carefully remove foam ROUBLESHOOtING sleeve filter. (fig. 3) 2. Use a mild soap and water solution to wash foam sleeve filter and rinse with clean water. -
Page 10: Exploded View And Parts List
VMVK1520SIWC Manual Parts List ARtS LISt -EXPLODED VIEW Key Number drawing Number description Quantity VK01SR.10.05 Handle VK21SR.13.00 Power Head Assembly Outlet Socket FV9563.01.00 Cartridge Filter FV9546.01.20 Filter Retainer TVQTDK.12.00 Latch Assembly TVQTXK.05.01 Vacuum Port Deflector TVQTXK.05.02 Vacuum Port Assembly VK21SR.22.00 Base VB07SR.00.02... - Page 11 FV8721.03.00 Floor Brush / squeegee FV9612.01.00 Dust Bag F V9502.01.00 Foam Sleeve Filter FV8322.02.00 Air Control Handle FV8943.01.00 2 Coated Tube FV8311.01.01 Adaptor 11 11...
- Page 12 VMVK1520SIWC...
Need help?
Do you have a question about the VMVK1520SIWC and is the answer not in the manual?
Questions and answers