
Related Manuals for Convair ClimateMaster CP9RW


Summary of Contents for Convair ClimateMaster CP9RW
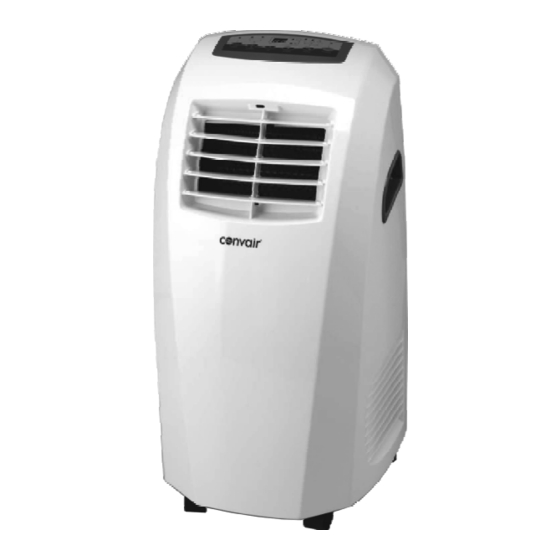
- Page 1 ClimateMaster Portable Refrigerated Air Conditioner ClimateMaster CP9RW Instruction Manual...
- Page 2 Please read these instructions prior to using the appliance and save them for future reference. Waste electrical products must not be disposed of with household waste. This product should be taken to your local recycling centre for safe treatment.
-
Page 3: Table Of Contents
Safety ..........2 Component location......3 Personal Cooling Installing the exhaust hose ....4 Control panel ........5 Your Convair cooler is a portable air conditioning unit that supplies Remote control ........6 refrigerated air to a personal area Operation........7-8 within a room. It is not intended to Maintenance ........9... -
Page 4: Safety
SAFETY General Safety Electrical Safety (cont) For indoor use only. Caution! before connecting the electrical power cord to a power outlet, Transport the air conditioner in an check that the air conditioner voltage is upright position only, or leave it in an the same as your power supply (refer to upright position for at least 2 hours the rating label located on the back of the... -
Page 5: Component Location
COMPONENT LOCATION Control Panel Remote Sensor Handle Air Outlet High Auto Down Cool °C °F Timer Power Air Intake (side panel) Remote Control Rating Label Power Cord Exhaust Air Outlet Power Cord Strap Air Intake Air Filter Drain Window Kit Exhaust Hose Exhaust Fitting (window end) -
Page 6: Installing The Exhaust Hose
INSTALLING THE EXHAUST Note! The minimum distance required Assembling the exhaust hose (Fig 5,6) from the operating air conditioner to Step 1: Fit the exhaust hose to the rear any obstructing objects or walls is panel outlet by screwing the hose in a 50cm (Fig 6). -
Page 7: Control Panel
CONTROL PANEL Timer Fan Speed Temperature °C / °F Mode Indicator Power Indicator Indicator Display Indicator (Fan-Cool-Auto) Indicator °C HIGH COOL AUTO °F TIMER POWER MODE SPEED DOWN Timer Set Fan Speed Temperature & Timer adjust button Mode Select Power ON / OFF button control button button... -
Page 8: Remote Control
REMOTE CONTROL Signal transmission point Fan Speed High Auto Adjust Buttons Mode buttons (Auto-Cool-Fan) Down Cool Temperature / °C / °F toggle Timer adjust button button °C °F Timer button Power ON / OFF Timer Power button Battery compartment Battery cover If there are two of the same air Preparation before operation Remove the battery cover and insert new... -
Page 9: Operation
OPERATION Starting the air conditioner Step 6: To change the temperature display from °C to °F or back again, press Step 1: Ensure the cooler is plugged in BOTH & on the control panel or and switched on. on the remote control. Step 2: Press the ON/OFF button on the Important! -
Page 10: Operation
OPERATION Timer Function Self check function The air conditioner is fitted with a timer The air conditioner incorporates its own function. This can be set up to 24 hours self diagnostics which can be helpful if a in advance. To use this function, the fault should occur. -
Page 11: Maintenance
MAINTENANCE Always disconnect the air conditioner from the electricity mains before cleaning or draining. To maximize the efficiency of the air conditioner, clean regularly. Cleaning the housing Use a soft, damp cloth to wipe the body clean. Never use aggressive chemicals, spirits, detergents, chemically treated cloths, or other cleansing solutions. -
Page 12: Troubleshooting
TROUBLESHOOTING Problem Check The air conditioner does Is the air conditioner plugged in ? not run. Is there a power failure ? Is the "WATER FULL" error code “P2” flashing? Drain the tank as shown (Fig 11). Is the room temperature below the set temperature ? The air conditioner has little Is there direct sunshine ? Remember to close effect (firstly ensure that the... -
Page 13: Specifications
SPECIFICATIONS SEELEY INTERNATIONAL - CLIMATEMASTER PORTABLE AIR CONDITIONER ClimateMaster CP9RW Model Personal Cooling Function Cooling Capacity (Watts) † 2,600 (9000 Btu/hr) Dehumidifying Capacity (L/hr) Air Flow Volume (m / hr) Noise Level - Sound Pressure (dB(A)) £ 55 Power Supply... - Page 14 NOTES...
- Page 16 It is the policy of Seeley International to introduce continual product improvement. Accordingly, specifications are subject to change without notice. Please consult with your dealer to confirm the specifications of the model selected. Service Australia 1-300-650-644 seeleyinternational.com 133003-E 1112 seeleyinternational.com 133048-C AU 1112...
Need help?
Do you have a question about the ClimateMaster CP9RW and is the answer not in the manual?
Questions and answers