Advertisement
· Unpacking & assembling TOMAHAWK IC5 & IC7 / MATRIX IC5 & IC7 Indoor Cycle
· IC7 console commissioning process
Applicable for Product:
Applicable for Product Version:
Applicable for Product Art. No.:
For both SKU´s THK IC5 & IC7 powered by
ICG and Matrix IC5 & IC7 powered by ICG
Applicable for Product Serial No.:
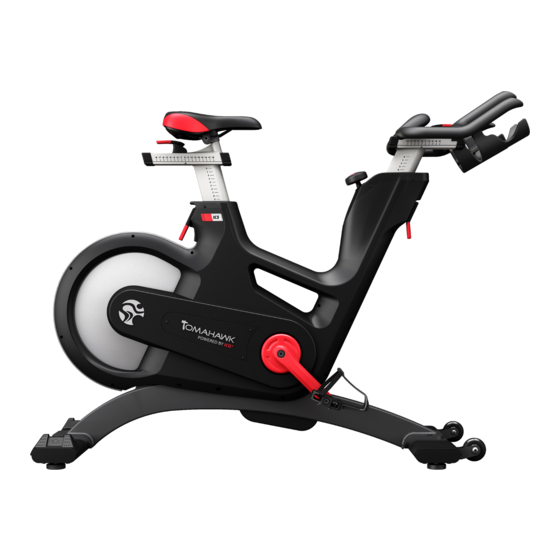
The product article number and product serial number information can be found on the tag plate label positioned on the lateral frame
tube as shown below. Please make sure to identify the product prior to performing any repair work.
_________________________________________________________________________________
FB TS AS7 01
ICG® Standard Operating Procedure | released by ICG® Service Department
TASK DESCRIPTION:
-IC5 & IC7 Tomahawk powered by ICG
-IC5 & IC7 Matrix powered by ICG
-IC5 & IC7 two-stage drivetrain
- THK: IC-TKIC5B-01
- MX: IC-MXIC5B-01
- THK: IC-TKIC7B-01
- MX: IC-MXIC7B-01
- THK IC5: TAQB0000001-14D > ......
- MX IC5: LAQB0000001-14E > ......
- THK IC7: TARB0000001-14B > ......
- MX IC7: LARB0000001-14B > ......
01.05.2014 (release date and version)
1
Advertisement
Table of Contents

Related Manuals for Indoor Cycling TOMAHAWK IC5


Summary of Contents for Indoor Cycling TOMAHAWK IC5
- Page 1 01.05.2014 (release date and version) TASK DESCRIPTION: · Unpacking & assembling TOMAHAWK IC5 & IC7 / MATRIX IC5 & IC7 Indoor Cycle · IC7 console commissioning process Applicable for Product: -IC5 & IC7 Tomahawk powered by ICG -IC5 & IC7 Matrix powered by ICG Applicable for Product Version: -IC5 &...
- Page 2 01.05.2014 (release date and version) * ALL PART DESCRIPTIONS / DRAWINGS INCLUDED IN THE OWNER MANUAL _________________________________________________________________________________ FB TS AS7 01 ICG® Standard Operating Procedure | released by ICG® Service Department...
- Page 3 01.05.2014 (release date and version) AFFECTED PARTS: SPARE ICG ARTICLE NUMBER PART DESCRIPTION COMMENTS NO. OF PART PARTS PER BIKE 110-01-00009-01 Upper HB kit Includes: - UPPER HB WELDMENT 1x - COUNTER SUNK HEX SOCKET BOLT, M8 x 20 x 1.25P, 9.8 STEEL, DIN7991/ ISO10642 2x 140-02-00003-01 Front Stabilizer Weldment 140-01-00004-01...
-
Page 4: Required Tools
01.05.2014 (release date and version) REQUIRED TOOLS: TOOLS SIZE MM QUANTITY Open end spanner or 17mm equivalent Pedal wrench 15mm Hex. socket 13mm Open end spanner or 10mm equivalent Straight shaft round head 6mm Allen socket Straight shaft Allen key Straight shaft round head Allen 2.5mm Torque ratchet wrench... -
Page 5: Before Assembly
01.05.2014 (release date and version) Warning! Please ensure that the bike is in stable position and properly secured while repair work is being performed. Before assembly! (Please refer to our service video) WARNING! : The IC7 indoor cycle is very heavy! It requires at least 2 people to remove the bike from the packaging and for assembly the bike as it´s described in the next steps. - Page 6 01.05.2014 (release date and version) 1) Rear stabilizer assembly a) Secure upper handlebar and seat post sliders. Tilt bike carefully until it rests on the floor supported by the front Styrofoam as shown on the picture. b) Mount the rear stabilizer as shown on the picture. Tighten with the 17mm deep socket wrench.
- Page 7 01.05.2014 (release date and version) 2) Front stabilizer assembly a) Carefully tilt bike until the rear part of the shroud rests on the Styrofoam as shown on the picture. b) Mount the front stabilizer as shown on the picture. Tighten with the 17mm deep socket wrench. Maximum torque: 50 Nm.
- Page 8 01.05.2014 (release date and version) 3) Checking of saddle position a) Place the bike as shown on the picture. b) Make sure that the seat is fixed in a level horizontal and vertical position. Seat clamp must be tightened securely from both sides to minimize loosening during use. Firmly tighten with the 13mm open end spanner or equivalent.
-
Page 9: Handlebar Assembly
01.05.2014 (release date and version) 4) Handlebar assembly a) Bring handlebar to its maximum vertical position. Do not remove warning tape on slider prior to handlebar is mounted to the upper slider. ATTENTION! Place the flat handlebar support under the console bracket as shown on the picture. - Page 10 01.05.2014 (release date and version) 5) IC7 Console assembly a) Carefully slide the IC7 console into its console bracket. b) Tighten by hand the M-5 x 25 x 0.8P bolt attaching the IC7console to the handlebar by using the 3mm Allen Key. 6) Pedal assembly a) Mount pedal marked “R”...
- Page 11 01.05.2014 (release date and version) 7) End of the assembly process Simulate a brief session, checking the bike is in good working order. 8) IC7 console commissioning a) Turn crank 2 full revolution to engage console power up mode. b) Press both buttons on the front of the IC7 console to access to the settings menu. _________________________________________________________________________________ FB TS AS7 01 ICG®...
- Page 12 01.05.2014 (release date and version) 9) Settings Select GENERAL from the main menu and follow the instructions until finalize the GENERAL settings. _________________________________________________________________________________ FB TS AS7 01 ICG® Standard Operating Procedure | released by ICG® Service Department...
-
Page 13: Brake Calibration
01.05.2014 (release date and version) 10) Brake Calibration Select BRAKE CALIBRATION from the main menu and follow the instructions until finalize the BRAKE CALIBRATION process. IMPORTANT: Repeat the brake calibration process if the result is not successful. _________________________________________________________________________________ FB TS AS7 01 ICG®... - Page 14 01.05.2014 (release date and version) 11) Offset Select OFFSET from the main menu and follow the instructions until finalize the OFFSET process. IMPORTANT: Repeat the OFFSET process if the result is not successful. _________________________________________________________________________________ FB TS AS7 01 ICG® Standard Operating Procedure | released by ICG® Service Department...
-
Page 15: End Of Operation
01.05.2014 (release date and version) 12) End of operation Select EXIT once you finish the BRAKE CALIBRATION and OFFSET process. Please refer to the IC7 console owner manual to program your best Coach By Color training session. Simulate a brief session, checking the bike and IC7 console are in good working order. _________________________________________________________________________________ FB TS AS7 01 ICG®...
Need help?
Do you have a question about the TOMAHAWK IC5 and is the answer not in the manual?
Questions and answers