Advertisement
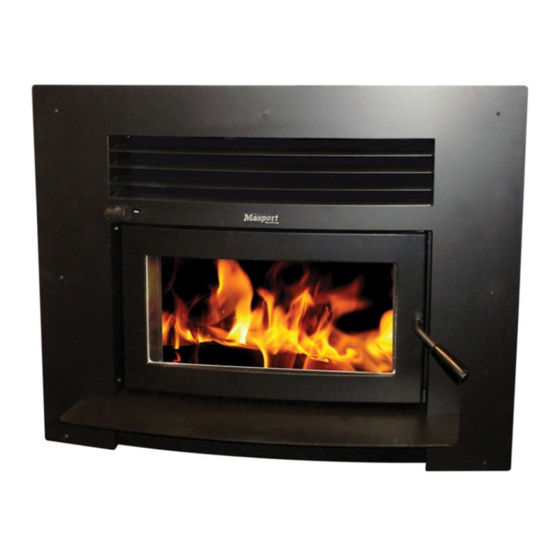
MASPORT I3000 DRY INSERT FIRE
MASPORT I3000 WET INSERT FIRE
INSTALLATION INSTRUCTIONS
Manufactured in New Zealand by:
GLEN DIMPLEX AUSTRALASIA LIMITED
38 Harris Road, East Tamaki
Auckland
Ph: 0800 666 2824
Fax: 09274 8472
Email: sales@glendimplex.co.nz
Web: www.glendimplex.co.nz
03.05.2011
Distributed in Australia by:
GLEN DIMPLEX AUSTRALIA PTY LIMITED
Unit 2, 205 Abbotts Road, Dandenong South
Victoria, 3175
Ph: 1 300 566 816
Fax: 1 800 058 900
Email: sales@glendimplex.com.au
Web: www.glendimplex.com.au
Part. No. 593509
1
Advertisement
Table of Contents

Related Manuals for Masport I3000 DRY


Summary of Contents for Masport I3000 DRY
-
Page 1: Installation Instructions
MASPORT I3000 DRY INSERT FIRE MASPORT I3000 WET INSERT FIRE INSTALLATION INSTRUCTIONS Distributed in Australia by: Manufactured in New Zealand by: GLEN DIMPLEX AUSTRALIA PTY LIMITED GLEN DIMPLEX AUSTRALASIA LIMITED Unit 2, 205 Abbotts Road, Dandenong South 38 Harris Road, East Tamaki... - Page 2 DIMENSIONS: HOLES FOR WATER BOOSTER GLASS SIDE VIEW L/H REAR VIEW NOTE: Dimensions do not include the insulating blankets. Add 15mm to each side and rear and top to allow for insulating blanket. CAUTION: Check with your local council or the manufacturer if you are allowed to install a water heating booster with this fire.
- Page 3 ‘build in’ (or ‘zero clearance’) metal shielding box. Build-in (zero clearance) installation kits and the spe- cial fascia and the special flue components necessary are available from your Masport Heating Dealer. Full assembly instructions are included in the kit.
-
Page 4: Installation Requirements
INSTALLATION REQUIREMENTS FIREPLACE PREPARATION For a safe installation the following matters must be attended to: The masonry fireplace and chimney must be thoroughly cleaned and checked for soundness. The chimney must not connect to a second fireplace. The joint between the chimney face and the fireplace surround must be checked and sealed to prevent leakage if necessary. -
Page 5: Installing The Firebox And Flue
HEARTH PROJECTIONS PROJECTION FROM FIRE PROJECTION FROM GLASS PLACE SURROUND INSTALLING THE FIREBOX AND FLUE Remove the door from the fire by opening it and lifting it up until the top pivot comes free and then lower the door until the bottom pivot comes free. You require a 150mm diameter flue. -
Page 6: Installing The Fascia
Fit the insulating blanket measuring 13X610x950mm approx from left to right. It will hang down ei- ther side and a bit less at the rear. Slide the case into the cavity and adjust its position so that flanges of the two side brackets are in line with the face of the fireplace surround.
Need help?
Do you have a question about the I3000 DRY and is the answer not in the manual?
Questions and answers